|
|
|
The Woodcrafter Page© 2004 - all rights reserved.
|
|
|
|
Here is the orginal article from the
January - February 1956 Deltagram
ROCKWELL MANUFACTURING COMPANY - A DELTACRAFT PULICATION
|
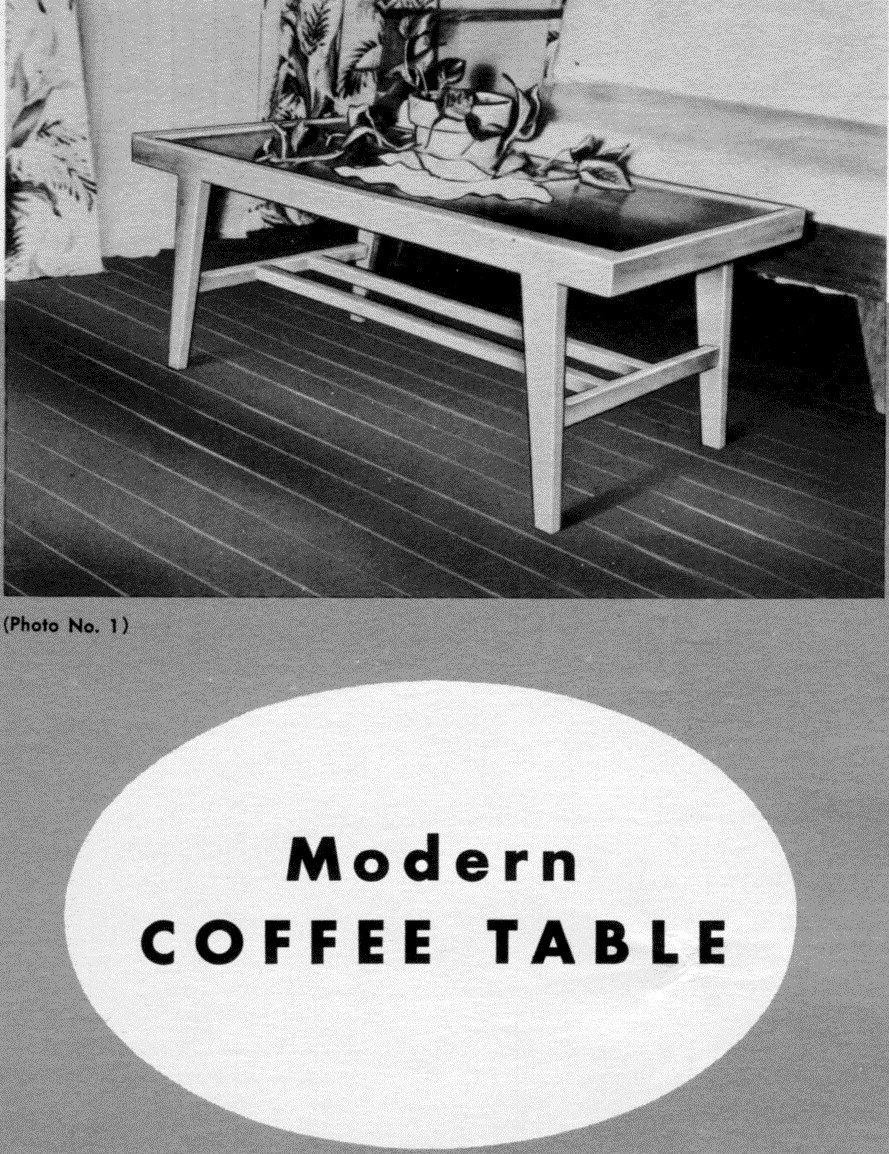
The simple lines in this coffee table follow the modern trend and will look well with similar modern pieces of furniture. A light colored wood such as birch, maple or bleached mahogany is best for this type of design. White oak with a light filler could also be used.
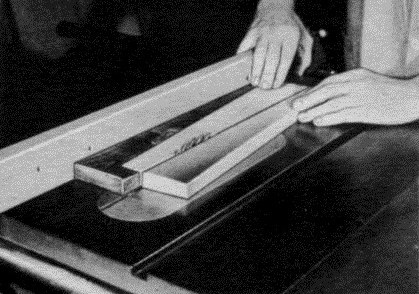
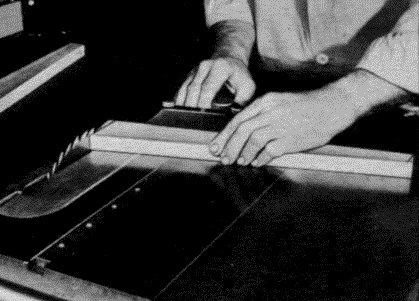
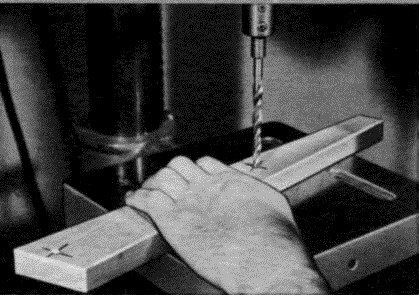
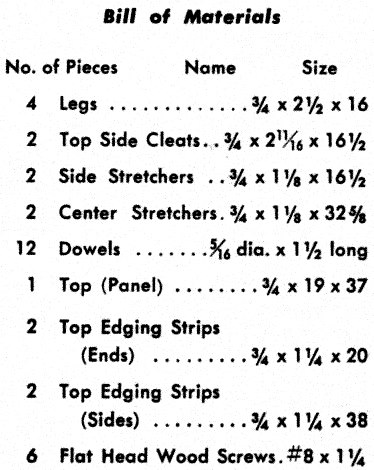
The top is made of ¾ inch plywood with one side good. The balance is ¾ inch solid stock. You can get all four legs from one piece of stock 3¾ inches wide by 31-1/8 inches long. These legs are taper cut on the circular saw with a taper jig (Fig. 1). After taper cutting, the legs are cut on an angle with the miter gage set at 80°. Note: Straight edge must be against miter gage body. (Fig. 2 and Photo #3). Note the straight edge of the leg is on the outer side of the table, the tapered edge on the inside. The legs are dowled to the top cleats and end stretchers with 5/16 inch dowels. Assemble and glue this portion of the table first. Next screw fasten the end cleats with the legs to the underside of the top using three #8 x 1¼ inch flat head wood screws in each cleat, see side view of drawing. |
At this point also dowel and glue the center Stretchers to the side stretchers. Before assembling the table, make sure all pieces are cleaned and all sharp edges sanded smooth. This will eliminate a lot of unnecessary hard work later on.
The top edging frame is made of ¾ x 1¼ inch stock. Rabbets ¼ inch deep are cut to house the table top panel thus hiding the core stock of the plywood, (see Fig. 3). The corners are mitered and fitted around the panel top. Nail and glue the strips in place. Set the nails and cover up the holes with plastic wood.
Sand all parts thoroughly with 3-0 and 6-0 garnet paper. If you wish to finish your table light and are using birch or maple, apply two thin coats of white shellac, sanding with 6-0 garnet paper between Coats. For a final Coat apply spar varnish. If you wish to obtain a Satin like finish, rub with pumic or rottenstone and oil after varnish has dried. You can substitute rubbed effect varnish in place of the spar varnish and rubbing compounds. |
|
|
Right-click here to download the drawing as an Adobe Acrobat (pdf) file.
* * * * Click on the drawings above to download a higher resolution picture. * * * *
*********** WARNING***********
Read my page on safety before building this item.
|