|
|
|
The Woodcrafter Page© 2004 - all rights reserved.
|
|
|
|
Detailed
Toy Wooden Train
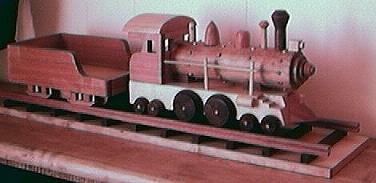 Here
is one of my finest 'toy' projects. It is not
designed for hard play but rather as a keepsake.
My four year old son loves his. He does play with
it, ever so kindly, on occasion
but mostly leaves it on display atop his
bookshelf.
It is my own design taken from a picture of an
old toy. This project is only for experienced
woodcrafters.
I did not give a lot of detail on this page as
you should be quite capable of building from the
drawings
if you are skilled enough to complete this
project. It requires great precision and skill to
end up with a fine project.
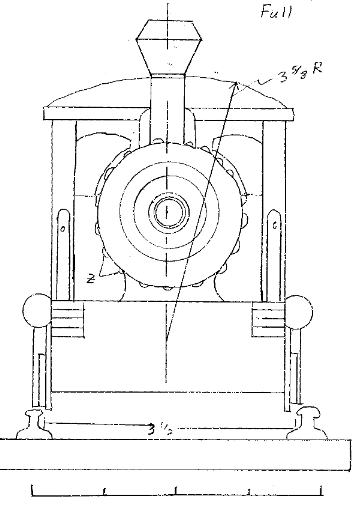
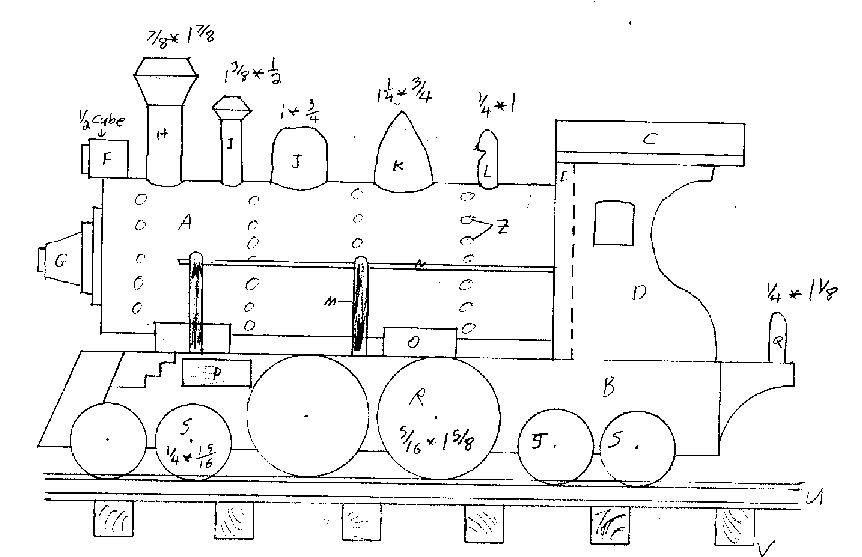
Head-on elevation
drawing of the engine. |
Here comes a powerful steam
engine down the tracks!! Bring a
touch of nostalgia from the days
when steam engines thundered
across this young country and
united the East Coast with the
West coast. You can almost hear
the steam whistle blowing when
you look over the details of this
steam giant. (Check out my steam
whistle plans too and you CAN
hear them.) This six axle beauty
will get many wonderful comments
from your child's friends and the
parents too. A variety of good
hardwoods will lend good lines to
the unit. Use a dark wood, such
as Black Walnut, for the wheels
and the boiler.Use a light wood,
such as Maple or Birch, for the
bases and use a redish wood, such
as BlackCherry or Rosewood, for
the engine cab and tender sides.
The train is designed to a scale
of about 1/16th.
The overal sizes of the completed
item are as follows:
Display base
:
Engine :
Tender : |
24" long x
4" wide x 1"
tall.
24" long x 4"
wide x 1" tall.
24" long x 4"
wide x 1" tall. |
|
| Make the
boiler from a dark wood. Turn the
first two 'steps' on the front of
the boiler as part of the turned
boiler. The third step (G) should
be turned seperately and from a
medium color wood. To best locate
the center of your starting
stock, always draw lines from
corner to corner. To minimize the
amount of wood to be cut away,
cut a small bevel off each edge
too but be craeful that you do
not cut off too much and reduce
the size of the final rounded
stock. |
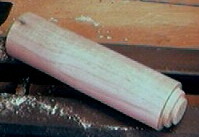
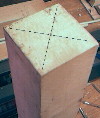
Locate center of
your turning stock |
| The 'cow pusher' for the
engine front is no doubt the
hardest part to cut as it
invloves multiple angle-compound
cuts. I used a straight bit in my
router to cut the steps in the
front of the engine |
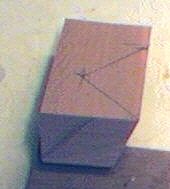
Marking the cuts
for the cow pusher. |
| base then carefully squared
up the cuts with an Exacto knife.
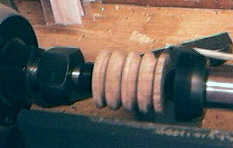
Drill a small pilot hole all the
way through the center of you
turning stock before shaping the
wheels so the axle holes will
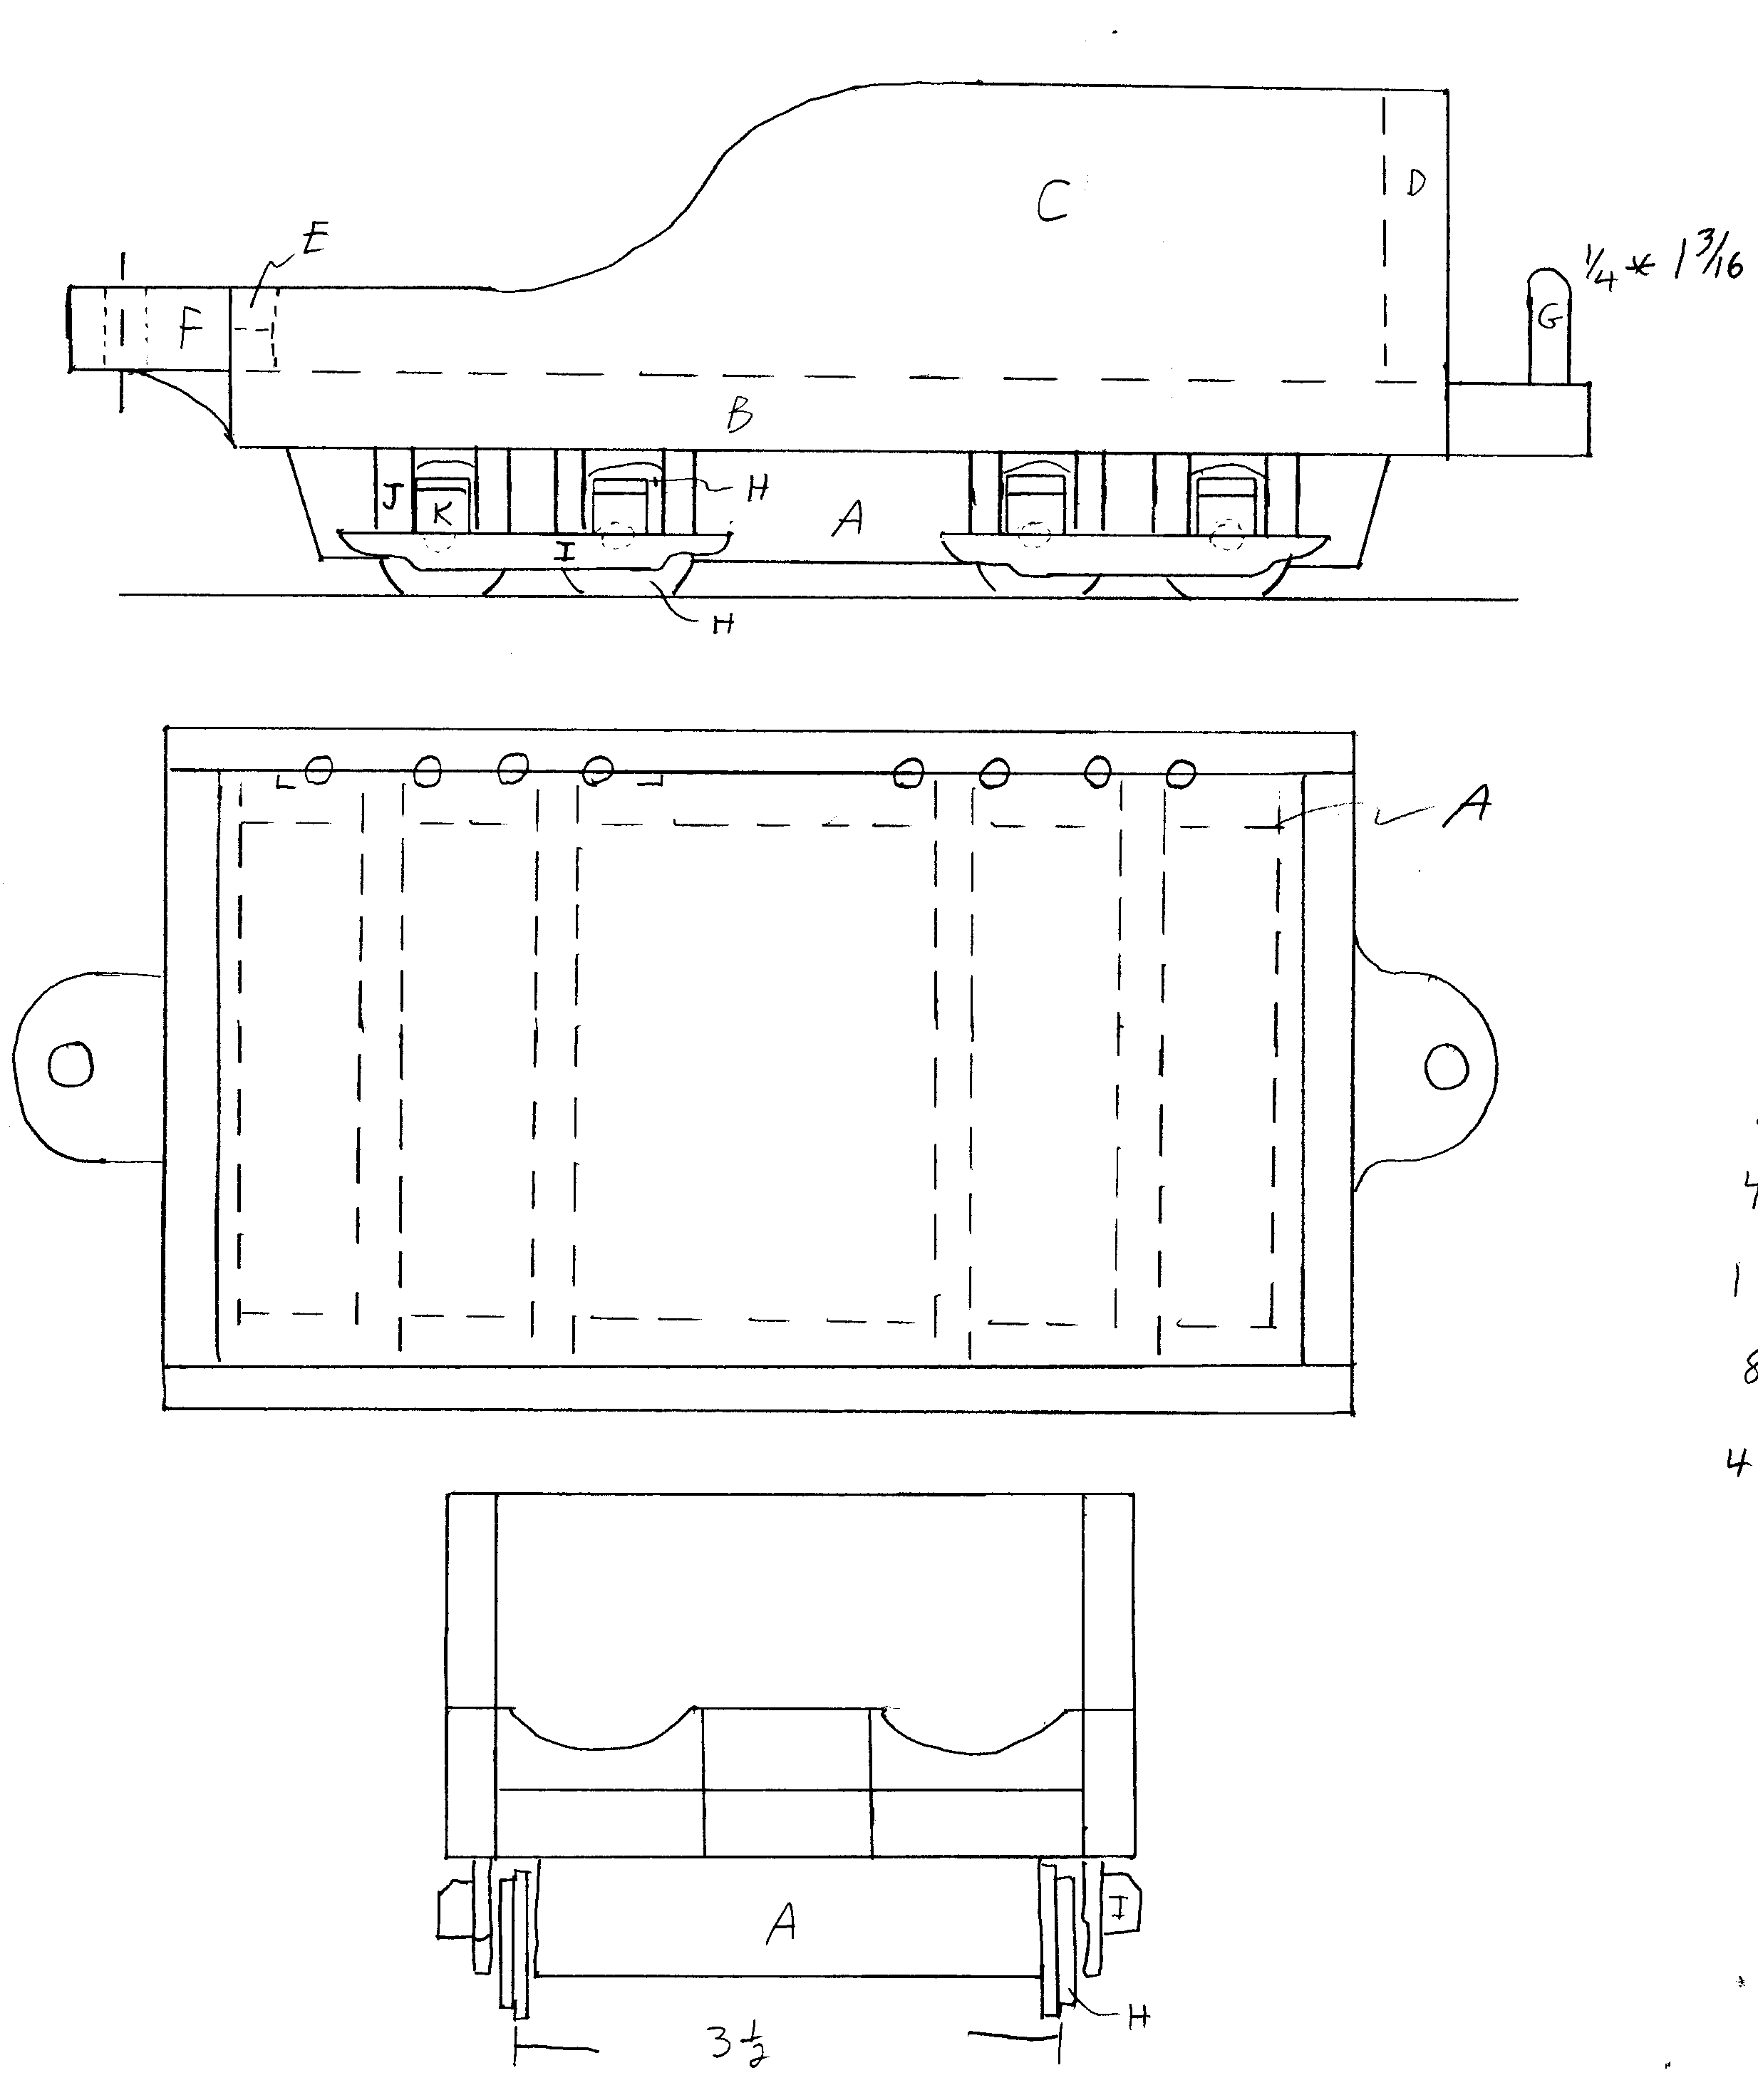
stay centered later. There's a
lot of detail in the tender
trucks (wheels) but notginh too
cimplicaed or tricky. |
 |
| |
 |
| |
 |
|
Right click on any drawing,
above, for the full size drawings as an Adobe
Acrobat (pdf) file..
|


