| TheWoodcrafter.net |
 Copyright © 2004. |
| My Basic Projects |
| The Retro Section |
| Jr. Woodcrafter |
| My Work |
| Detailed Plans |
| About |
| Lathe Work |
| Safety |
| Hints |
| Pic Gallery |
| Links |
| Search |
| Home |
| Birdhouses |
| Guest Book |
| Contact Us |
|
|
||||||||
|
Here is the orginal article from the
Mar- Apr 1956 Deltagram
|
|
|
|
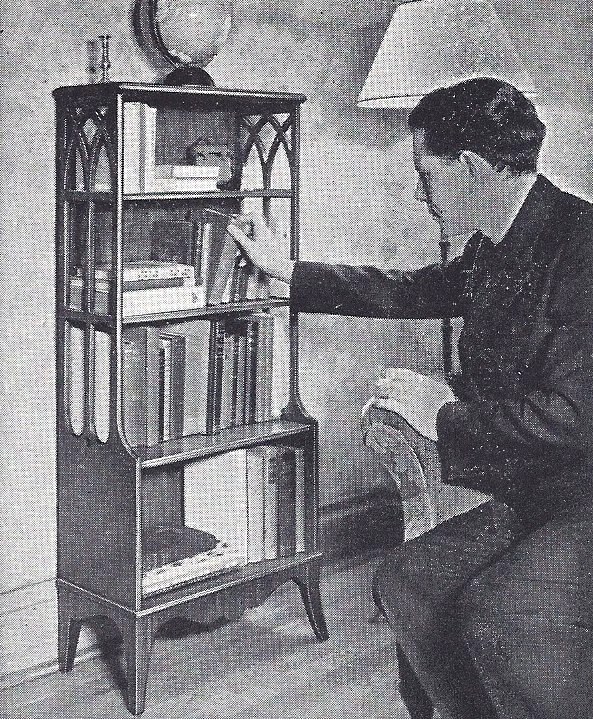
This coffee table is adopted from the butler's tray, an English design of the latter part of the 18th Century. It was reproduced from carefully measured drawings made by Edward Austin Walton, nationally known authority on Period Furniture. He was the head of the Furniture Design Department of Moore Institute of Art of Philadelphia. Slight construction changes have been made to confine the making of this piece within the scope of the present day average home workshop. A full-scale pattern plus a complete list including necessary Honduras Mahogany stock and all hardware and finishing materials is available. See the "Where to Buy It” section on Page 59. |
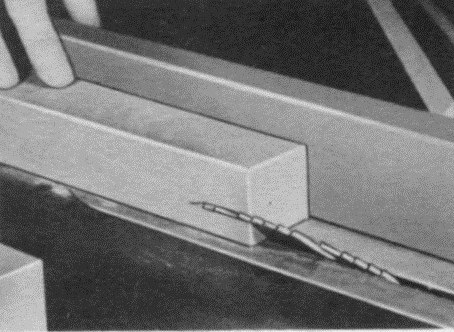
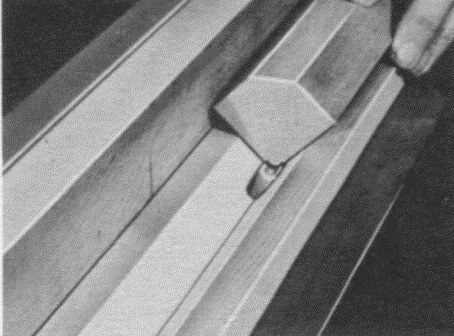
stretchers 2½ inches wide by 14-7/8 inches long and two end stretchers same width by 23-1/8 inch long. Bore two 3/8 inch dowel holes on both ends of each stretcher as shown in Fig. 2. Also bore matching holes in each leg. Counterbore screw head holes and also bore pilot holes for the 2½ inch flat head screw used to fasten the stretcher to the table top. The top is made up of eleven pieces of ¾ inch thick stock and assembled as shown in the top view in drawing. Pieces have grooves on the edges as indicated to receive a ¼ by ½ spline. These splines are cut across the grain (see Fig. 3). Side frame of the top should be carefully fitted to insure perfect miters. Dowels can he used on the miter joints or blind splines (see Fig. 4). Notch out the recess for the Butler Tray Hinges, making sure to leave a clearance of a "full" 1 /16 inches between the apron and the stretcher. Follow the dimensions of the hinge mortise in Fig. 5. Sand the project well with 3-0 and 6-0 garnet paper. Stain the table with a light or dark penetrating oil stain. Seal with two thin coats of white shellac. Follow this with a coat of rubbed effect varnish. |
|
Right-click here to download the drawing as an Adobe Acrobat (pdf) file.
* * * * Click on the drawings above to download a higher resolution picture. * * * *
*********** WARNING***********
Read my page on safety before building this item.