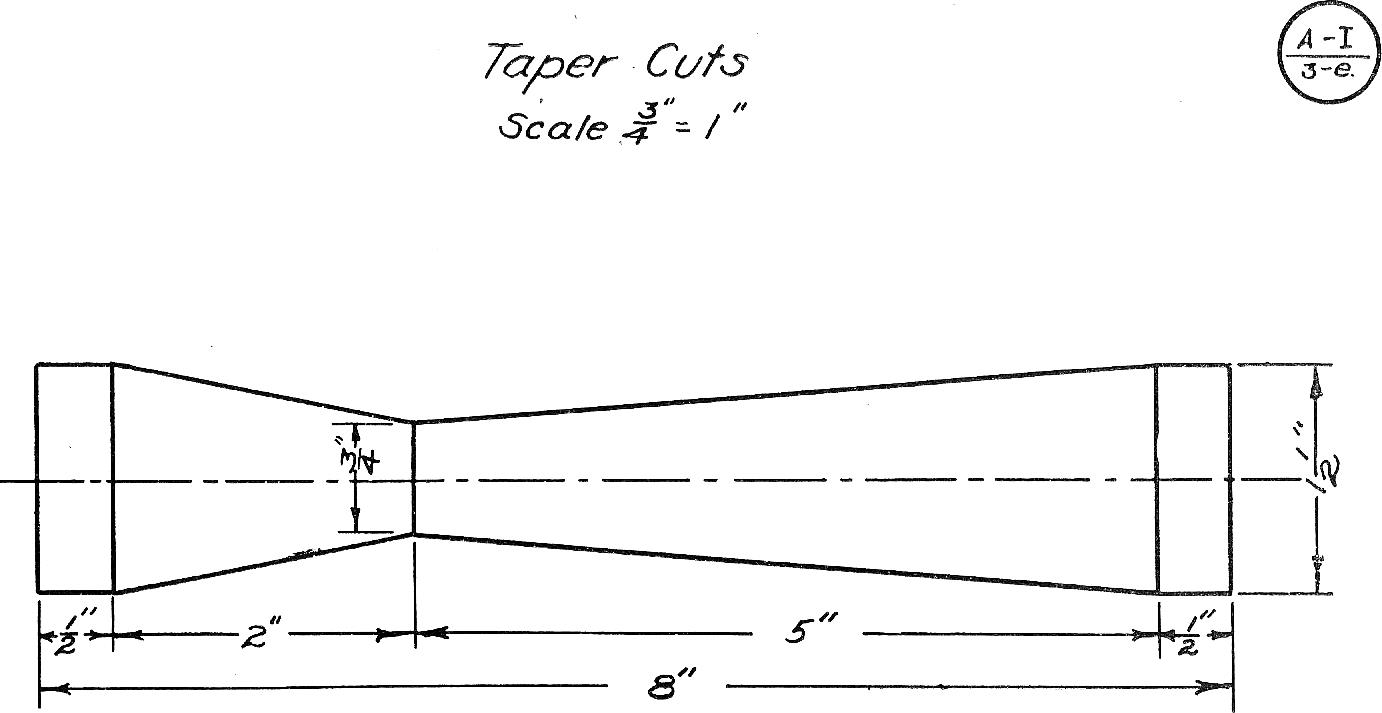
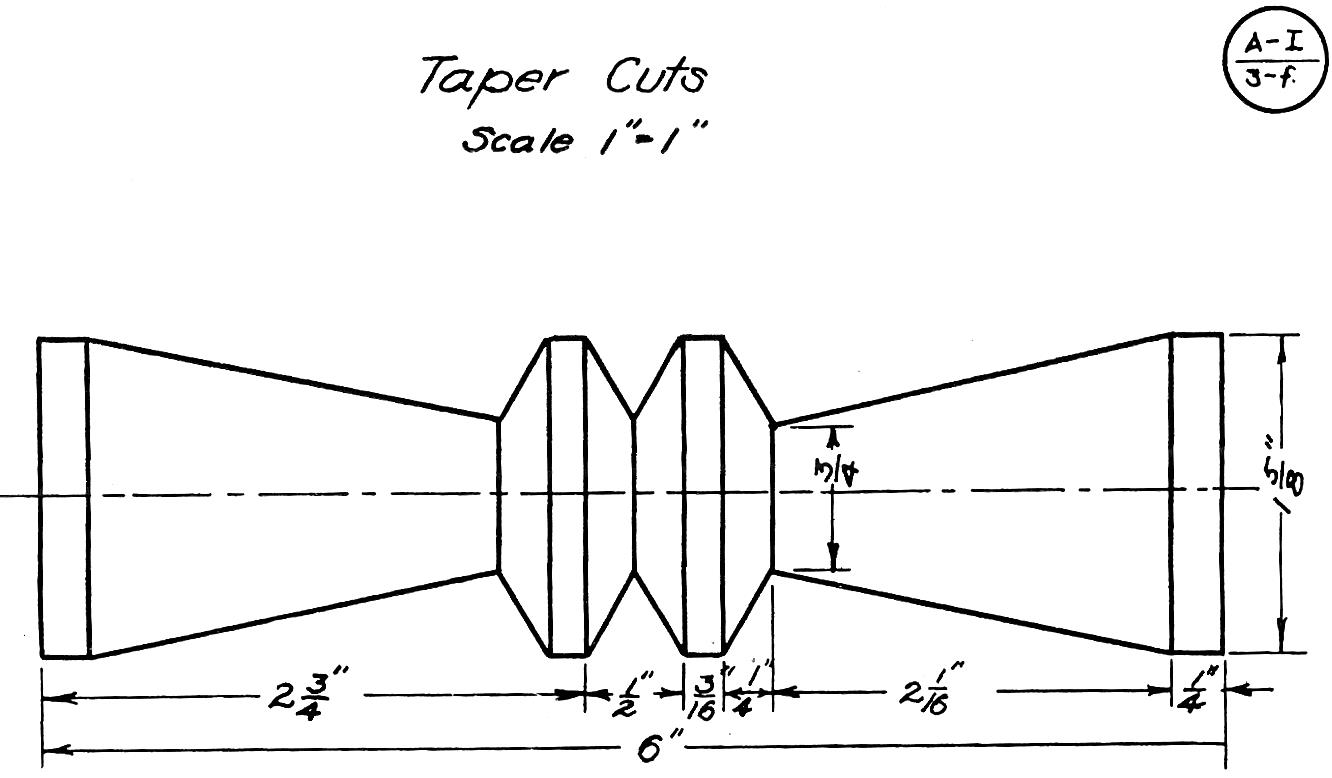
Exercise A1-3-a
Taper Cuts
Calipering for New Diameters. For all diameters on tapers, the calipers should be set 1/16” larger than the desired measurement in order to avoid working under size in the finishing cut which removes all caliper marks.
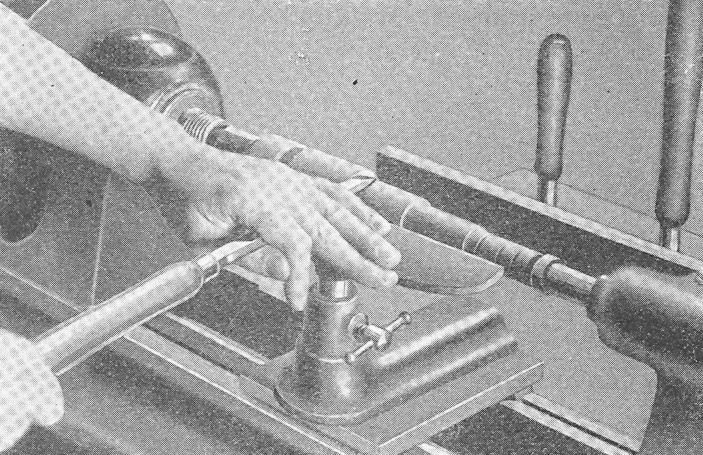
FIG. 10
|
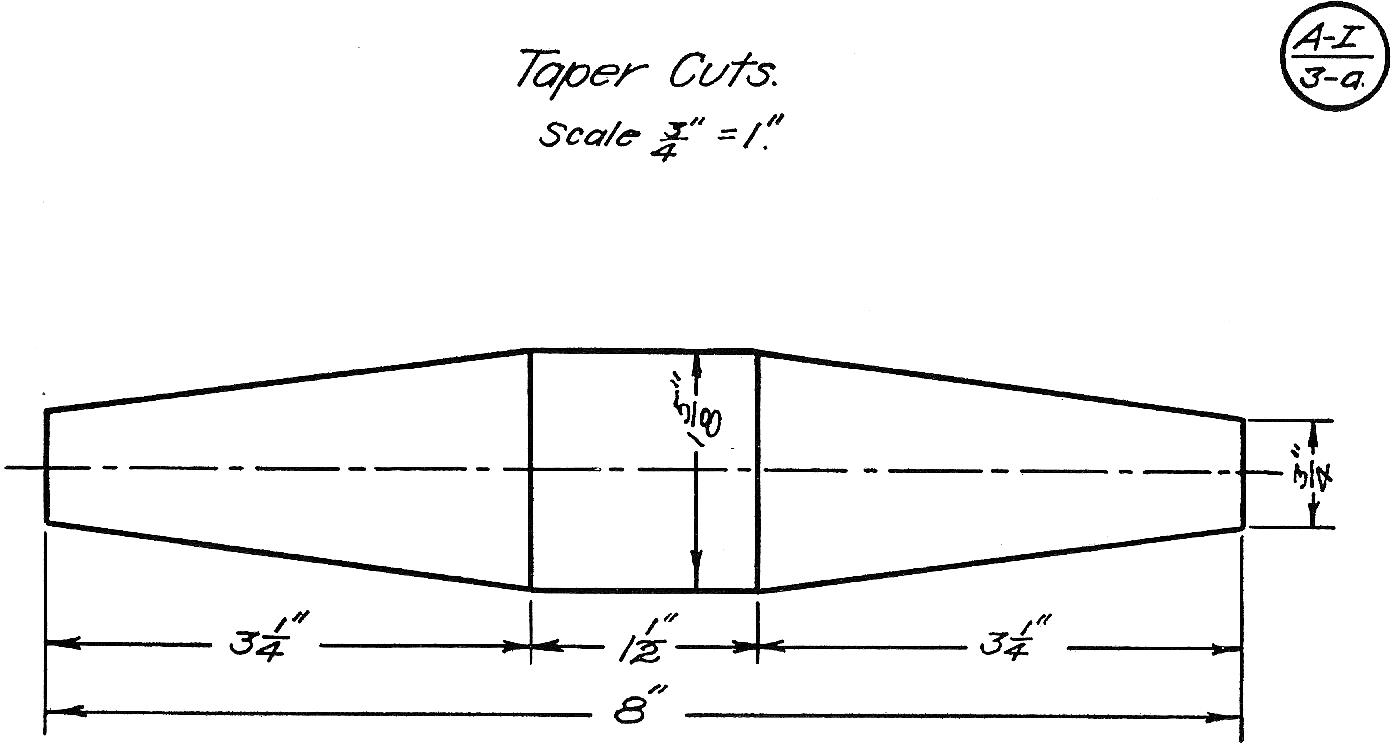
If the taper runs to the extreme end of the cylinder, as in Plate A-I-3-a, a parting tool: should be used, instead of a gouge, to take off a very thin shoulder
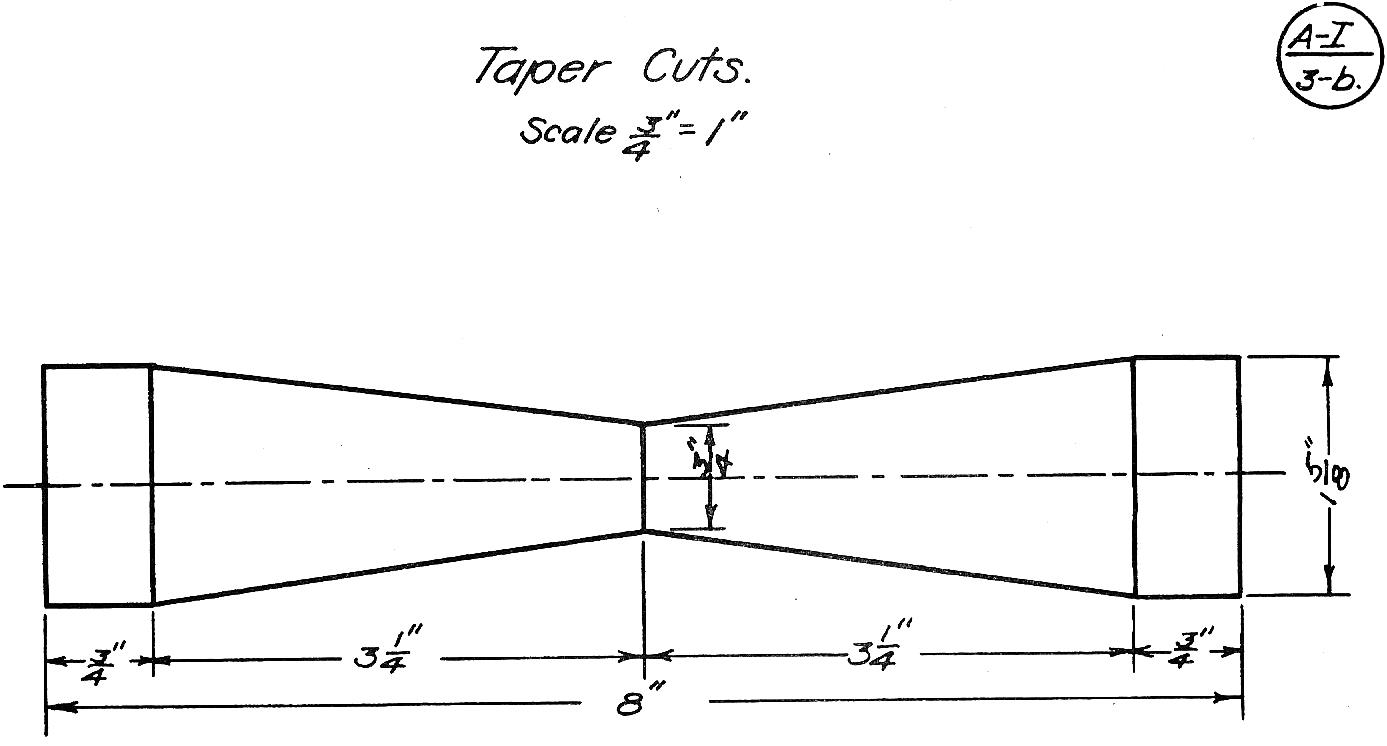
If the taper forms an internal angle as in Plate A-I-3-b, a gouge is used as in Step 2-Sizing Cut-P1ate A-I-1-a.
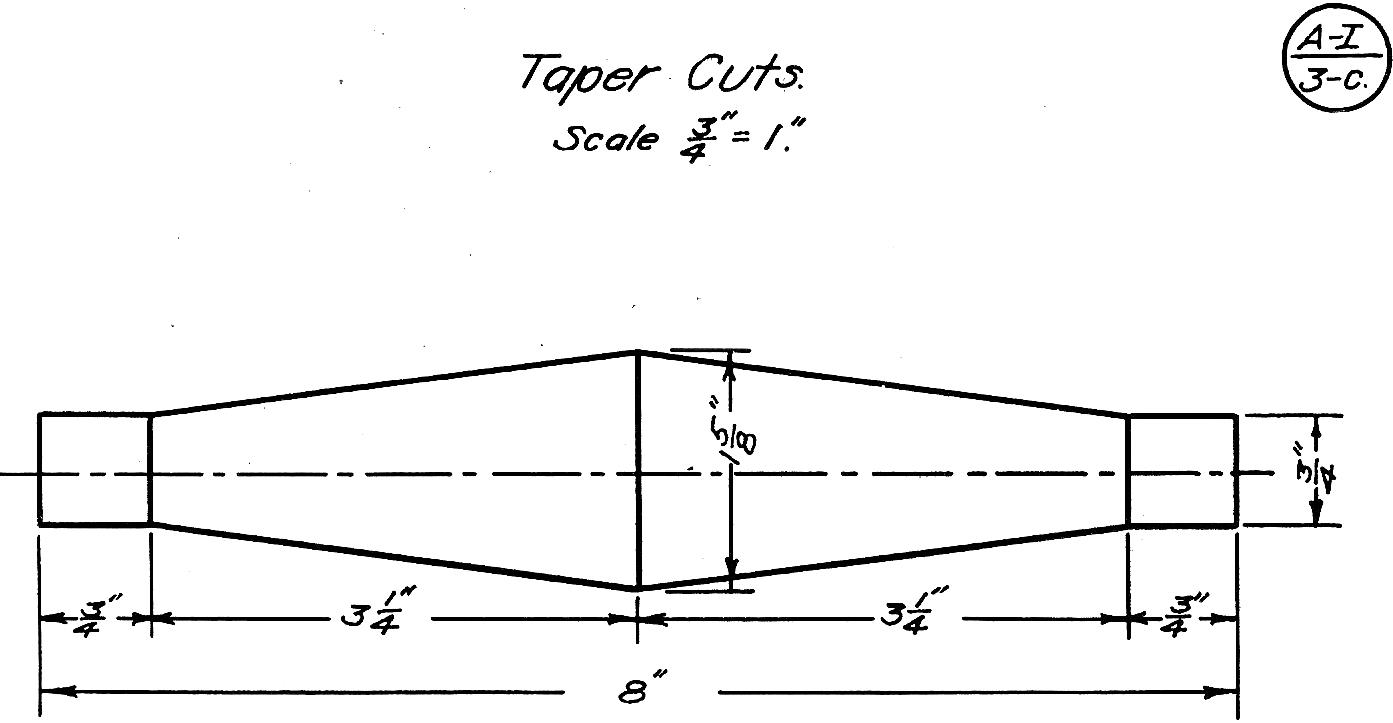
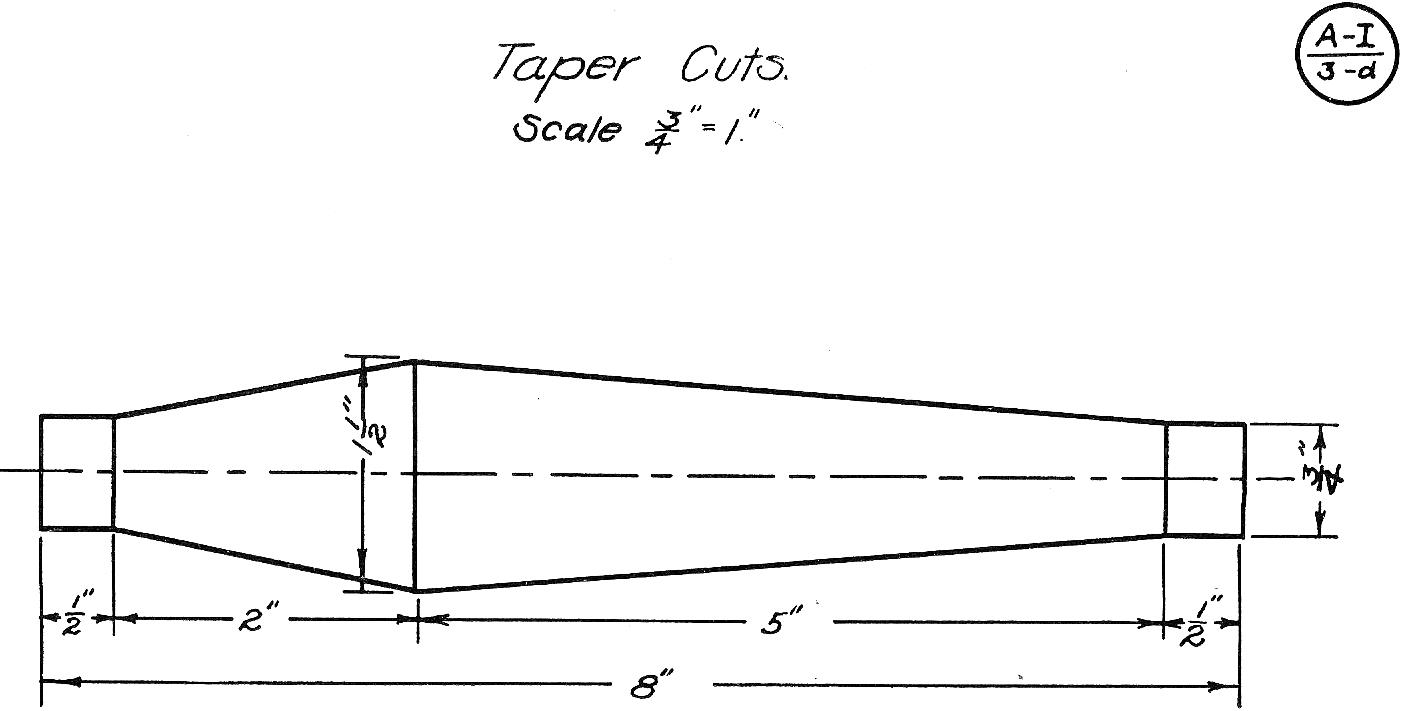
In other cases where tapers connect with straight cylindrical shoulders it is best to turn the shoulders to size before working the tapers.
In cutting a long straight taper the skew chisel is used, much in the same manner as in ordinary cylinder work, except that at the start of each cut the heel must be the cutting point. This will avoid any chance of the chisel catching and drawing back and thus gouging the wood beyond the starting point. As soon as the cut is well under way the chisel may be pushed up on the cylinder so that the cutting point is a little above the heel. All cuts should be made from the highest point on the cylinder to the lowest and thus cut across the grain of the wood.
In making the cut, care should be taken to see that the chisel is not tipped to a greater angle than that of the taper wanted. Should that be done a hollow, or dished out, taper is sure to be the result instead of a straight one.
|


