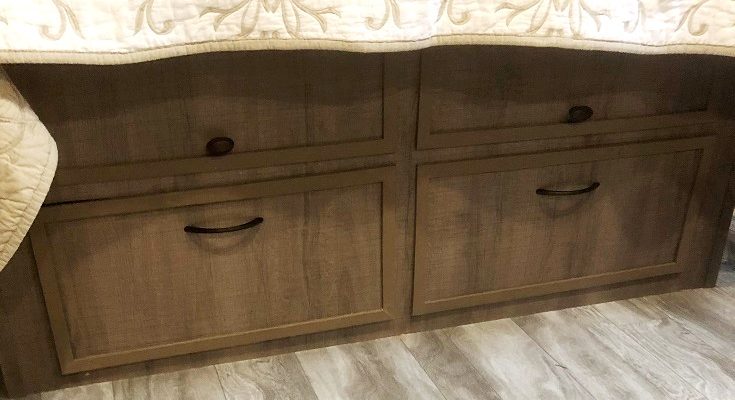
Hack #4 Under Bed Storage – Front Drawers.
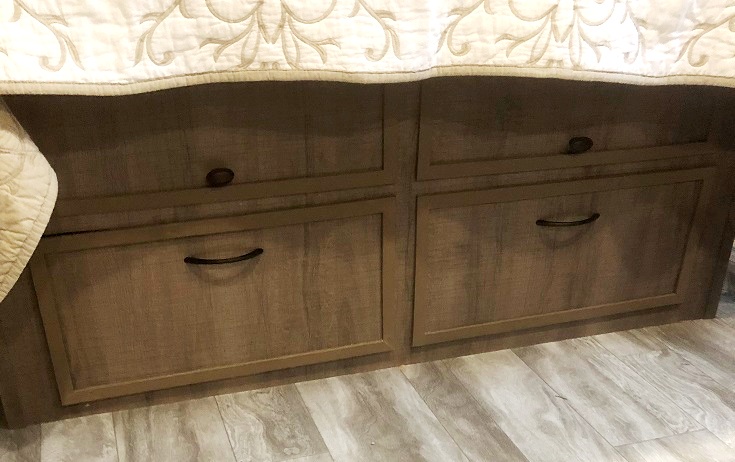
I am converting the under bed storage area into more accessible storage units. This post is for two drawers under the shoe storage in the front of the box. We decided to use the lower two thirds of the front of the under bed box for clothing drawers. All of my measurements are for our Imagine XLS 22MLE trailer but can be adjusted for anything.
* * * * * * * * * Important Notes * * * * * * * * *
Check the actual dimensions of you box and between the framing. It may not be the same as my unit, not symmetrical or not square. You may need to adjust your dimensions to compensate.
* * * * * * * * * * * * * * * * * * * * * * * * * * * * * * * * * * * * * * * *
This needs no new bracing. Glue all wood pieces together with a good wood glue like Elmer’s. The first step is to create the boxes. I built them from ¼” plywood to keep the weight down. The horizontal space between the two existing vertical frame members on each side is 19¾”. The heating duct is inside the corner on the left so the left drawer cannot be as wide as the right one.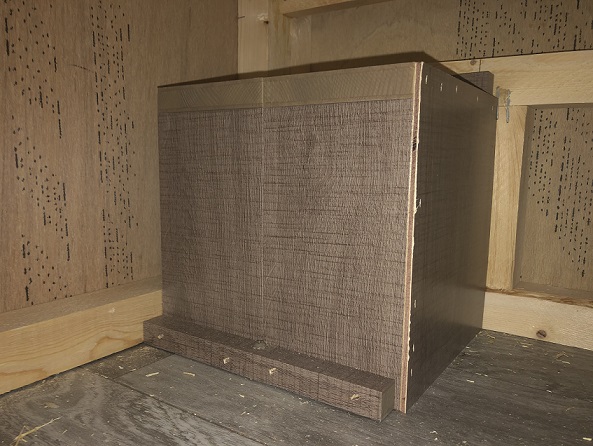
If you are like me, symmetry is essential so I made mine with a drawer front the same width as the right one but you can make the job easier by simply making a smaller left drawer. If you choose this option, simply follow the directions for the right drawer and reduce all width measurements.
I had numerous extra drawers slides in my shop so I used them here. Each side requires ½” of clearance.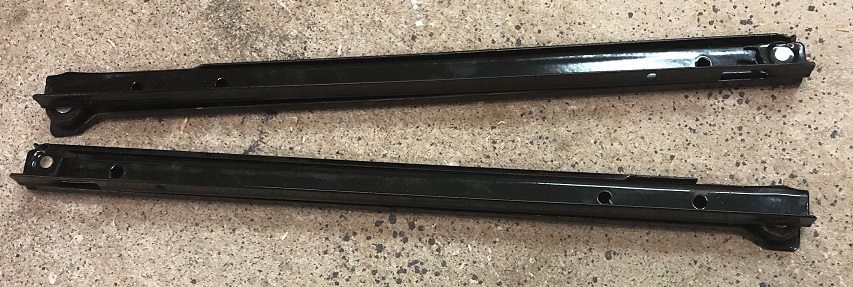
I made the boxes 9″ tall and 12¼” deep (to align with the shoe storage). The right one was 18¾” wide (to allow for the slide clearances) while the left drawer was only 14¼” wide (due to the heating vent).
I cut pine planking to ¾” by 3/8″ framing pieces for the drawer framing. For each drawer, cut two sides to 9″ by 12″. Cut one back to 9″ x 18¾” and the bottom to 12″ x 18¼” for the right drawer then cut one back to 9″ x 13″ and the bottom to 12″ x 12½” for the left drawer.
Add the framing to all 4 side pieces. Cut the bottom pieces 12″ long and the side pieces to 8½” long (to allow clearance for the bottom to slide in). Attach it laying vertical (flat) to allow you to nail the sides into them. Glue and nail these to the sides. Position the side pieces flush with the top of the drawer leaving the gap at the bottom.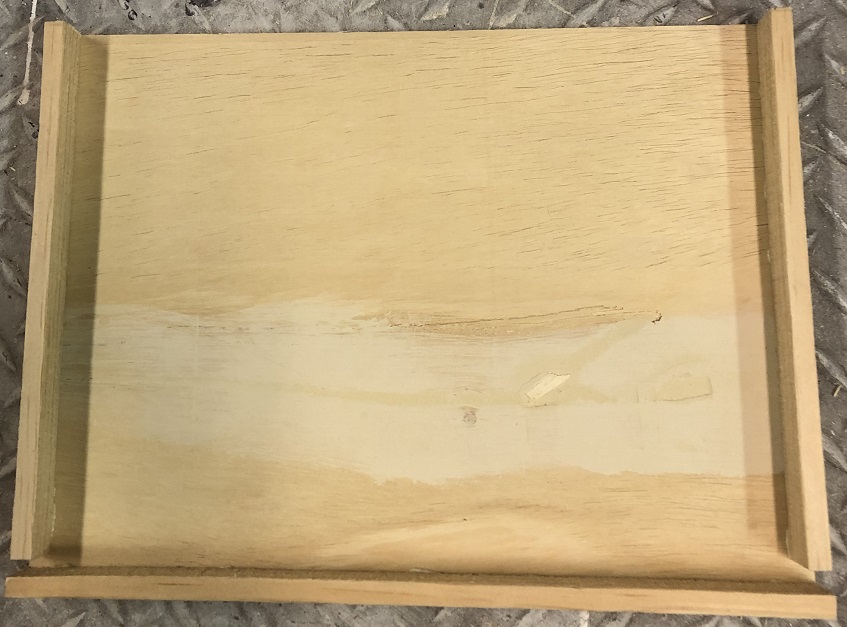
Measure the exact thickness of the two sides and the framing together. Cut 5 pieces of the framing to a length equal to 18¾” minus the thickness just measured. Glue and nail one to one back for the right drawer, centered side-to-side, to align with the side framing. Cut another to 14¼” minus the thickness just measured long for the back of the left drawer. Glue and nail it to the other back for the left drawer, centered side-to-side.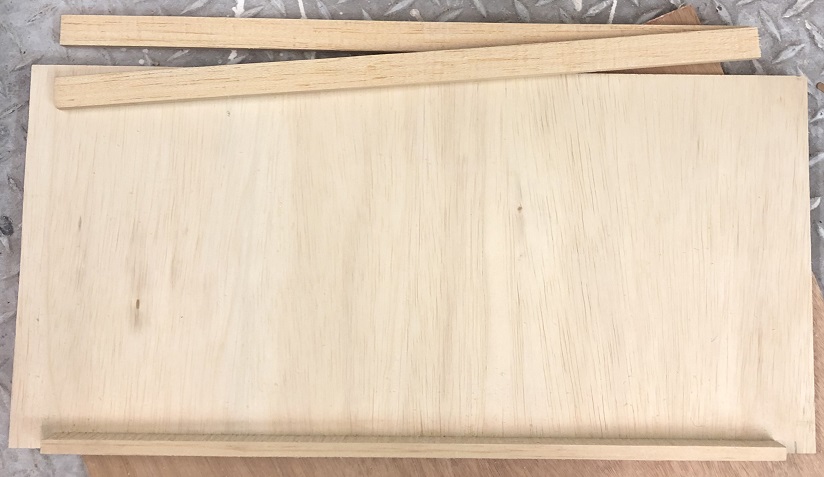
Glue and nail the side framing to the backs.
For the right drawer, glue and nail two framing pieces to the front – to frame it in – and positioned to align with the side framing.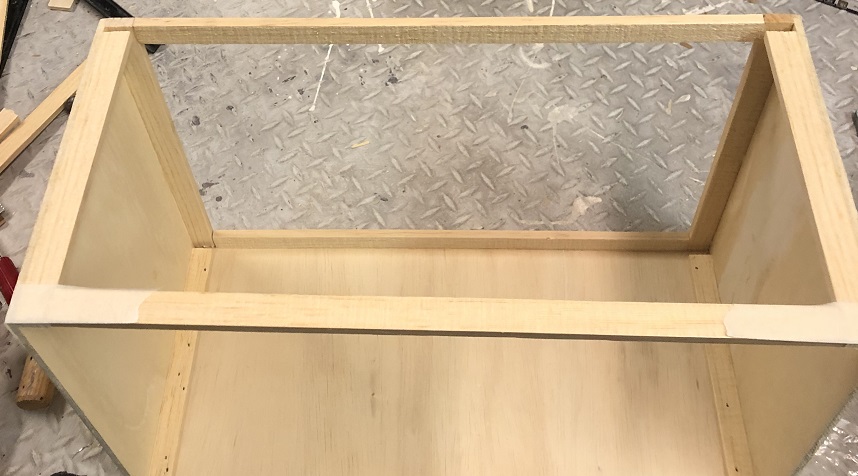
For the left drawer, cut one more frame piece to 9″ long. Cut notches in the top and bottom of the left side to allow for the horizontal front framing to fit. Attach the framing adding the extra support to the left as shown here.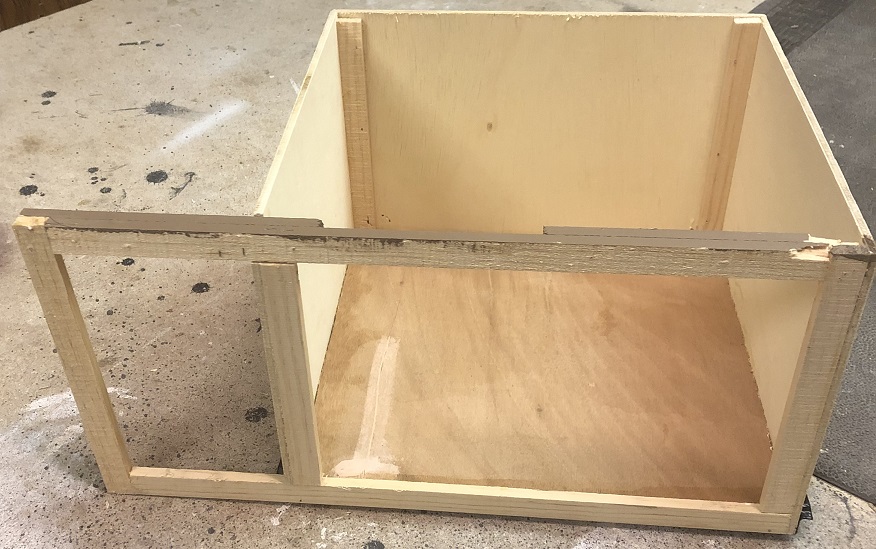
Slide the bottom into place and glue it in. You can use heavy items (such as full cans of paint) to hold it firmly in place while the glue dries.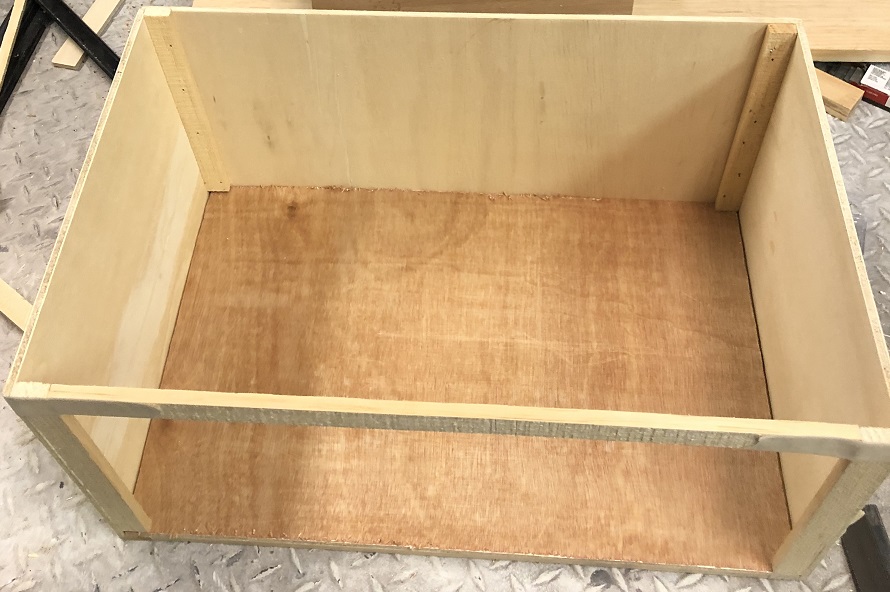
Once all the glue has had plenty of time to dry thoroughly, attach the rail sides to the drawer. I added the extra caution of gluing them on with Gorilla glue too.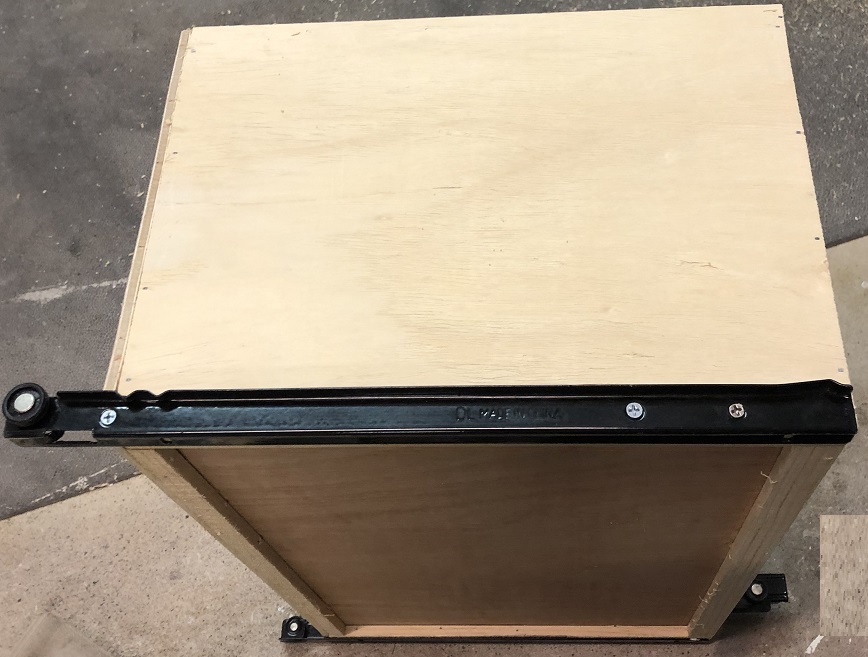
Now you will be cutting the openings. I used my Bosch Oscillating saw for this. You need to create a hole exactly at the inner edge of the box. I did this by laying the saw blade flat on the shelf, or framing, and slowly sawing a short cut on each side of the hole. Be sure to place a small piece of masking tape near the top of the piece to be cut out marked ‘TOP’ so you will be sure to keep the right orientation later.

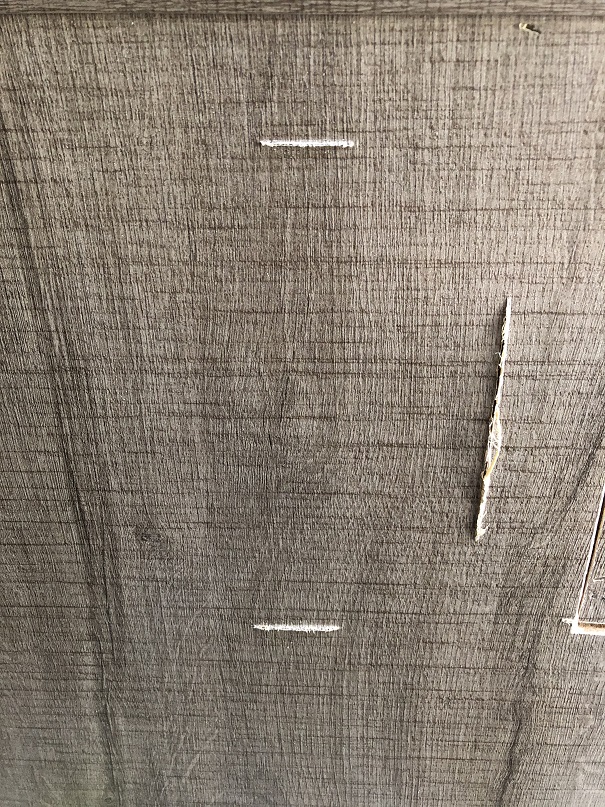
You could also drill a very small hole from the inside out to locate the edges. Once you have these cuts, stretch masking tape along the cuts as a guide line for cutting. Be very careful when pulling the tape back off as it may try to lift the top layer off the paneling. 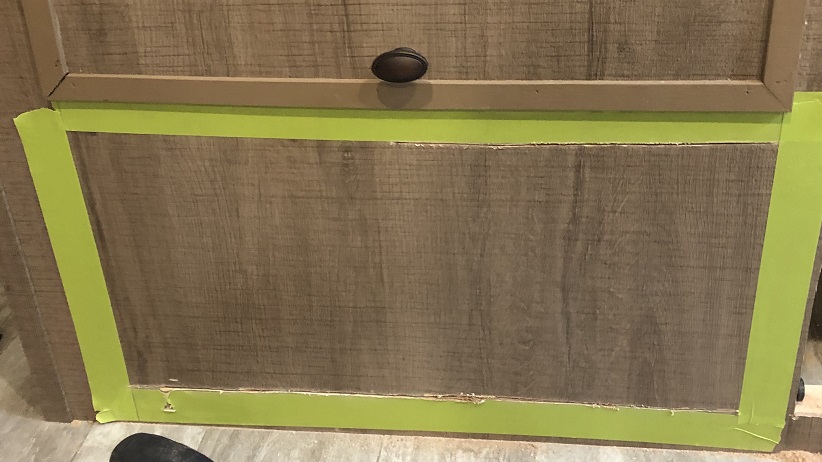
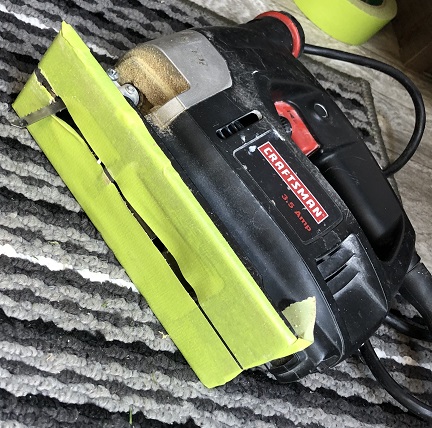
If you are cutting with a saber saw, you can place masking tape on the bottom to prevent scuffing the paneling.
Carefully cut out both openings. Use a rasp, file, or sandpaper to smooth up the cut edges. Set these aside for now. They will be used for the door faces.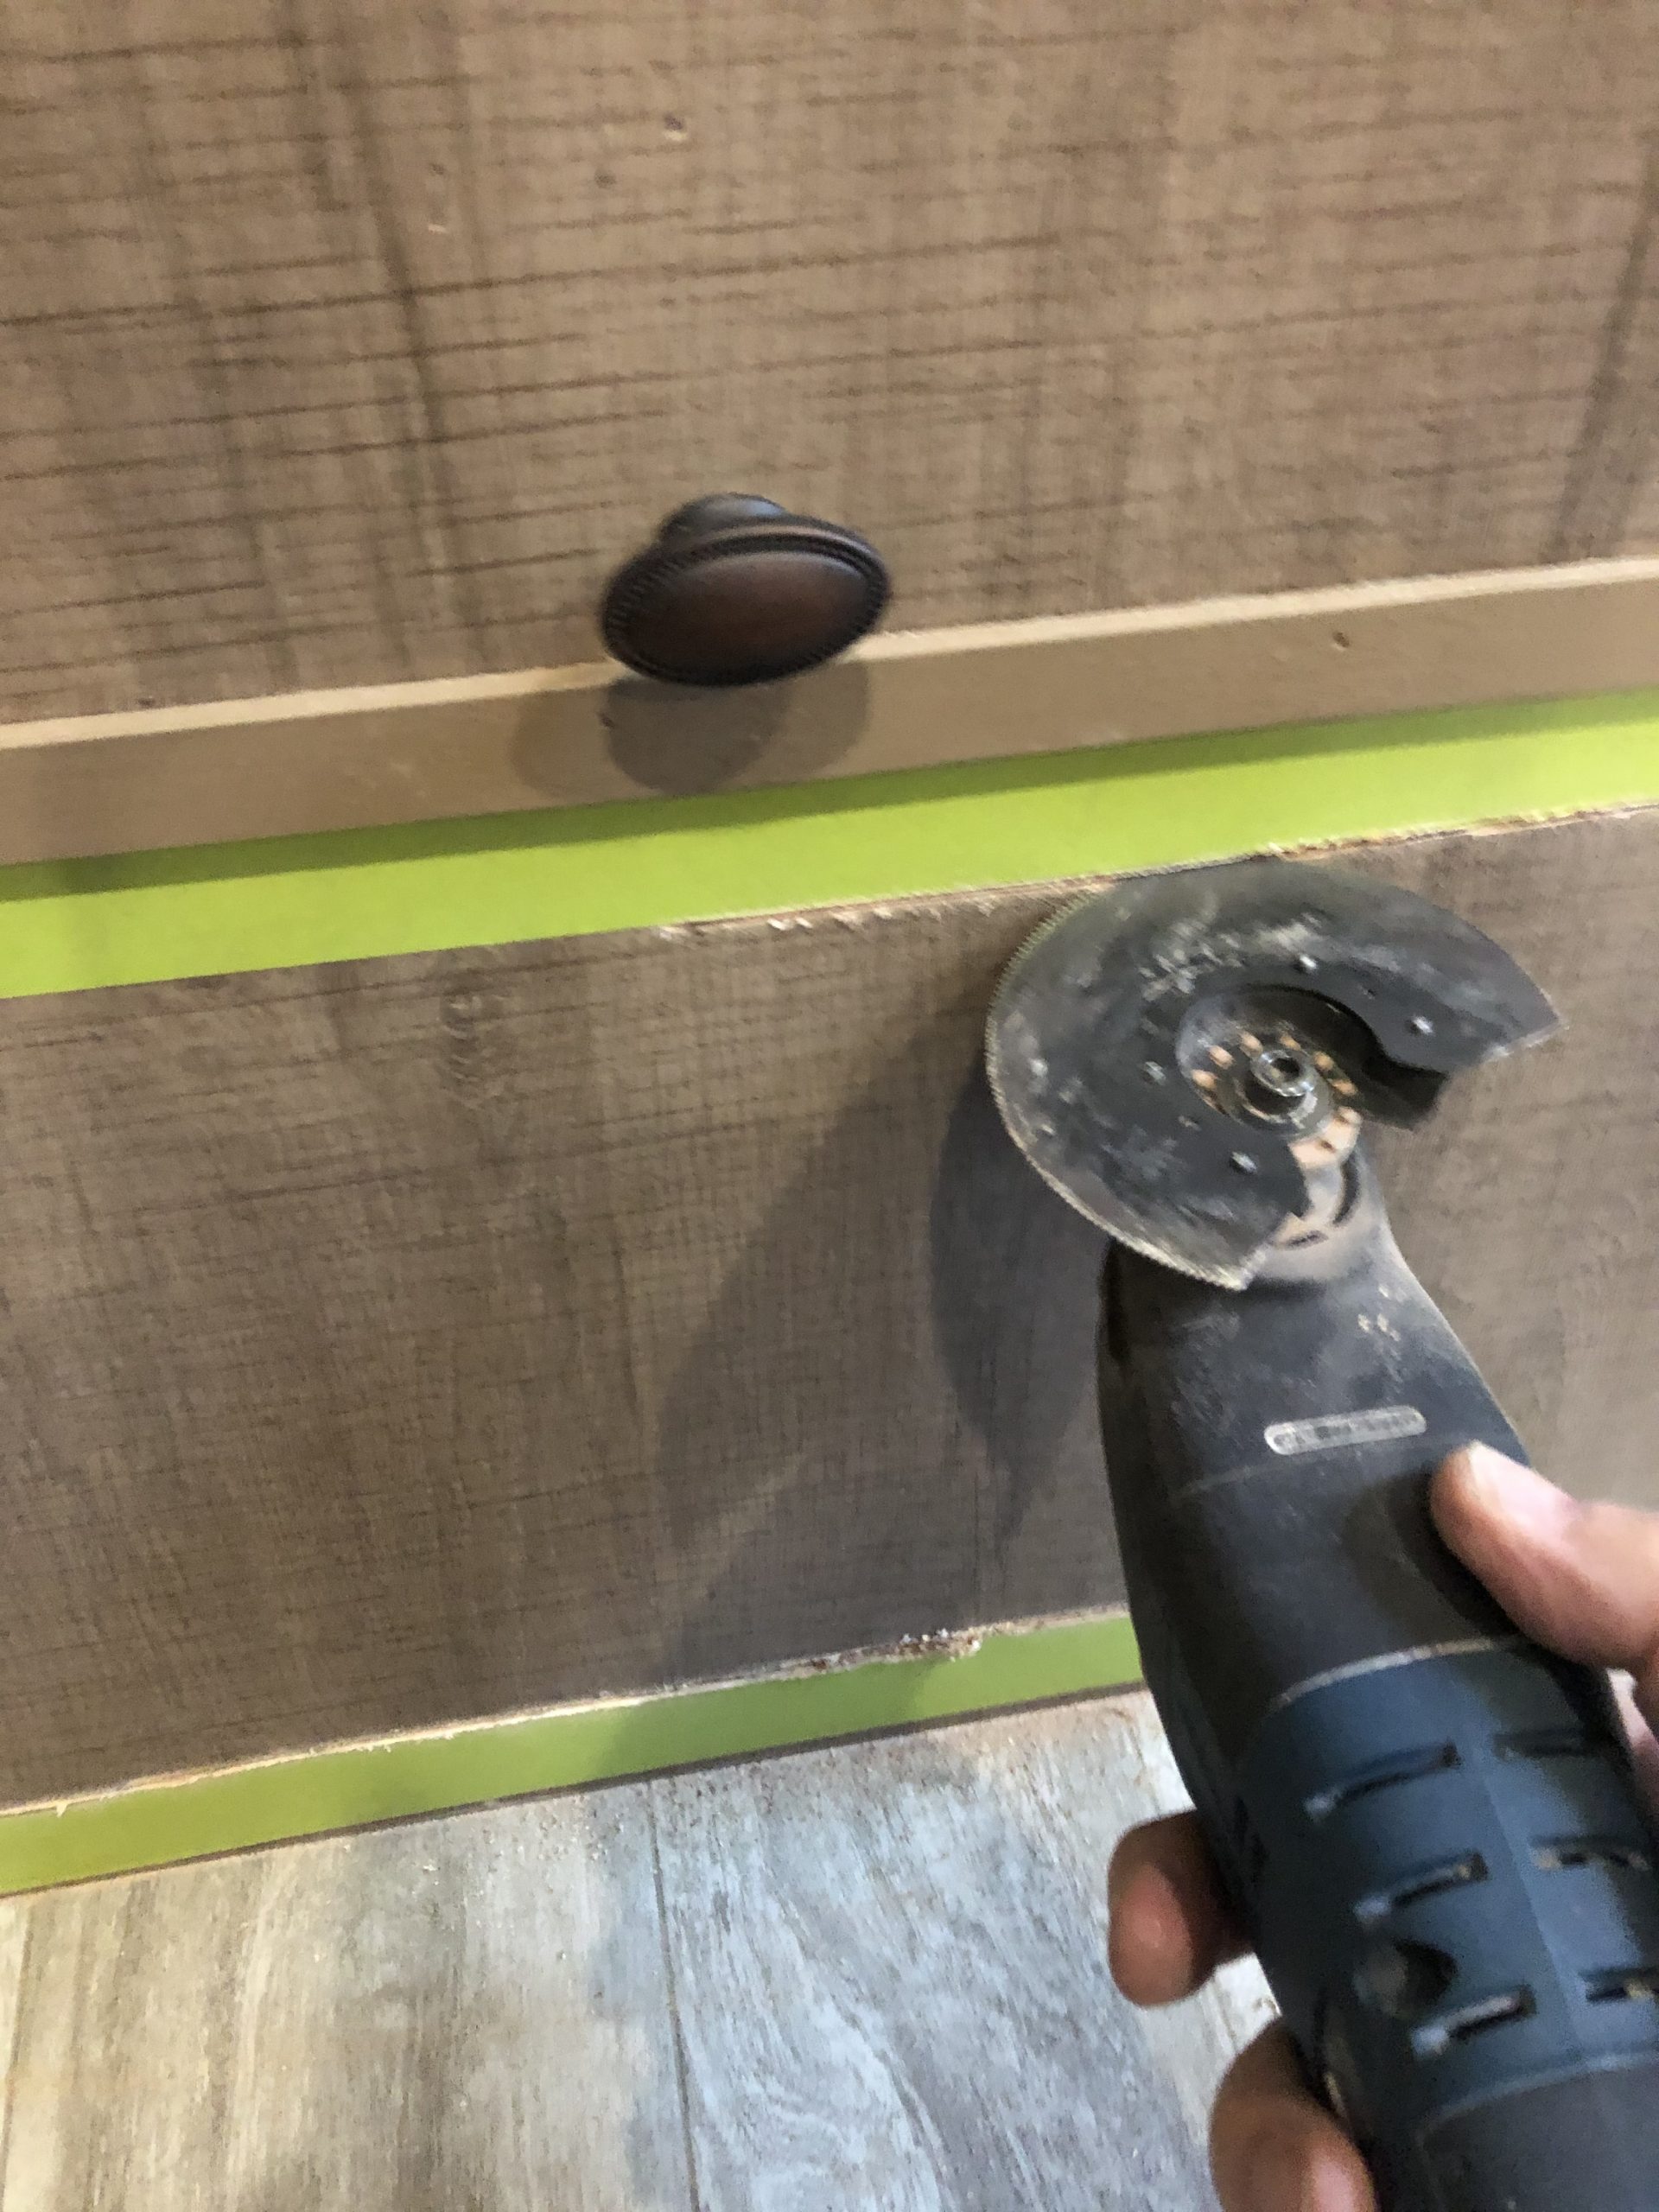
Cut two blocks from 2 by 4 stock to secure the back of the slide rails in place. Install the rails for the right drawer first. The front of the rails mount to the existing framing. The right rail needs a mounting block. Measure the height where the rail mounts in the front and attach the rear of the rail to the block at the same height. Attach the front of the rail. Glue and secure the rear block against the side framing. Be sure your screw, or nail, extends less than ¾” into the floor or simply screw it onto the side frame.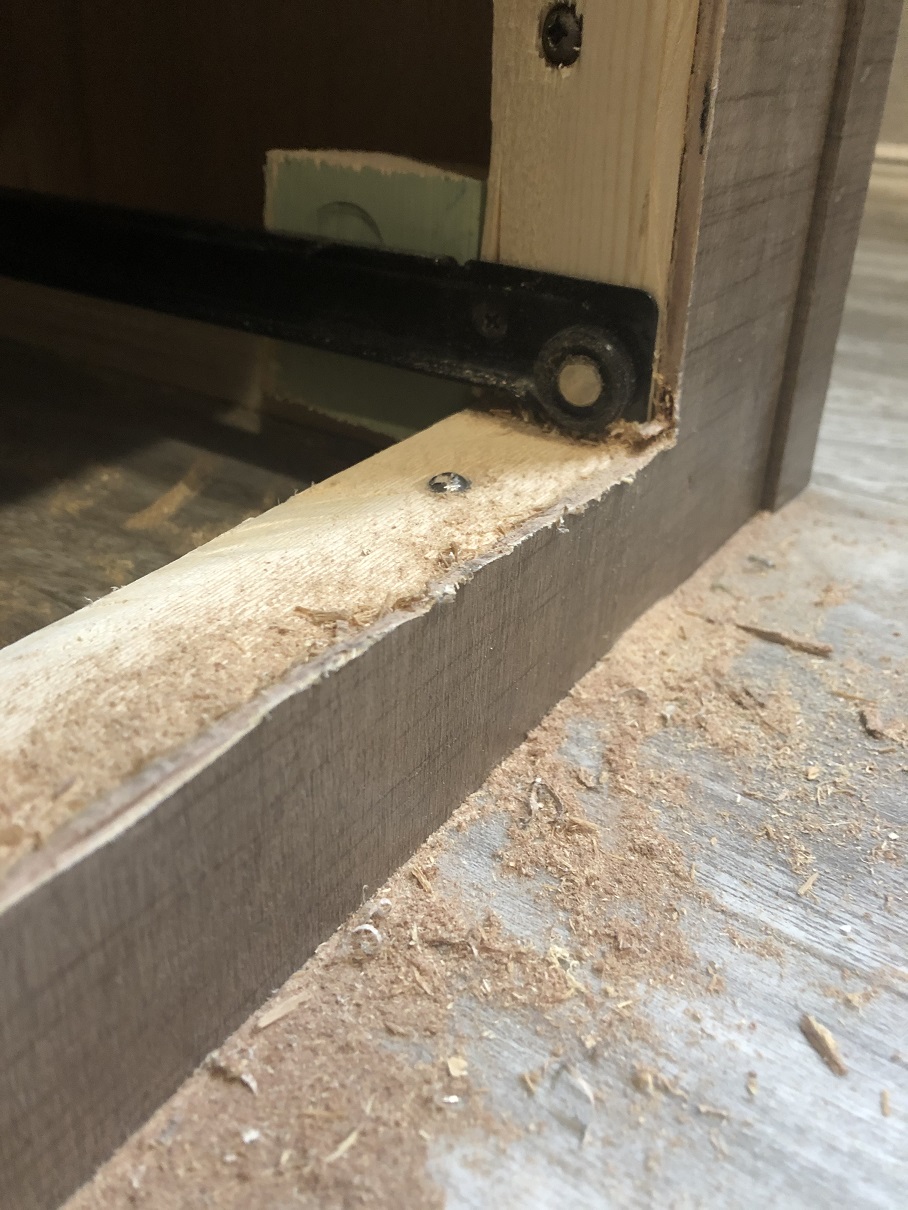
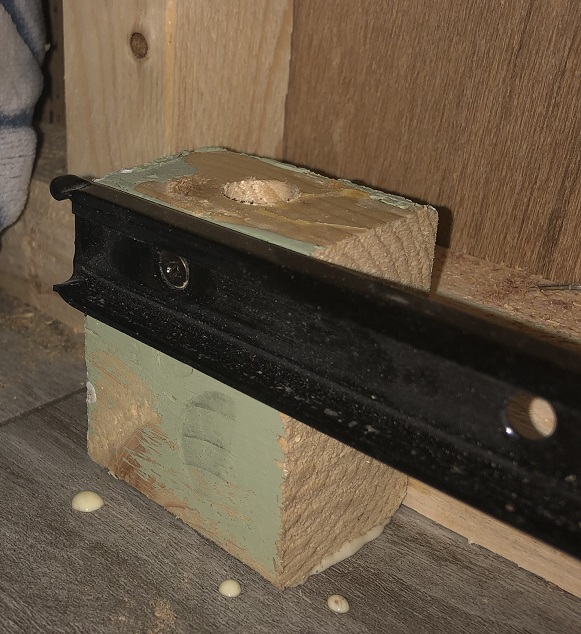
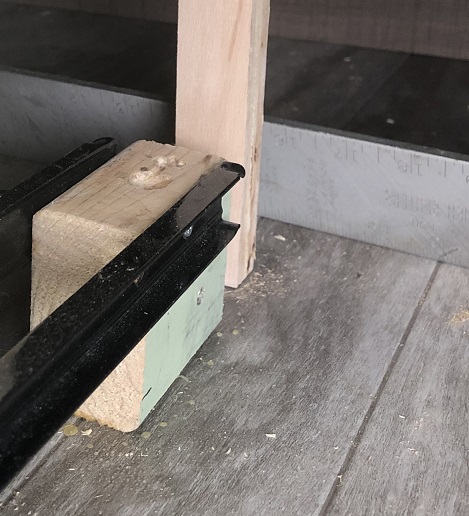
Attach the left rail to the other mounting block at the same height. Attach the front of the left rail in place against the left framing. Use a square to be sure the left rail is true and perpendicular to the front and secure the block in place.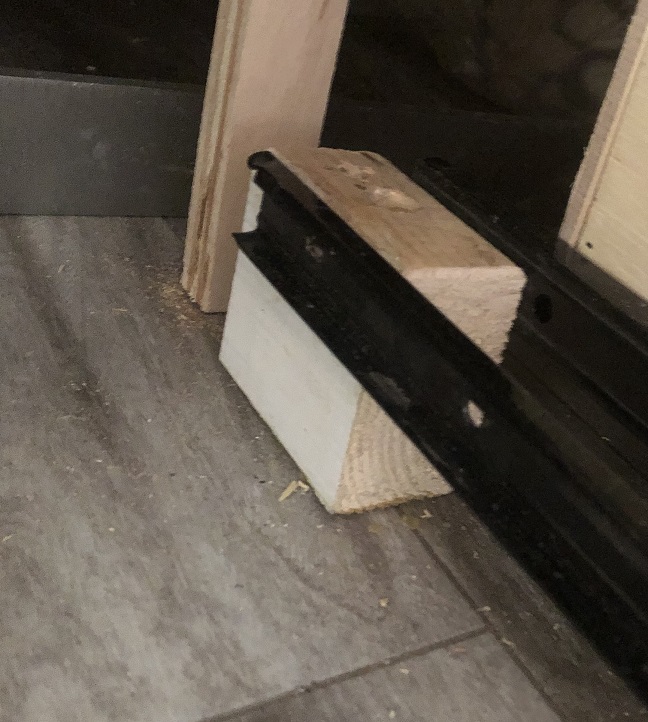
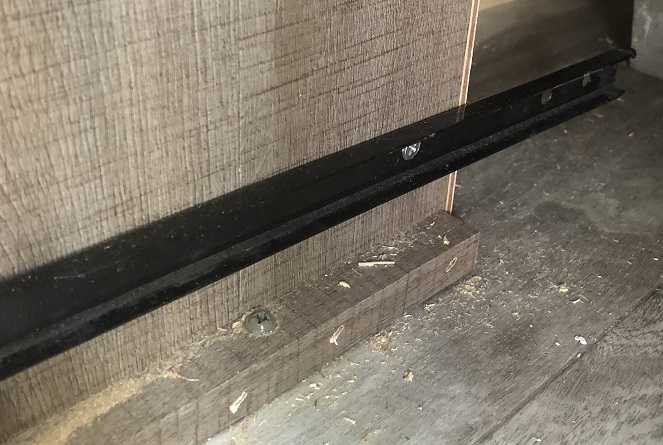
Attach the rails for the left drawer next. Attach the right rail to the front framing and the block you installed for the left of the right drawer. Attach the left rail to the front framing and near the back of the box for the heater vent (cut a wooden spacer if needed to keep the rail squared). You may need to drill an extra mounting hole in the rail for this as I did. If so, drill the hole for the mounting screw then use a much larger drill bit to carefully create the tapered hole in order for the screw to go in flush.
You will use the pieces you cut out for the drawer fronts. If there is not enough clearance around the edges, trim the edges about 1/8″ or as needed. Slide the draw into place then hold the cut out panel against the front. Reach through the top and around the back to push the drawer out while holding the face firmly in place against the front of the framing without the face shifting position. Being careful to not move the location of the face, pencil lines onto the back of the face to mark the location of the framing.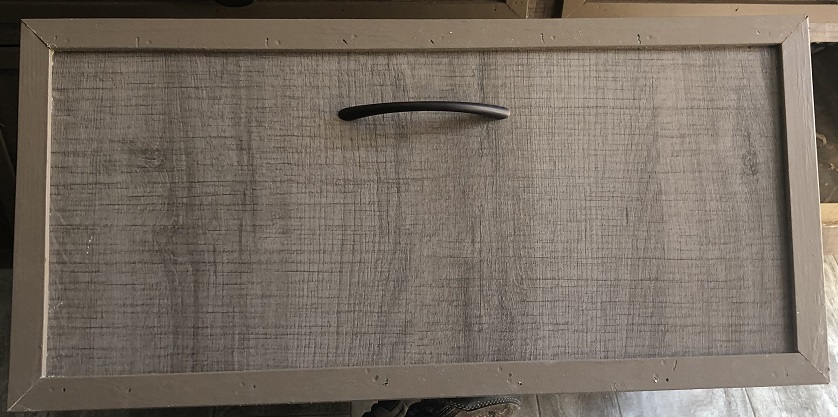
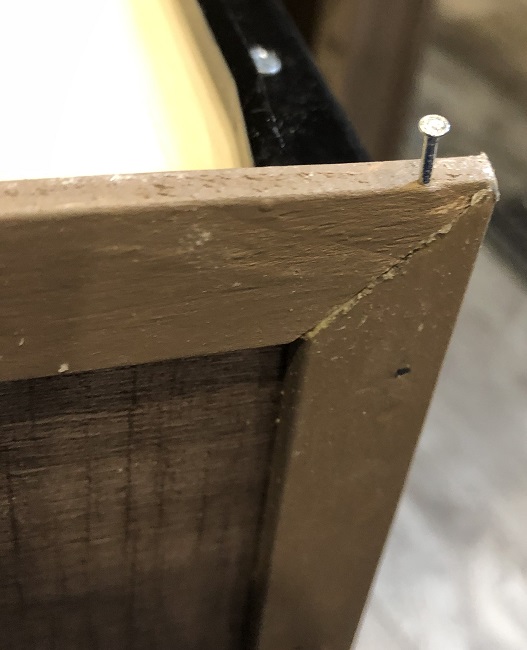
Glue and nail it to the framing.
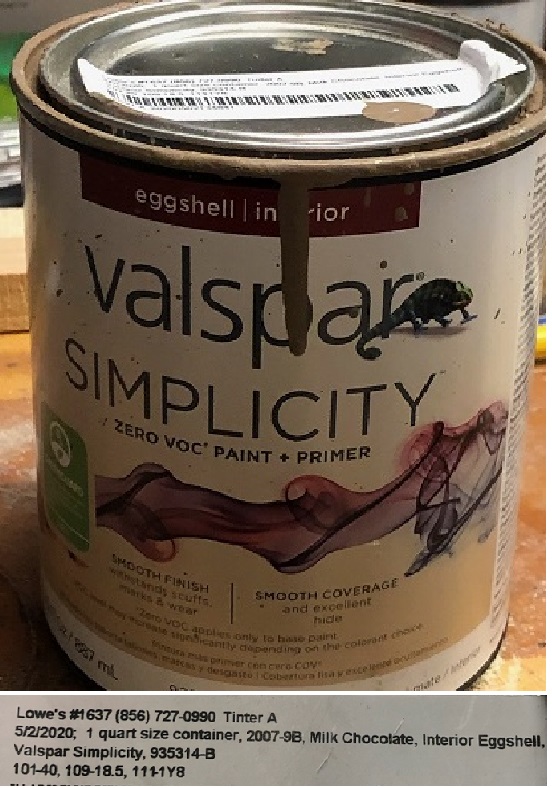
Add trim to the edges of the door to cover the cuts around it. I simply cut thin slices off ¾” stock and painted it for my trim. Be sure to use small brads on the edges to firmly secure them together.
Attach the pull handle to the front. You will most likely need wood blocks on the inside to provide enough thickness for the long bolts (plus this distributes the stress on the drawer. Locate the center of the door (side-to-side) and use a piece of masking tape to mark the spot.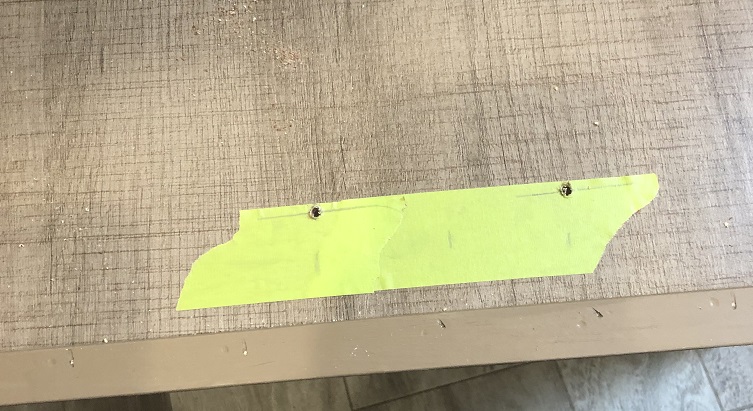
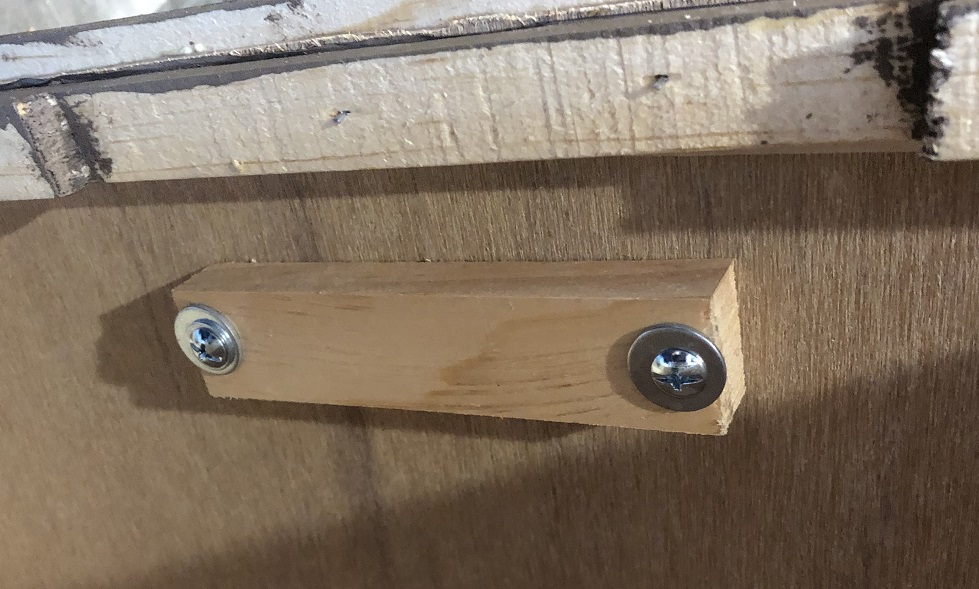
Drill the hole(s) for the handle and mount it. The drawer assembly is now complete.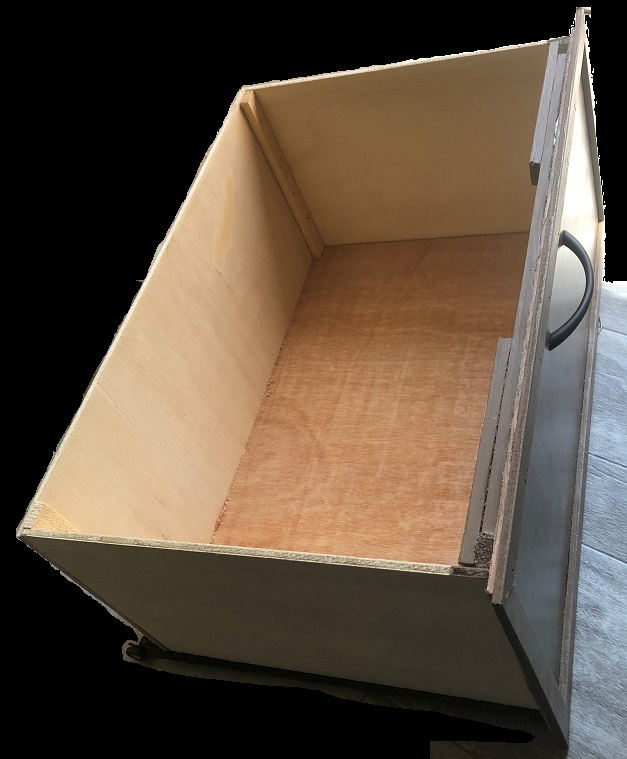
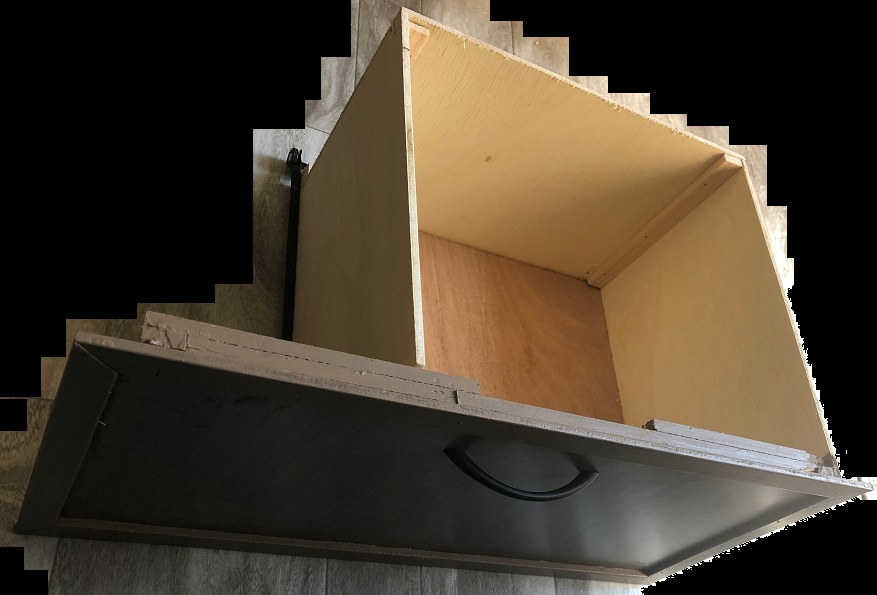
I closed the box around the heater vent with a scrap piece of stock the help better insulate it. 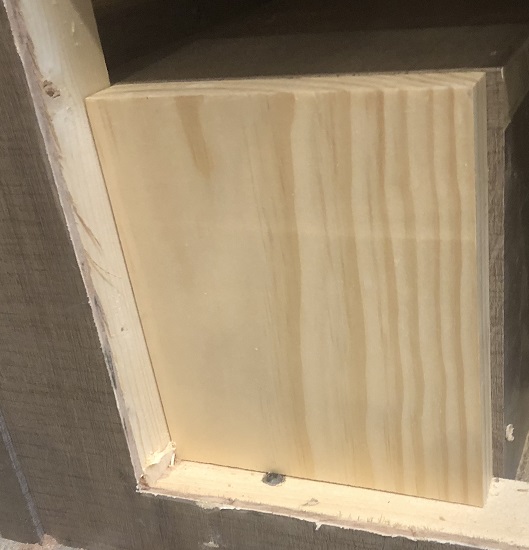
Insert the drawers. If one binds from being too tight, you can adjust for this. Remove it, remove one rail, remove a very small thickness where it mounts to the drawer (about 1/32″) then reinstall the rail and try it again. A router works best but you can sand it or even use a chisel (with extreme agility and care). If it hangs on a screw head, make sure the screw is the proper one and has a flat head that recesses into the rail. As a last resort, file/grind the head flatter. If the drawer drops off the rail because they are space too far apart. add washers between the outer rails and the mounting positions.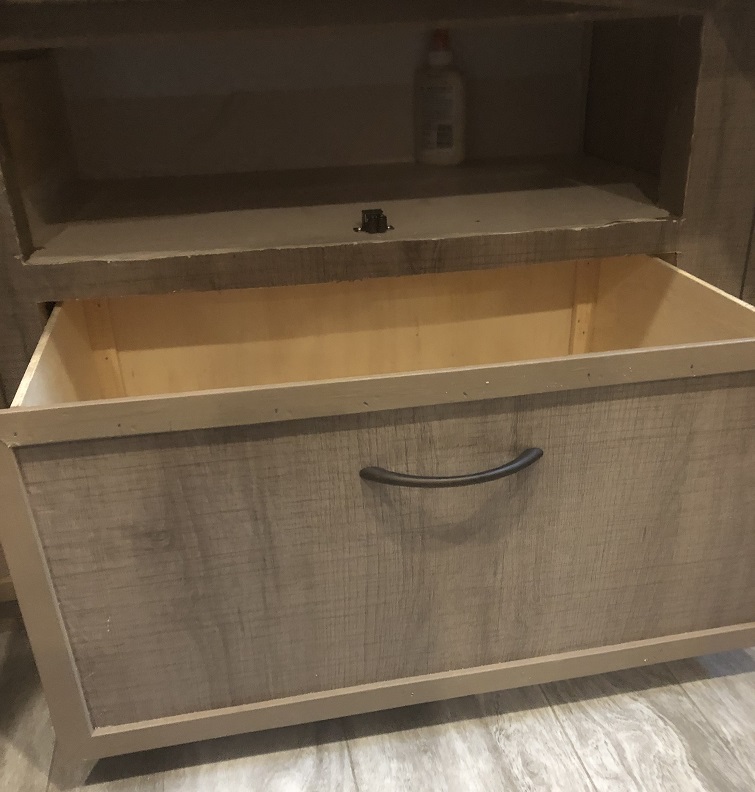
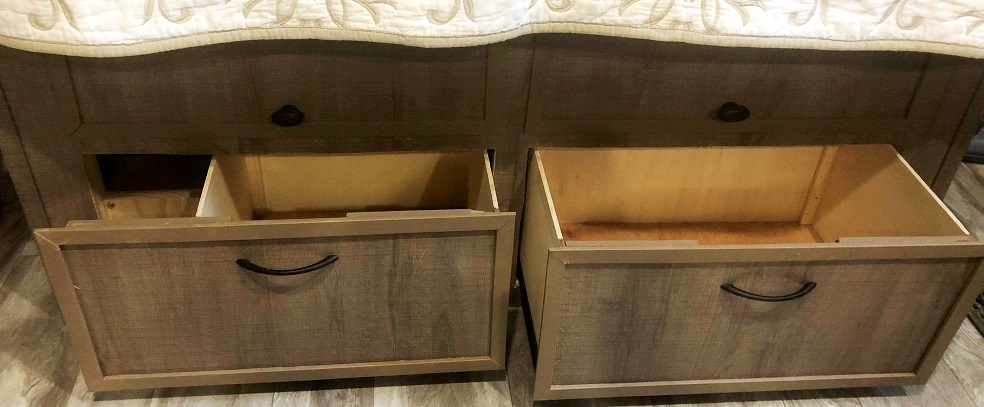
Touch up any paint as needed and you are done. Enjoy the extra organization to this storage area.
Trim paint : Valspar Milk chocolate.