Hack #3 Shoe Storage.
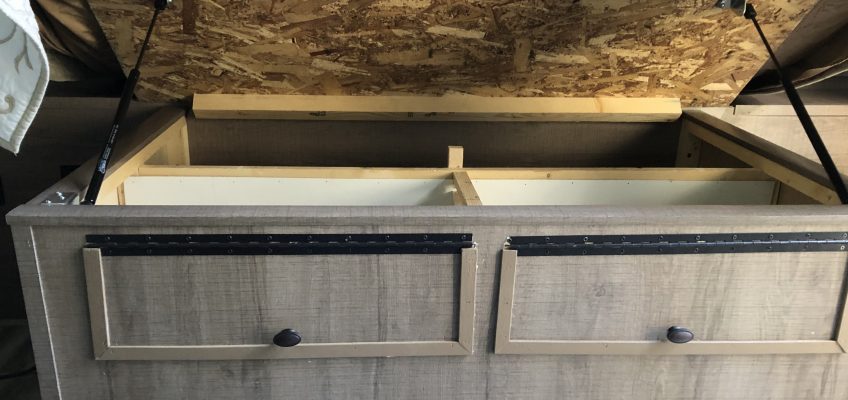
I am converting the under bed storage area into more accessible storage units.
The first was for shoes. We decided to use the top third of the front of the under bed box for shoe storage.
* * * * * * * * * Important Notes * * * * * * * * *
If you plan to add drawers below here, do that first. It will be much easier if the shoe storage area is not in the way.
Check the actual dimensions of you box and between the framing. It may not be the same as my unit, not symmetrical or not square. You may need to adjust your dimensions to compensate.
* * * * * * * * * * * * * * * * * * * * * * * * * * * * * * * * * * * * * * * *
This needs a little bracing. The first piece is the cross support. I used ¾ by 1½ stock for this. It needs to be a snug fit and should measure about 44″ long. Position it flush with the front edges of the two framing pieces on the sides of the box. Glue all wood pieces in with a good wood glue like Elmer’s.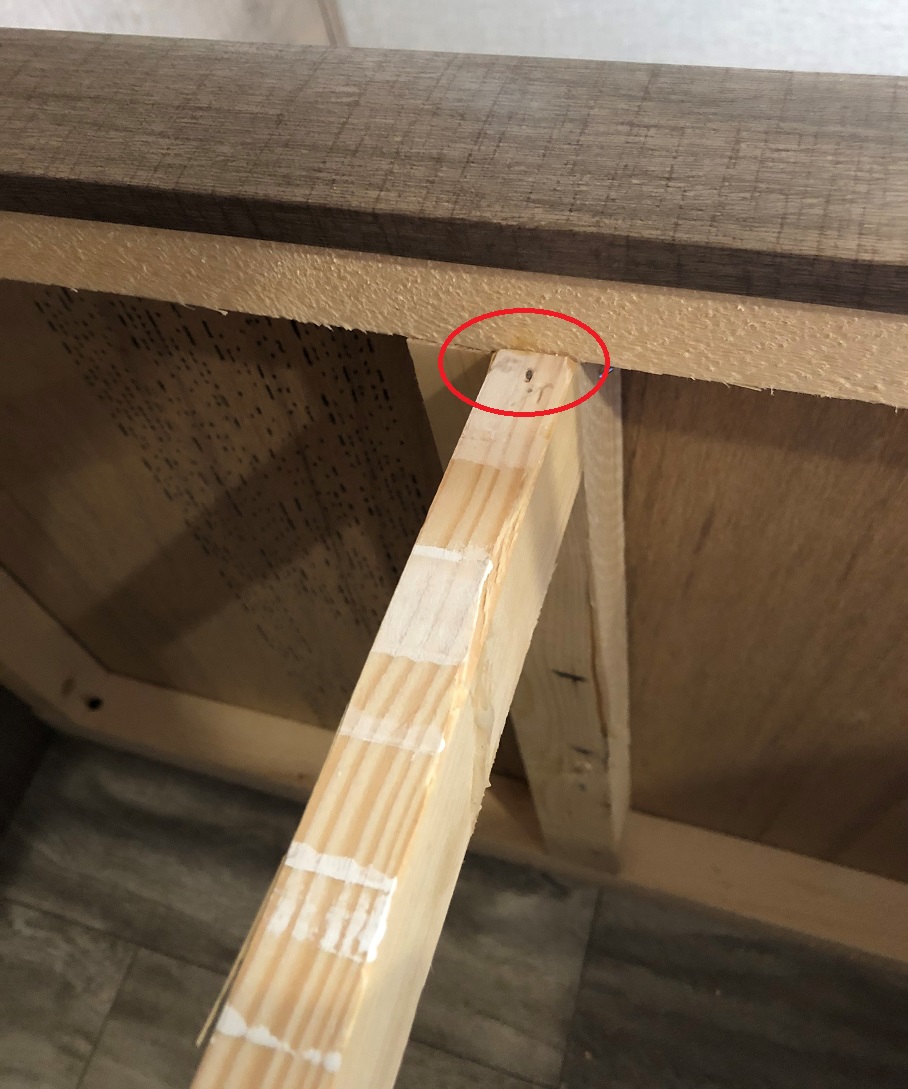
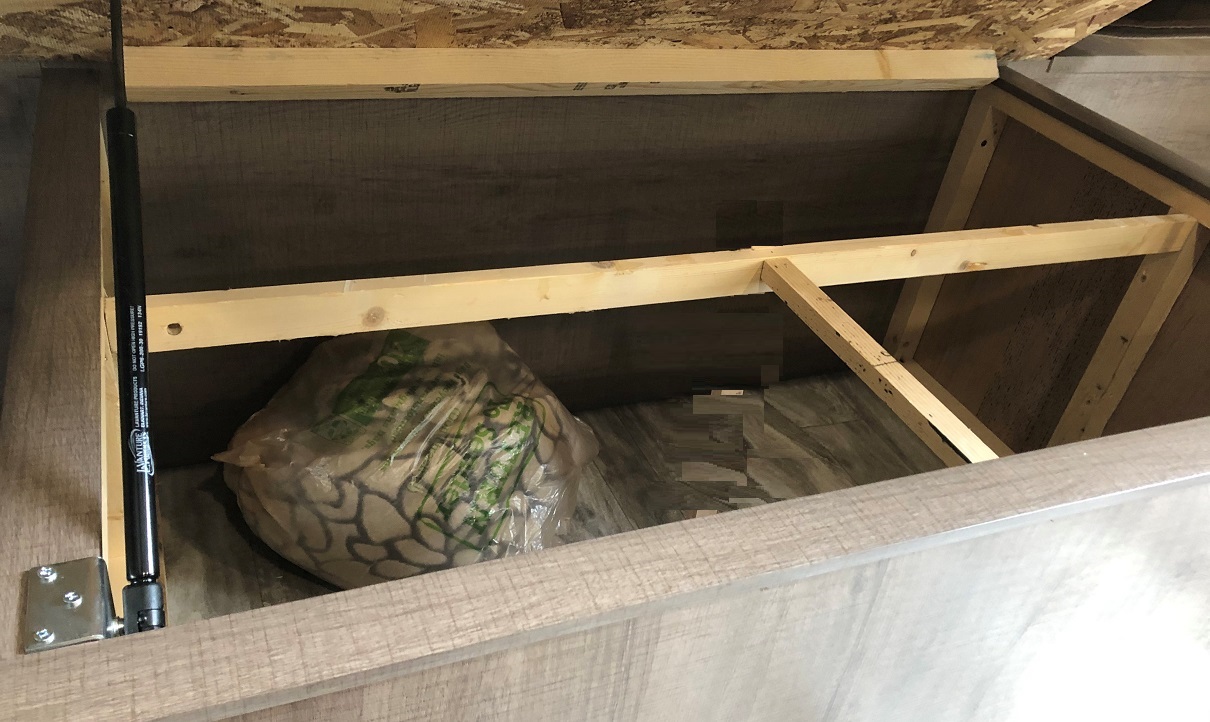
Next add a ¾ by ¾ support from it to the front of the box.
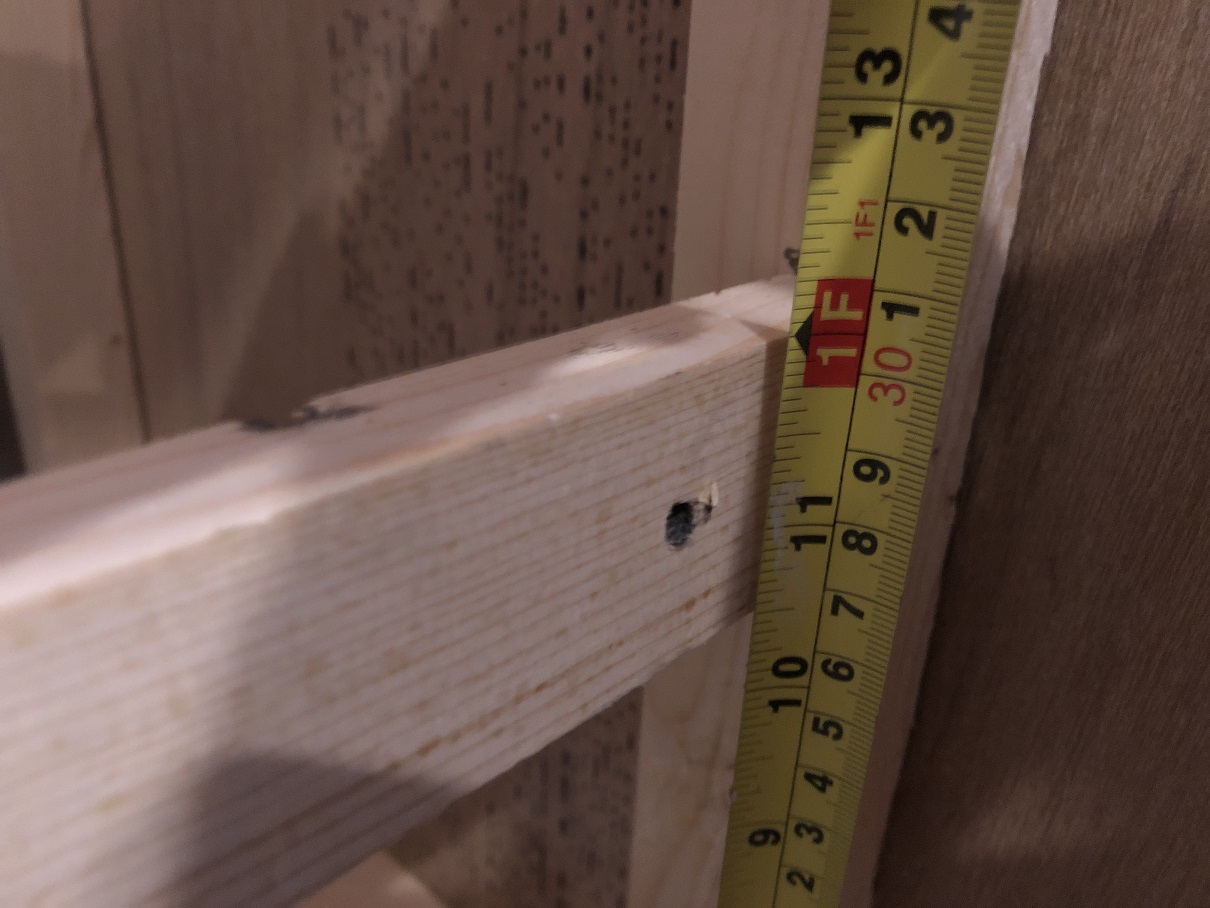
Add another cross support ( for the shelf ), under the first, with the top edge exactly 12″ up from the floor.
Now add a center and 2 side supports (for the shelf) also 12″ from the floor.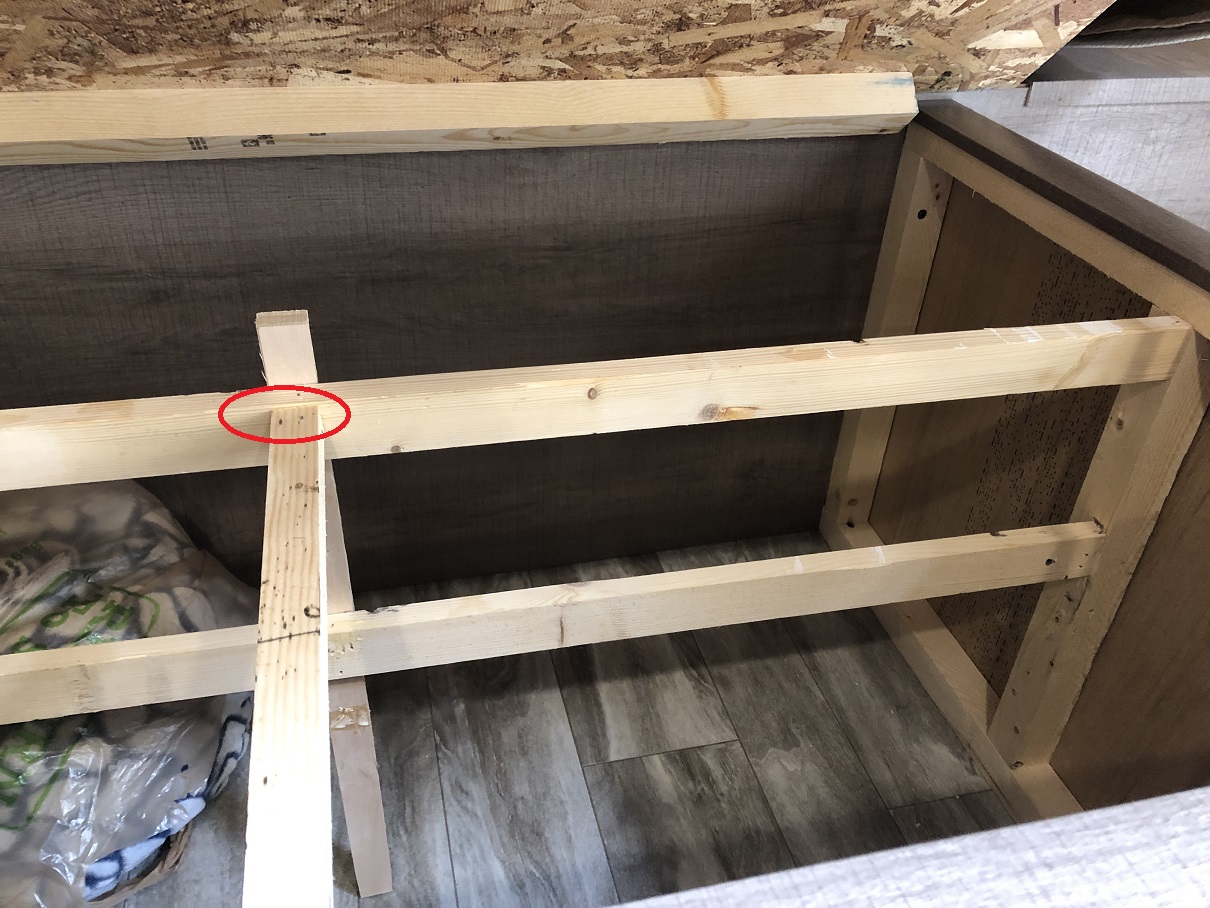
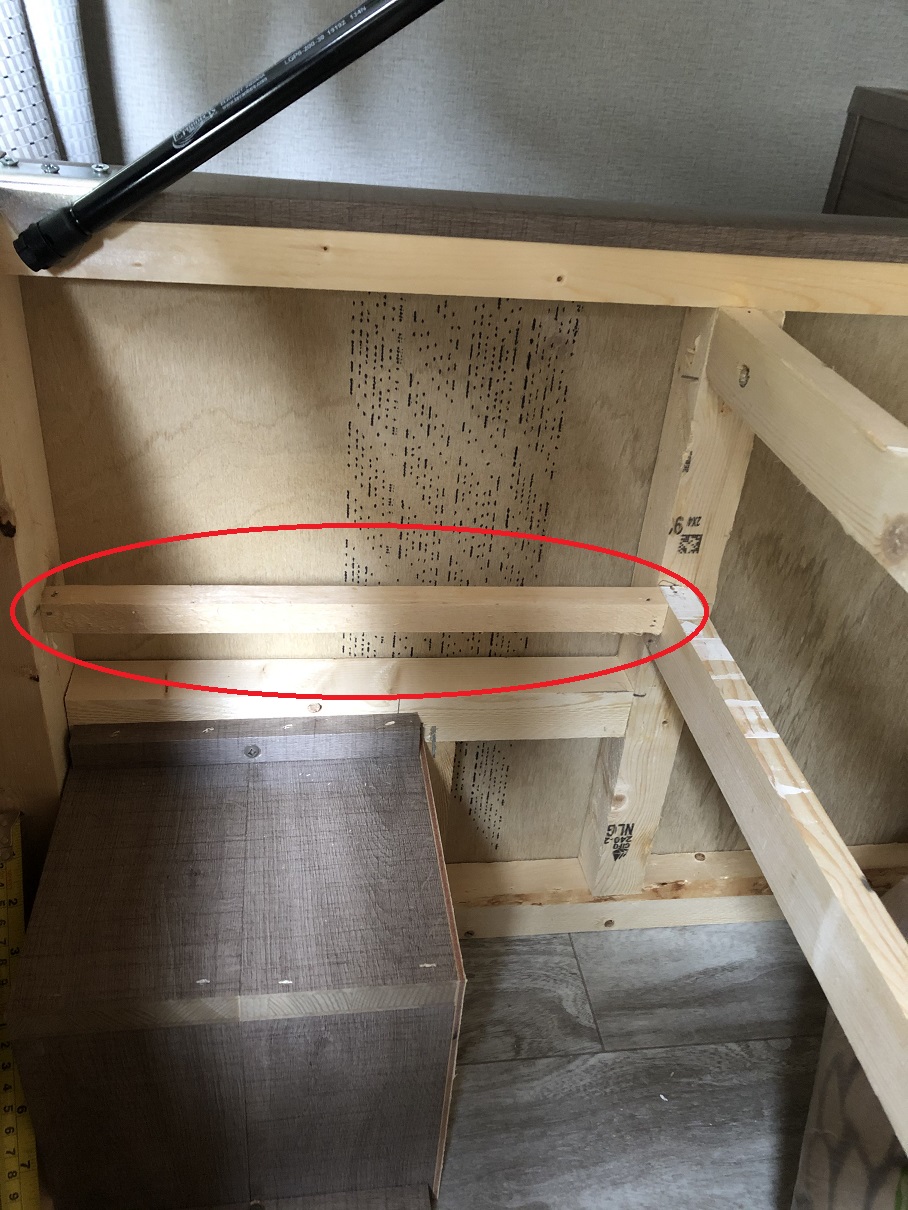
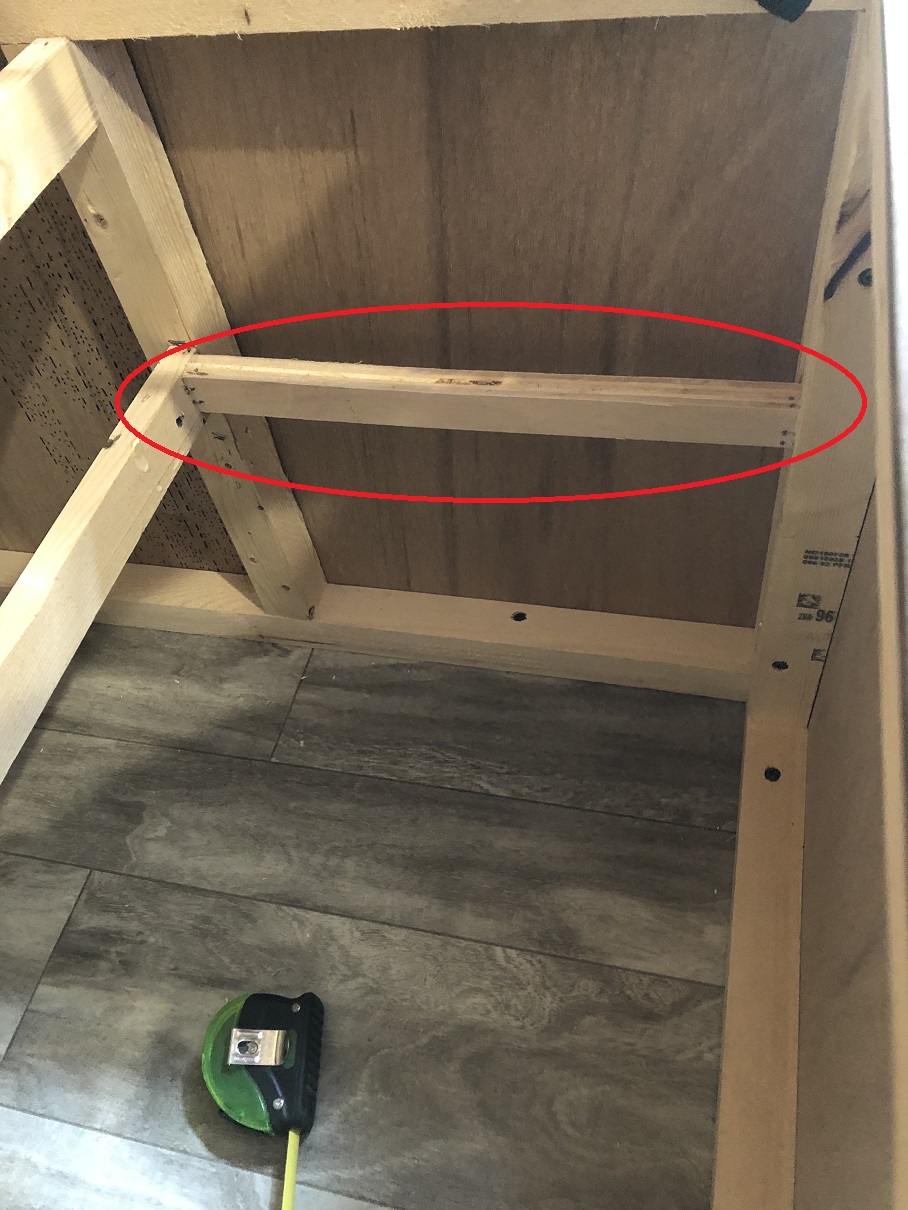
Cut the shelf from a lighter plywood (I used ¼”). Measure and notch for all the vertical supports. Glue this into place and secure it with brads. This is where an air brad nailer is worth it’s weight in gold. Be sure to butt the front edge up snug against the wall where the doors will go.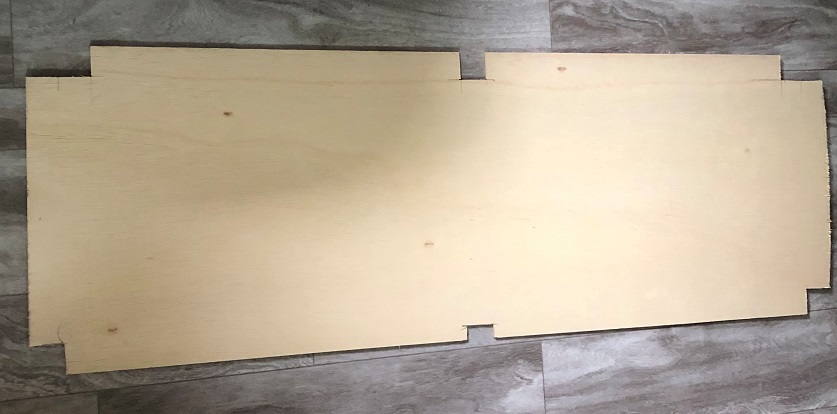
Now add a final vertical support to the back of the 2 cross supports. I actually made this tall enough to touch the drop down lid when shut to provide extra support under the bed. 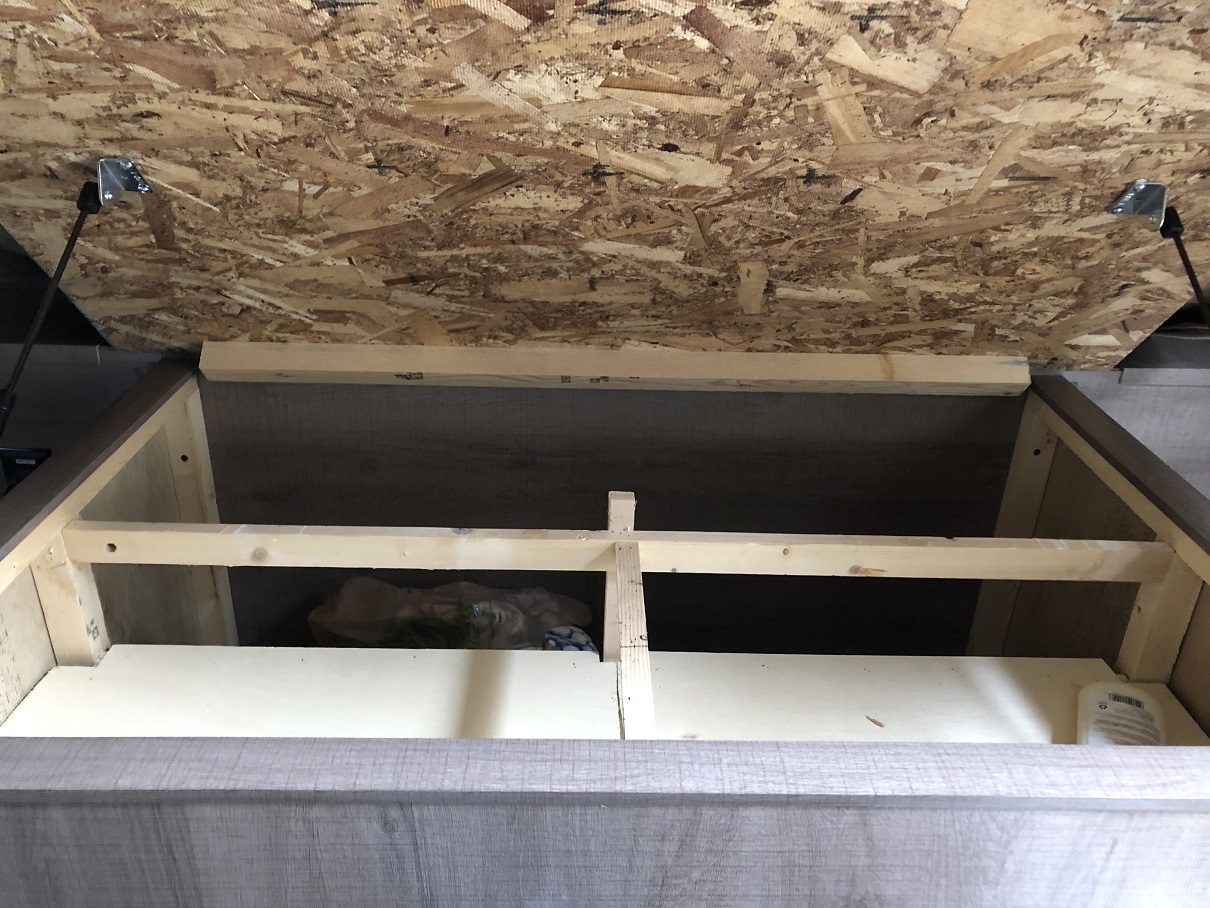
Add a scrap of ¾ stock in front of this support. This provides support for the back wall. You can run it all the way across if you like.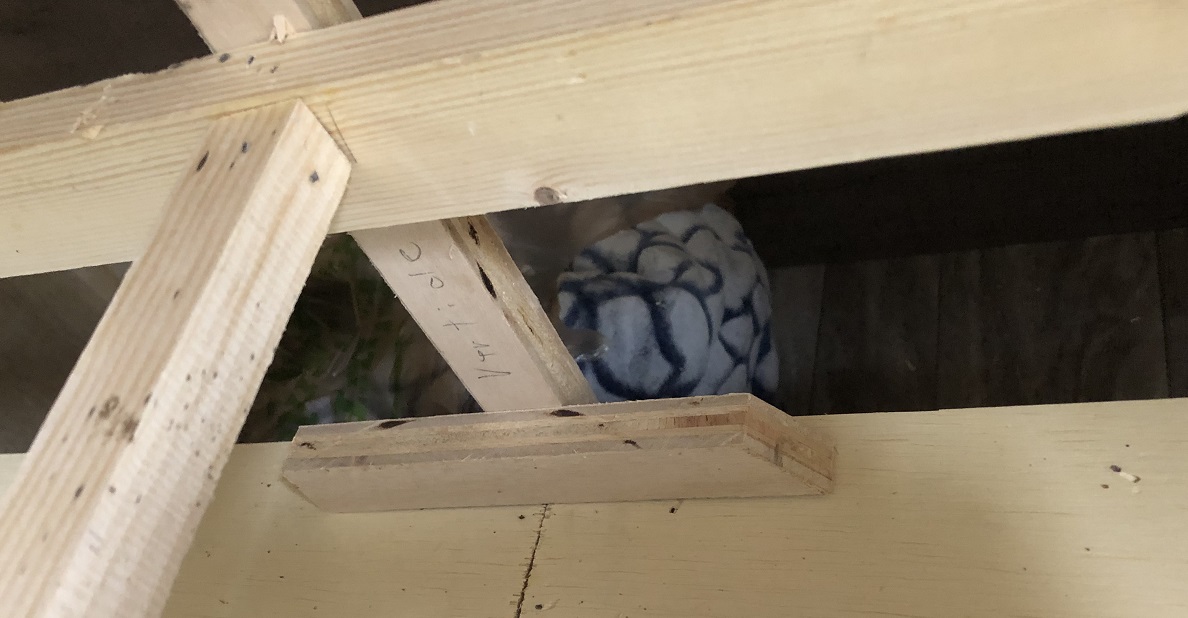
Cut the back wall from the same plywood you used for the bottom. Be sure to measure and notch it for all framing. 
Glue this into place and secure it with brads. Be sure to butt the bottom edge up snug against shelf under it.
Now you will be cutting the openings. I used my Bosch Oscillating saw for this. You need to create a hole exactly at the inner edge of the box. I did this by laying the saw blade flat on the shelf, or framing, and slowly sawing a short cut on each side of the hole. 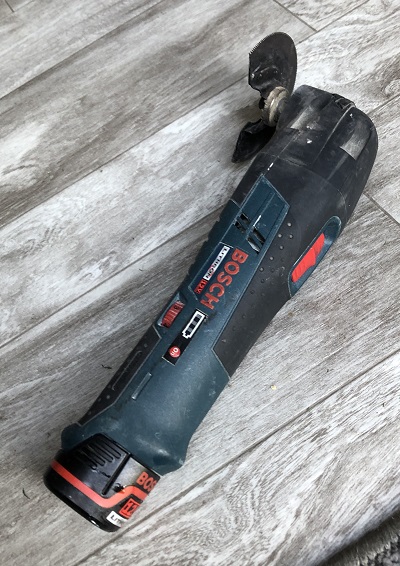

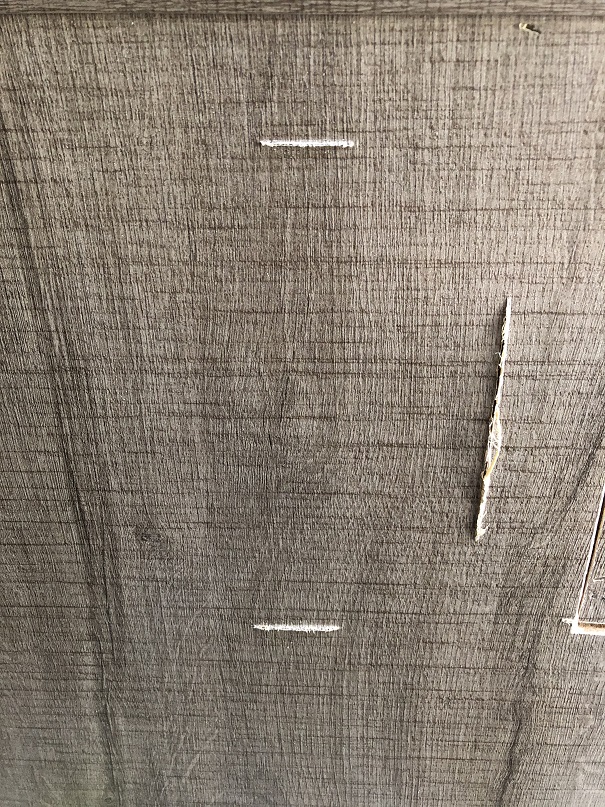
You could also drill a very small hole from the inside out to locate the edges. Once you have these cuts, stretch masking tape along the cuts as a guide line for cutting. Be very careful when pulling the tape back off as it may try to lift the top layer off the paneling.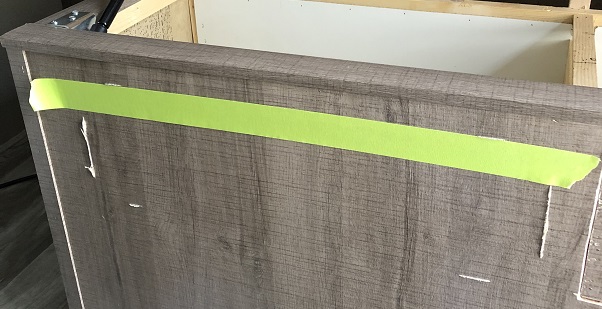
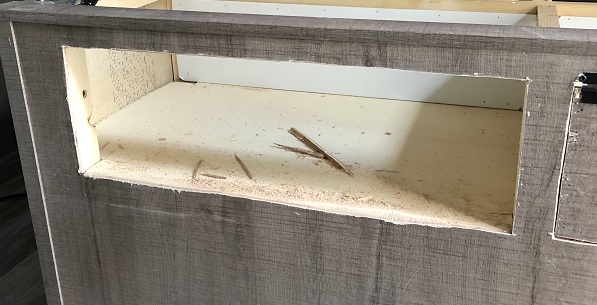
If you are cutting with a saber saw, you can place masking tape on the bottom to prevent scuffing the paneling.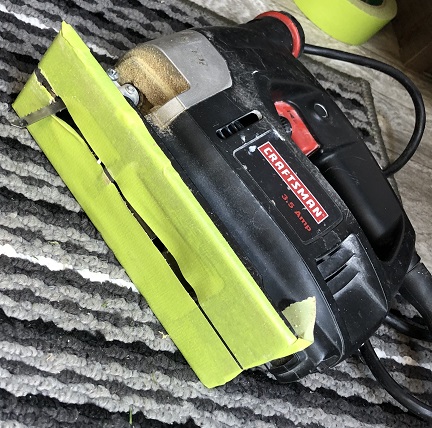
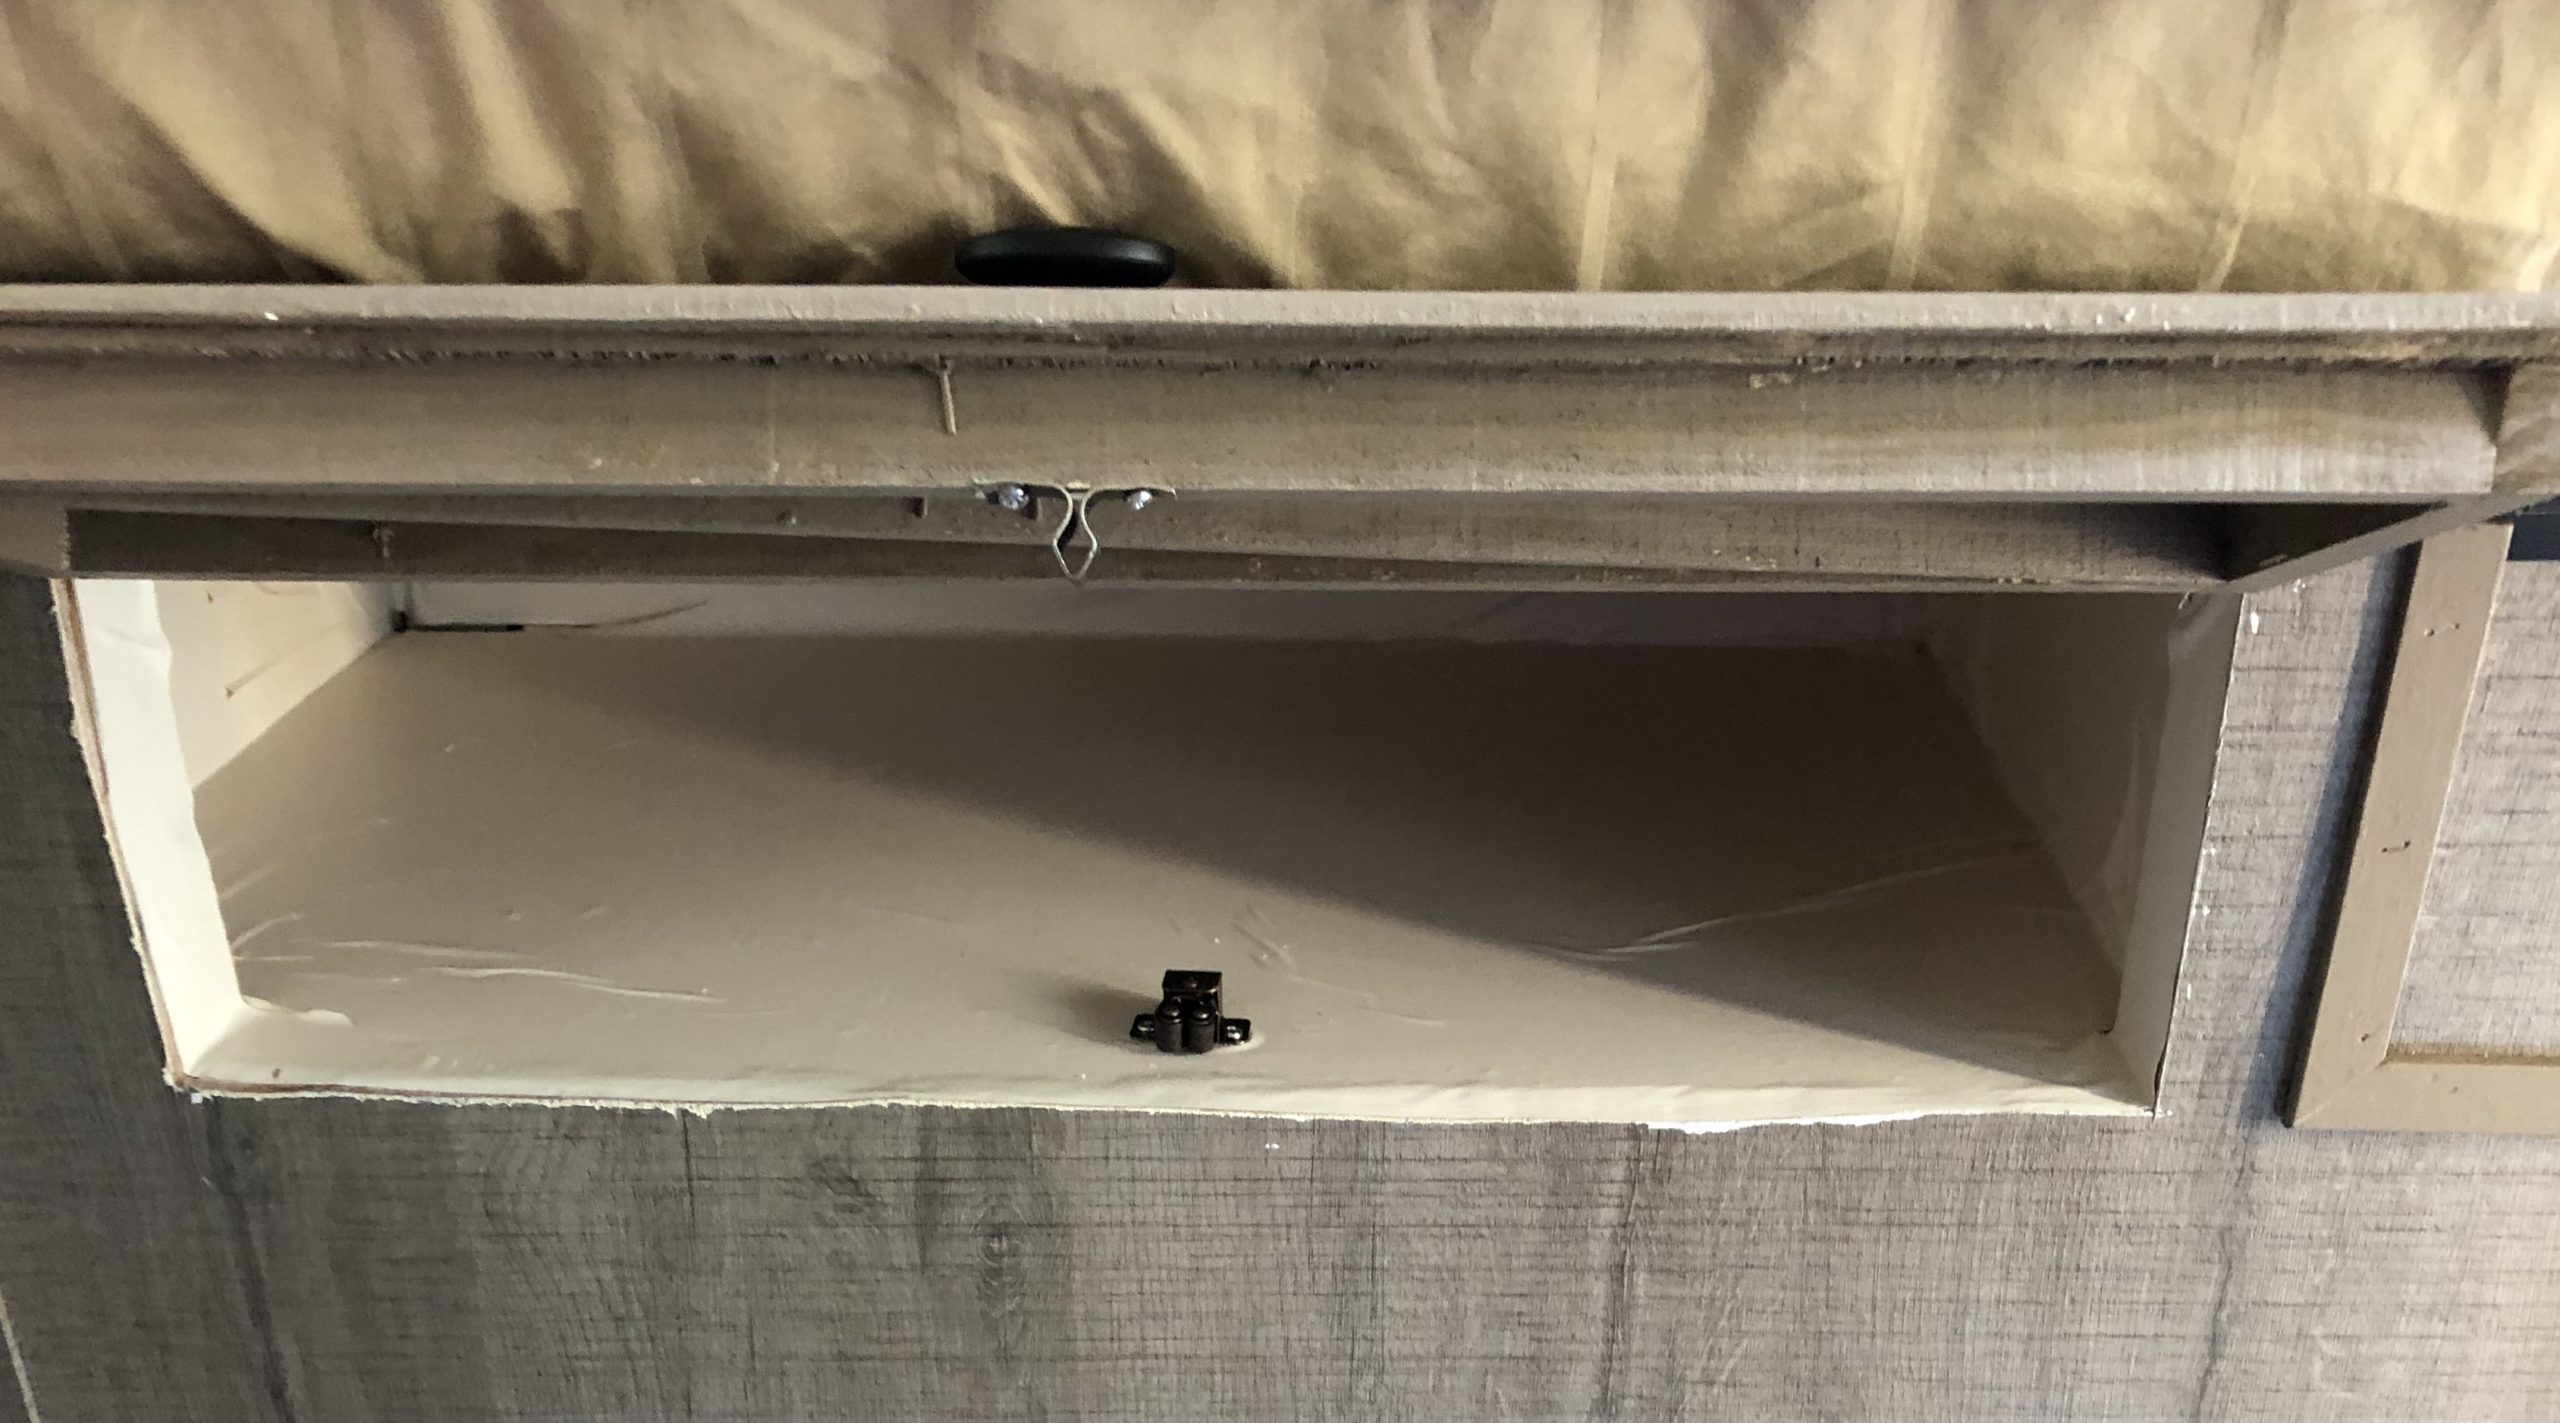
You will use the piece you cut out for the door. Frame the back of it with ¾” by ½” stock leaving a small (about 1/16″) lip for clearance and movement. Also be sure to bevel the bottom to allow room for it to swing open.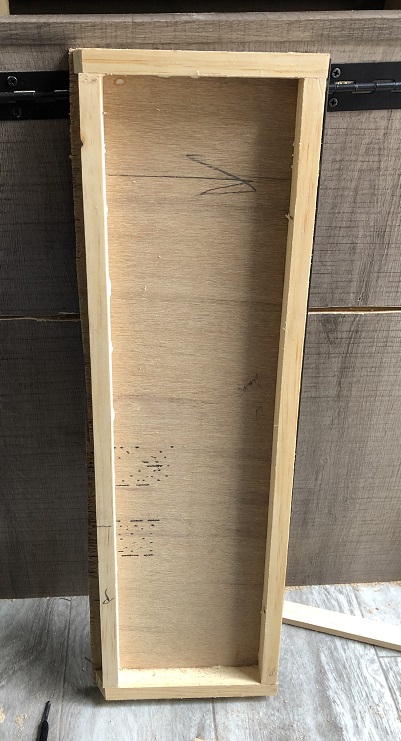

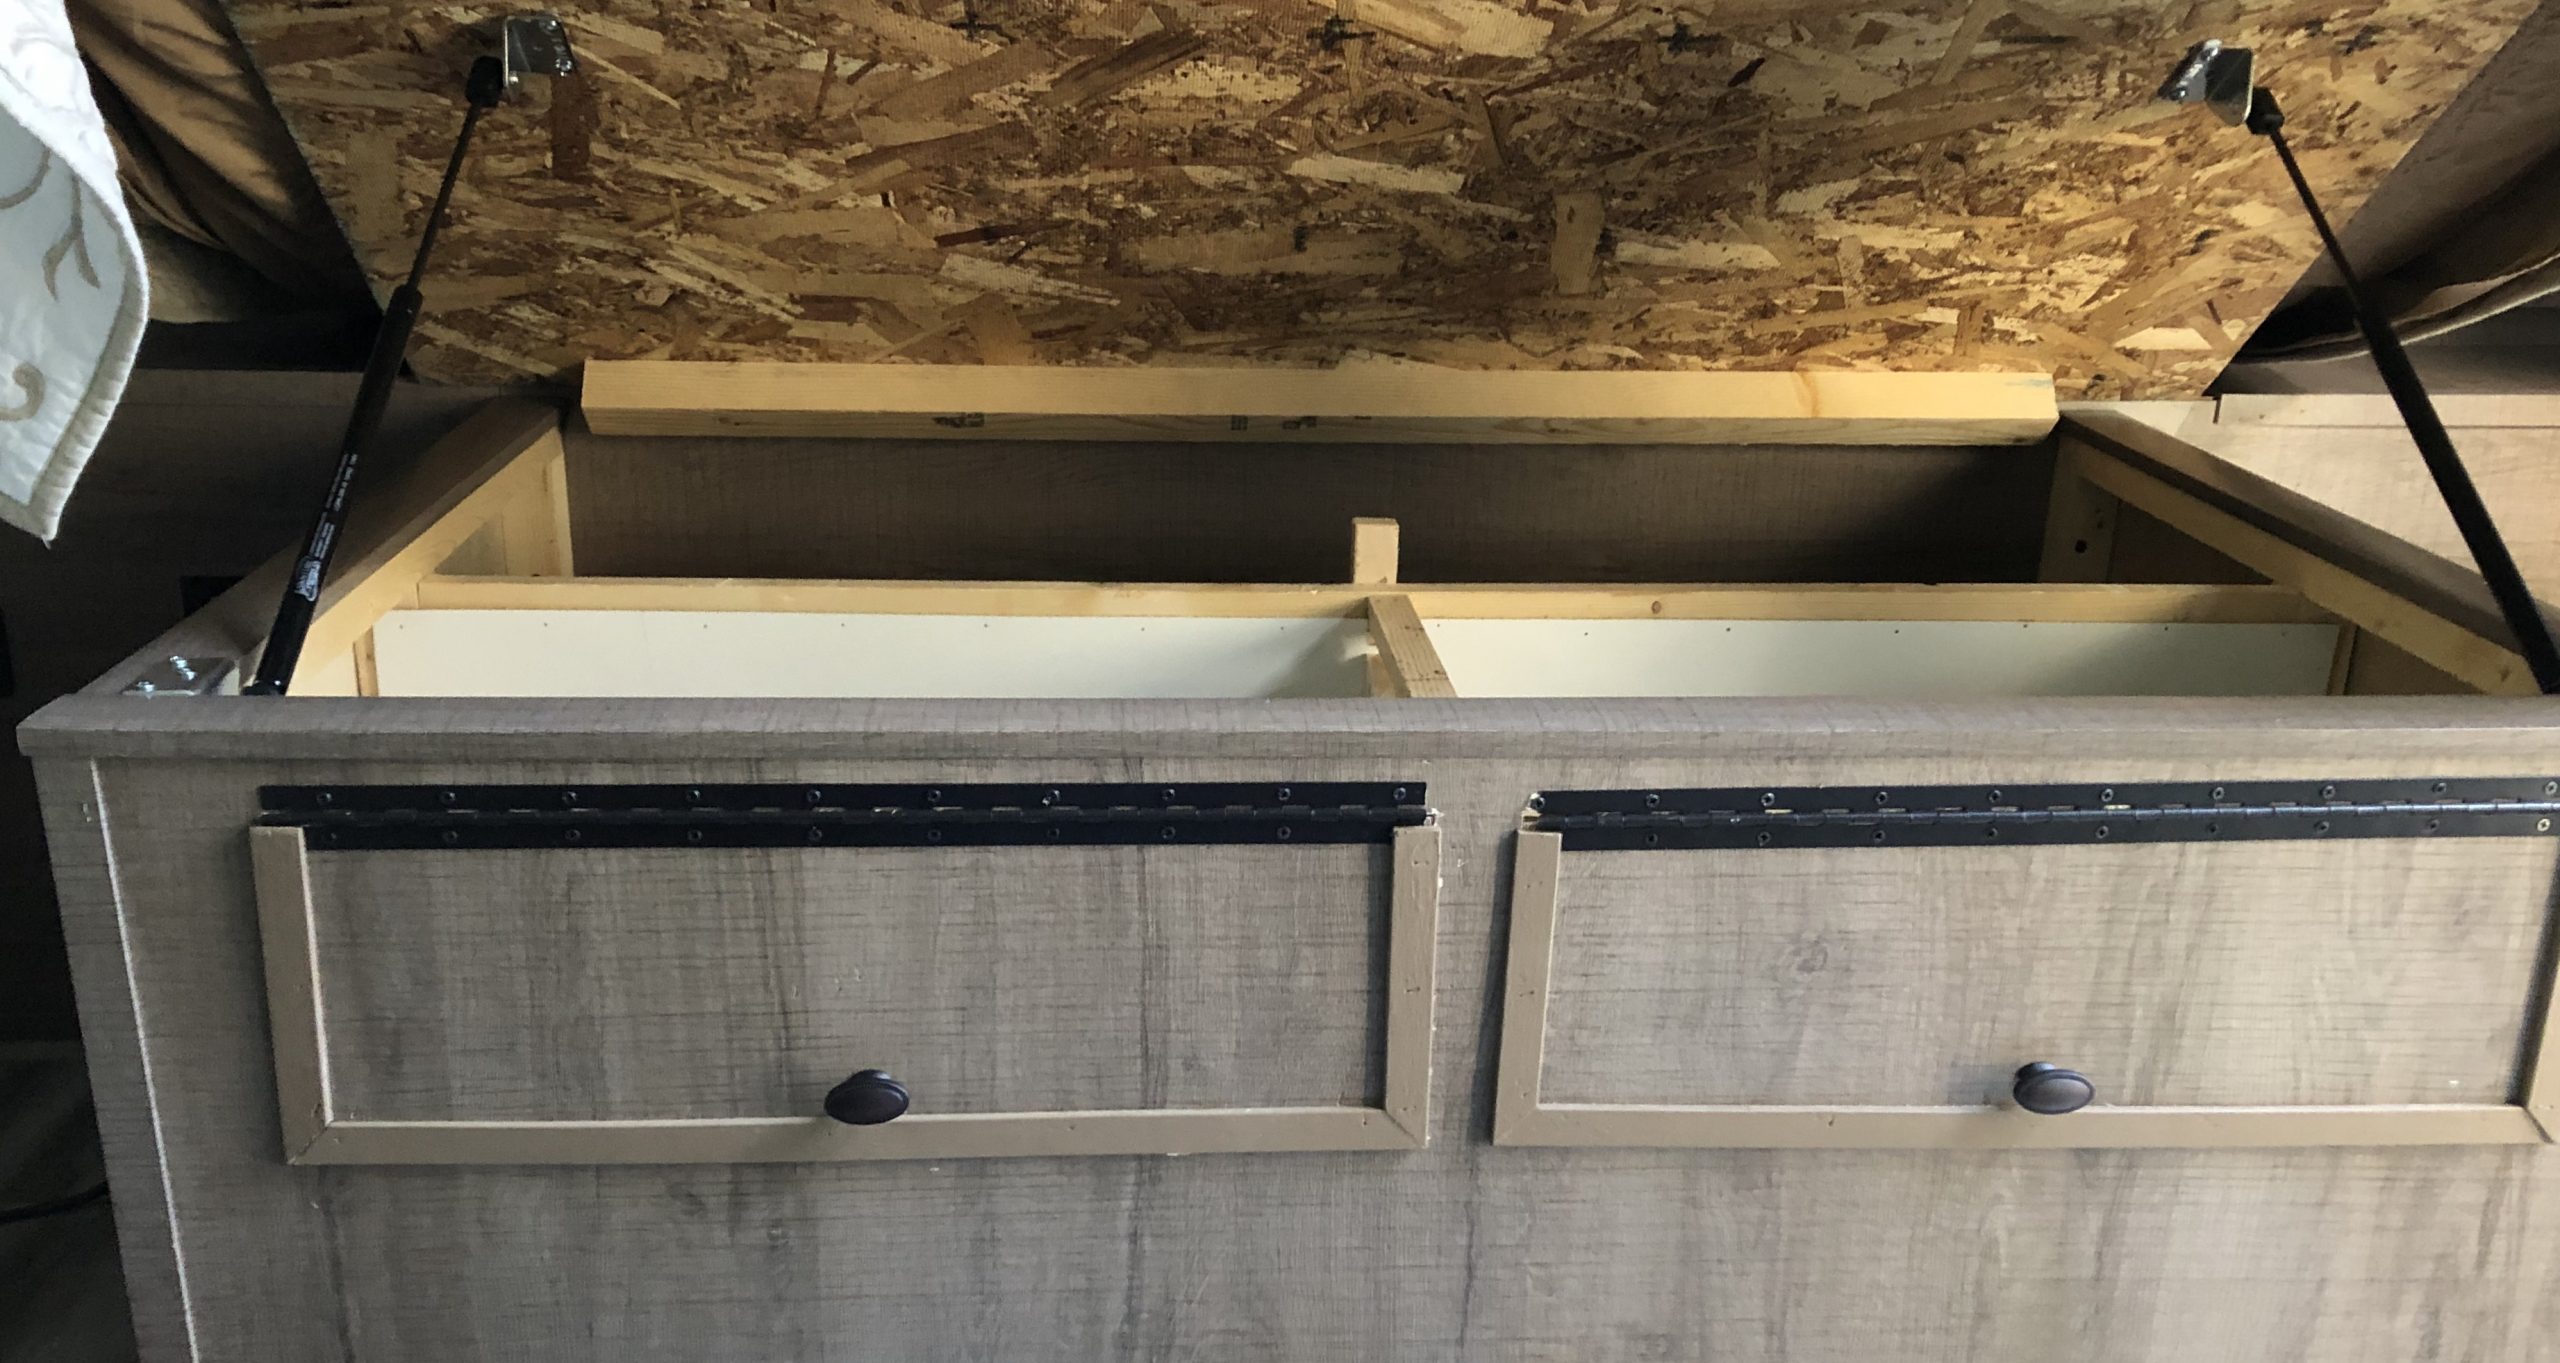
Secure the door back in place with a piano hinge then add a catch to keep it closed. I added a diagonal frame piece to minimize bowing.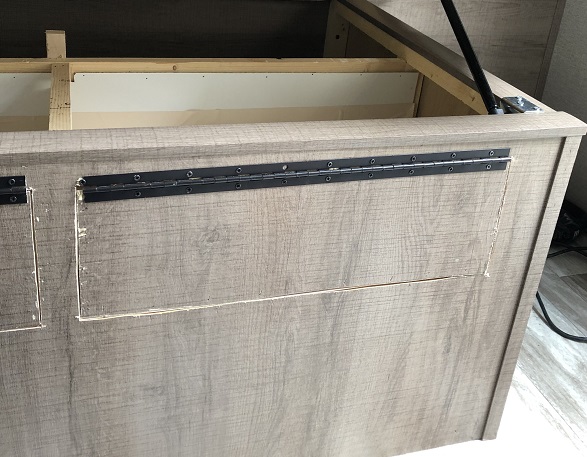

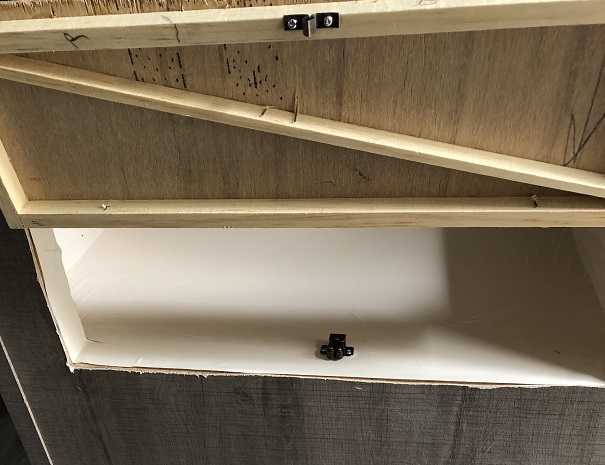
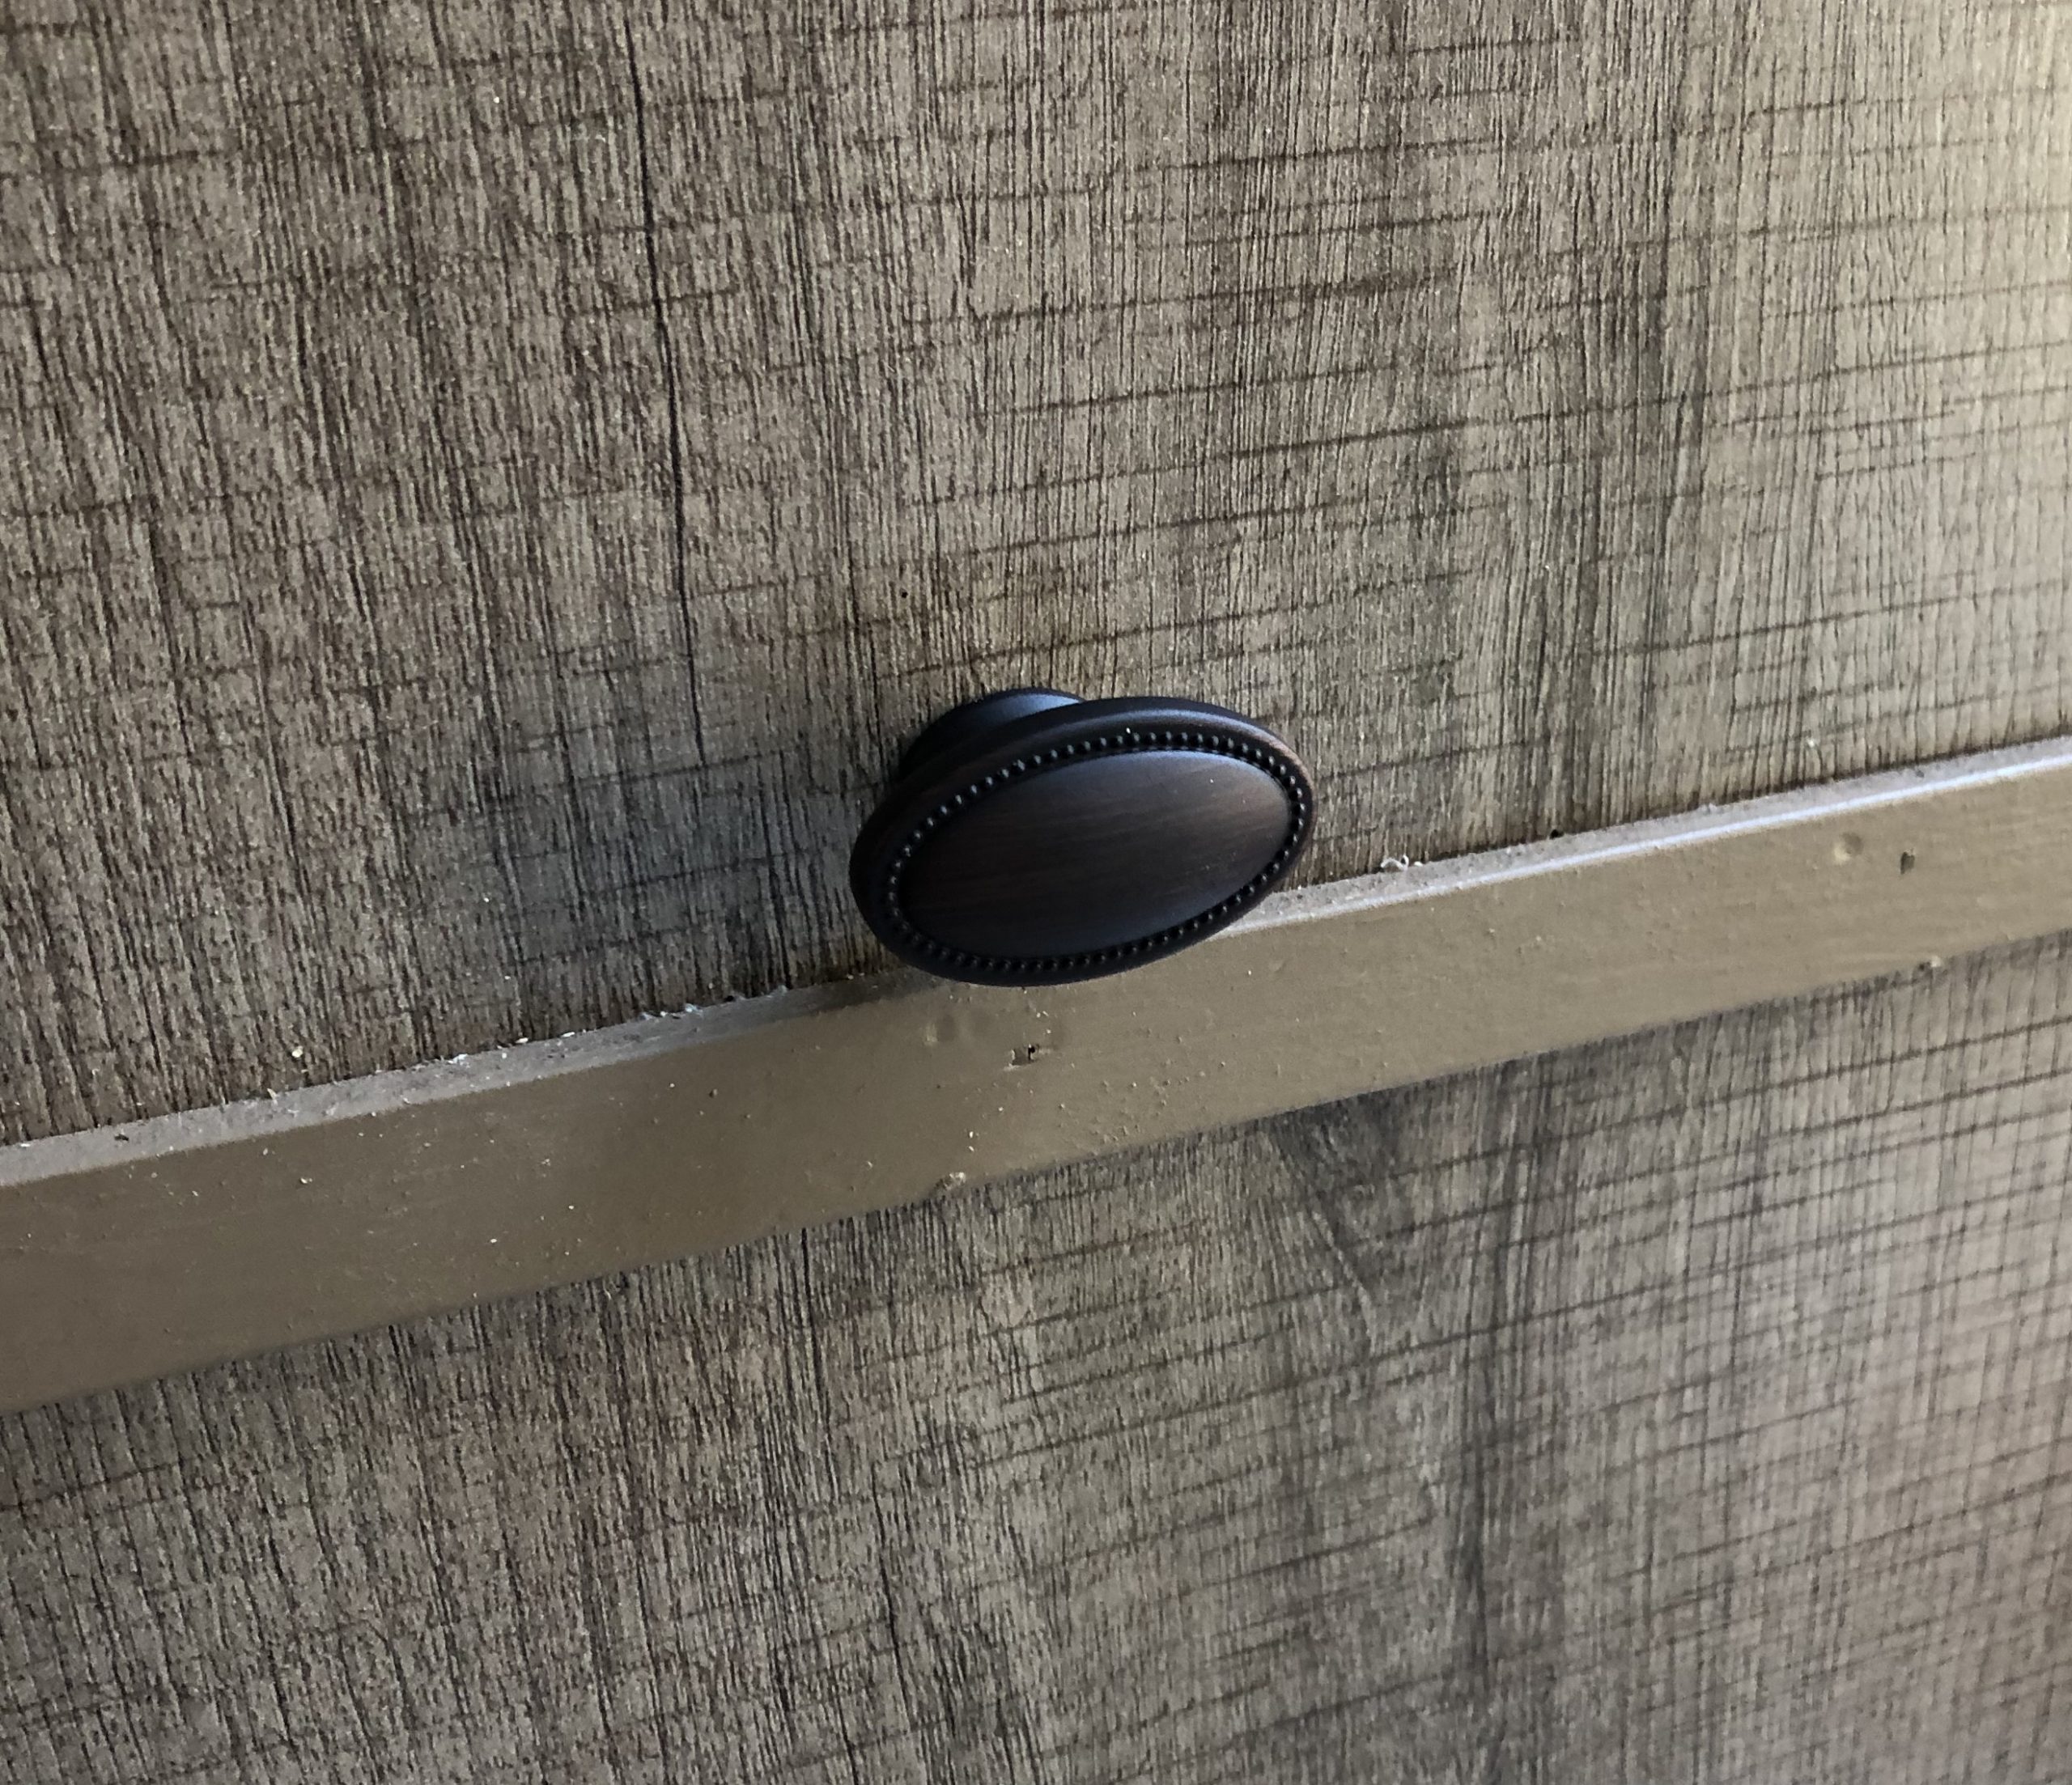
Add trim to the 3 edges of the door to cover the cuts around it. I simply cut thin slices off ¾” stock and painted it for my trim. Locate the center of the door (side-to-side) and use a piece of masking tape to mark the spot. Drill the hole(s) for the handle and mount it.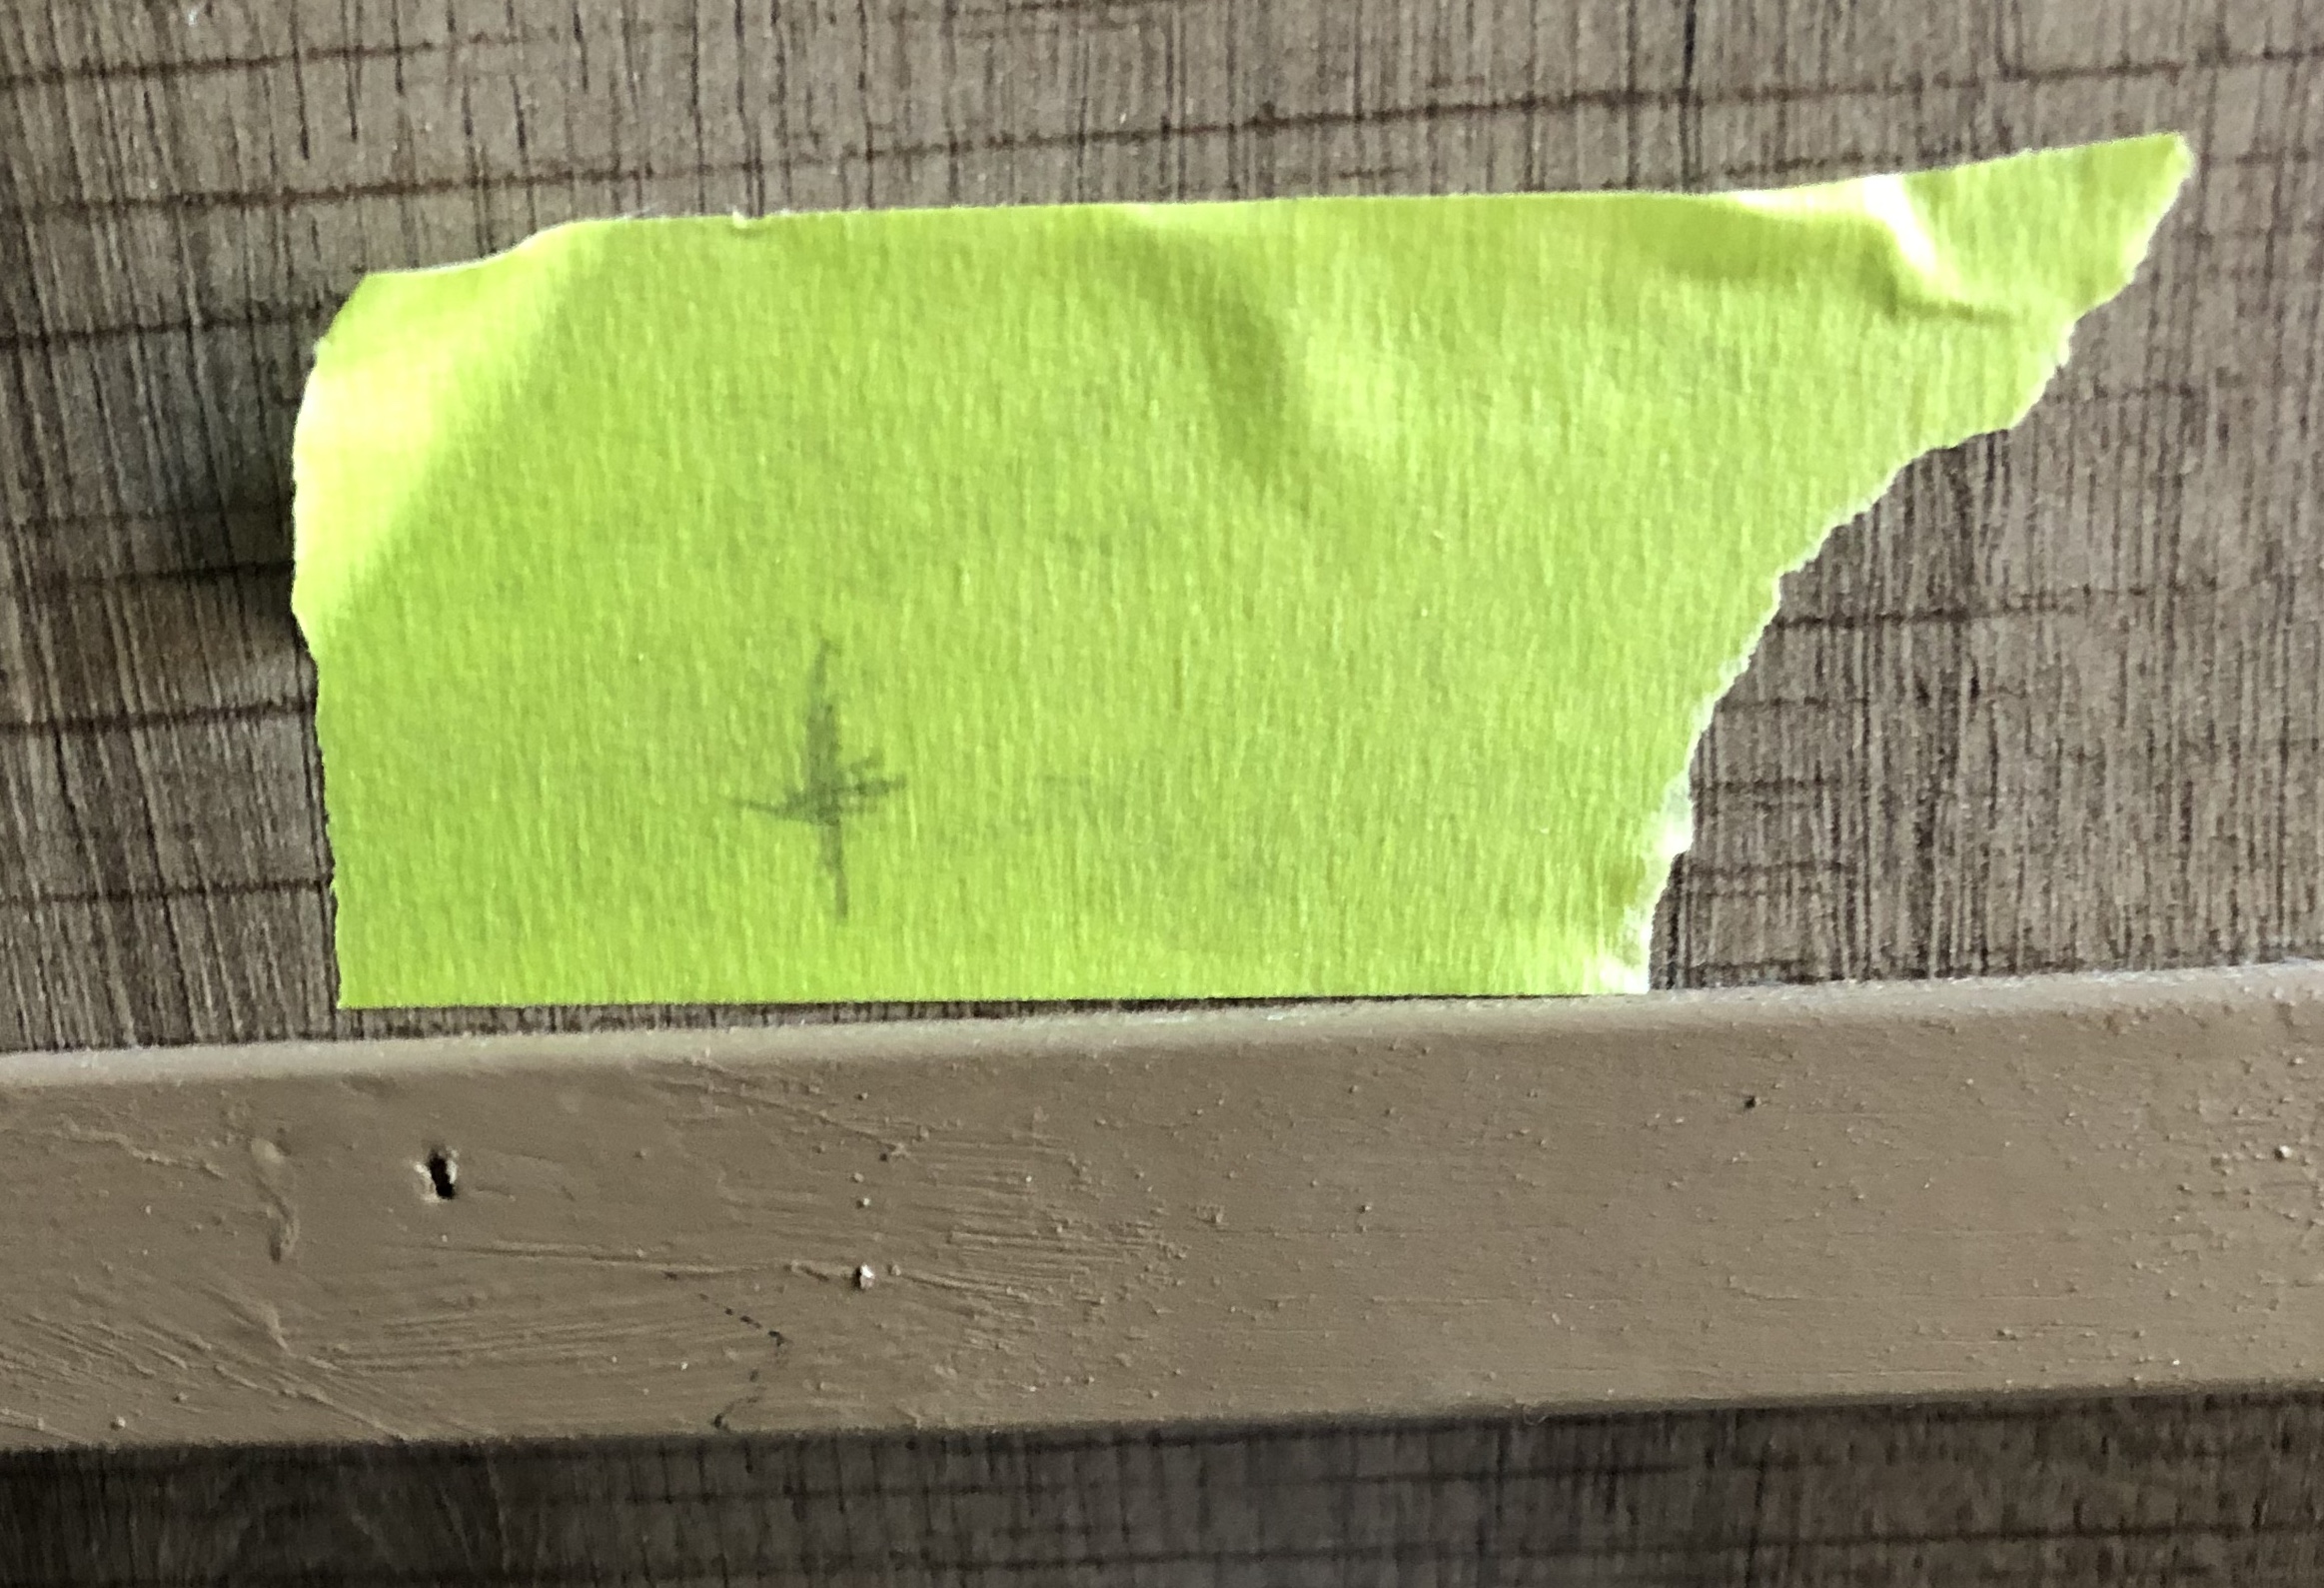

You can paint the inside or lay contact paper. I did contact paper and used Gorilla glue to secure the front lip down tightly.
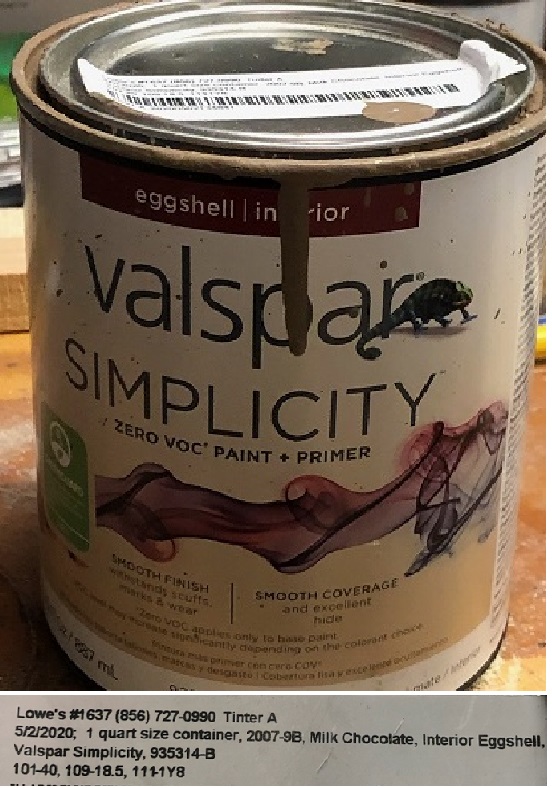
Trim paint : Valspar Milk chocolate
