Hack #36 Bigger Bathroom Sink.
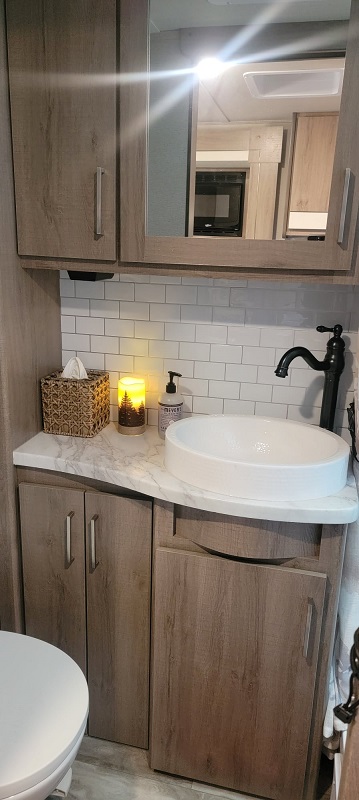
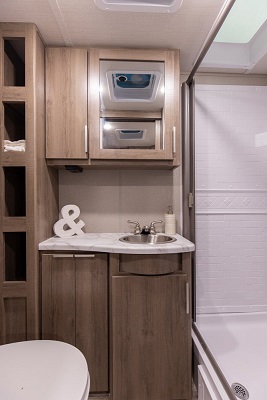
Paul Cervone (a member of the Grand Design Imagine XLS 22mle owners page) completed a nice upgrade of the 22MLE bathroom.
The best part is a bigger, taller sink. Less bending over as far and it holds more than a teacup of water.
New are the backsplash (Art3d Subway Tiles Peel and Stick Backsplash, Stick on Tiles Kitchen Backsplash, Thicker Version), Monarch Abode Classic White 19004 Hand Hammered Skirted Vessel Bathroom Sink (17 inches) and Faucet (MYHB 360° Swivel Oil Rubbed Bronze Bathroom Vessel Sink Faucet with POP UP Drain Single Handle Lever Bowl.
Paul said that he knew going in this was not going to be a simple “plug and play” as someone else has already done this on a different model Imagine, so there was some plumbing and counter patching and drilling.
Hopefully you can follow along with the pictures.
Start by disconnecting the water lines from the OEM faucet, 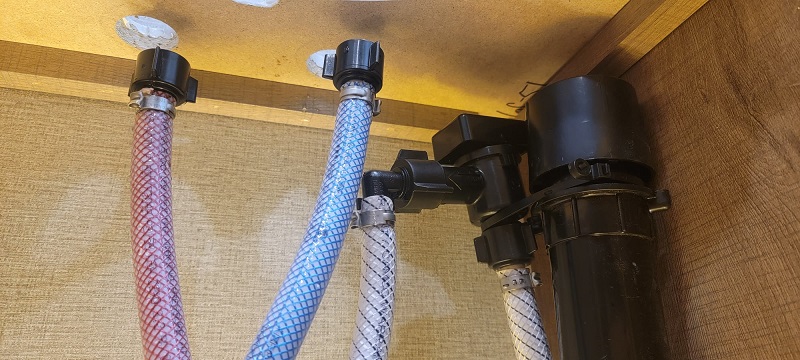
disconnecting the drain lines from the sink then removing both of them.
Next, use some wood doweling to plug the OEM faucet holes using wood glue and twisting them in tight and flush.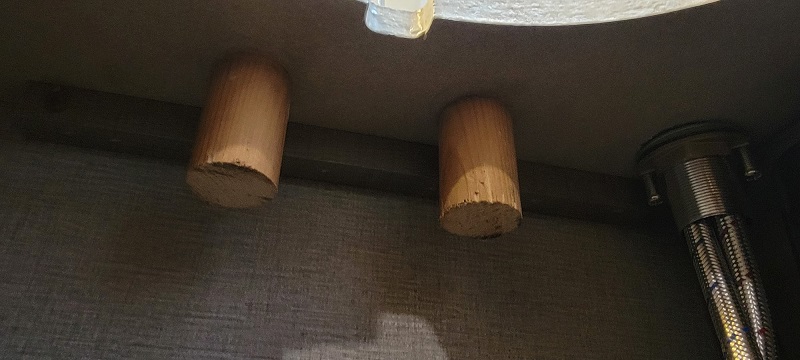
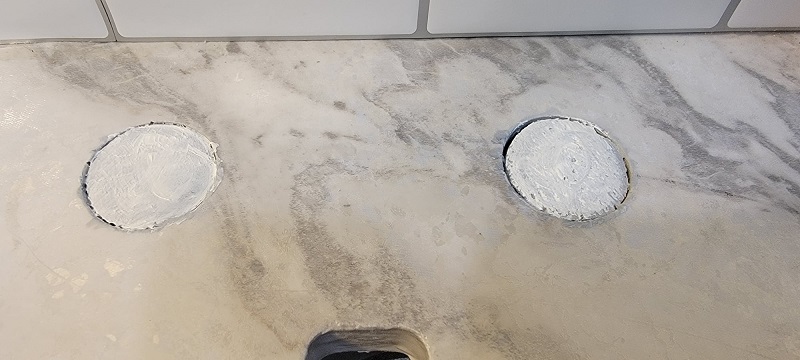
Use a piece of waterproof tape to ensure you wont get leaks.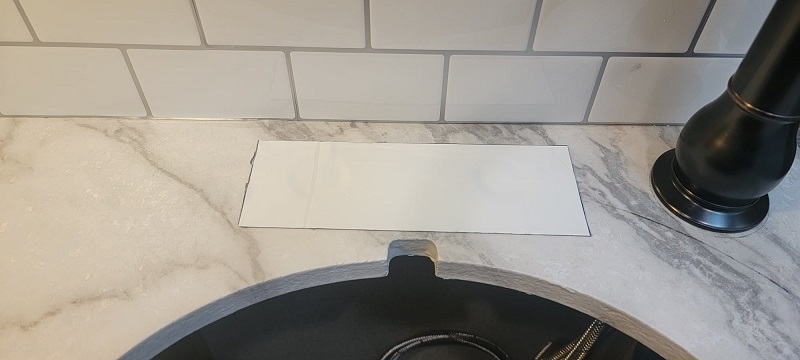
Now, locate where the new faucet will go paying attention to the structure under the counter to make sure of all clearances. Start with a small drill bit to make a pilot hole for the openings then use a hole saw to get a clean hole.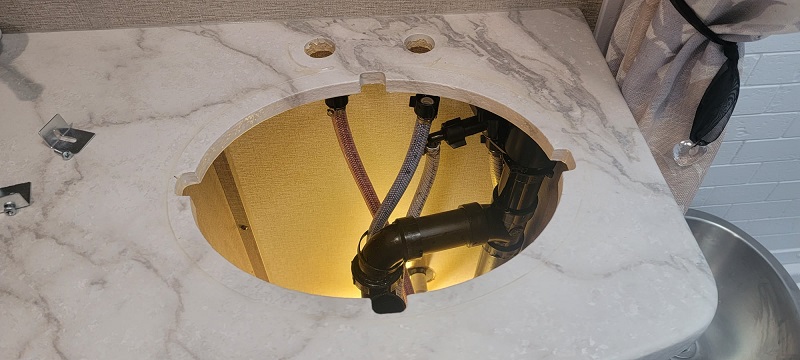
The faucet was a bit of a PIA, so you have to ensure you connect all the water lines before final installation. I cut down the OEM water lines removing a good 12″ or more because the faucet came with very long lines so I knew it would get crowded in the cabinet. I simply reattached the OEM connections using new PEX clamps, and a simple adapter connected to the new lines.
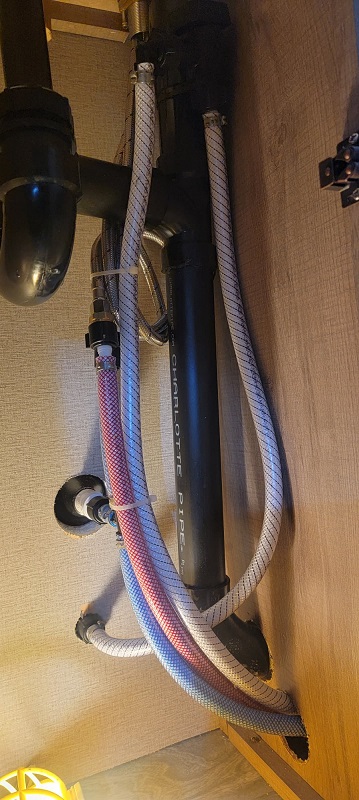
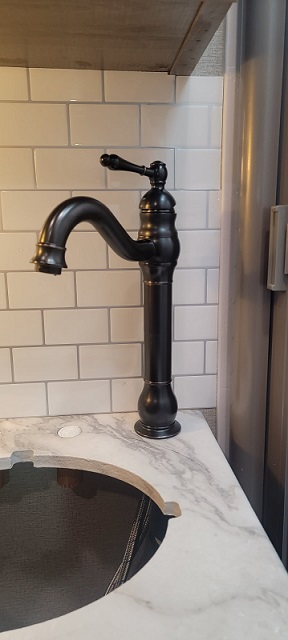
Now the sink. Luckily the basin fit into the existing oval sink hole without modification. I didn’t have to modify the drain lines at all as they all lined up. The sink is not attached other than the drain lines and the clear caulk around the perimeter. 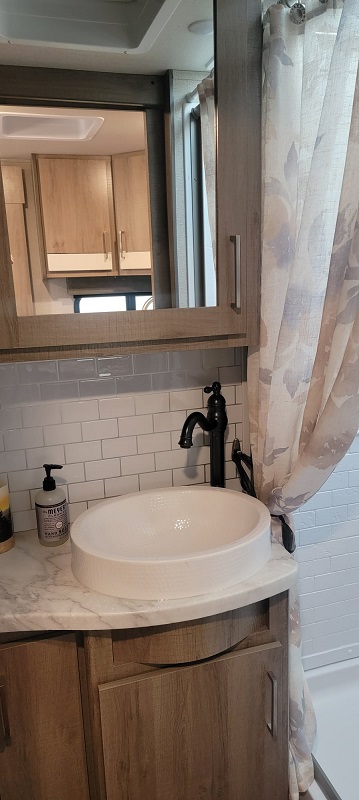
It feels really, really solid but if I get the sense or sign of movement, I will use a strong construction caulk from the bottom where the bowl contacts the counter.
Adding a stick-on backsplash really adds to the look.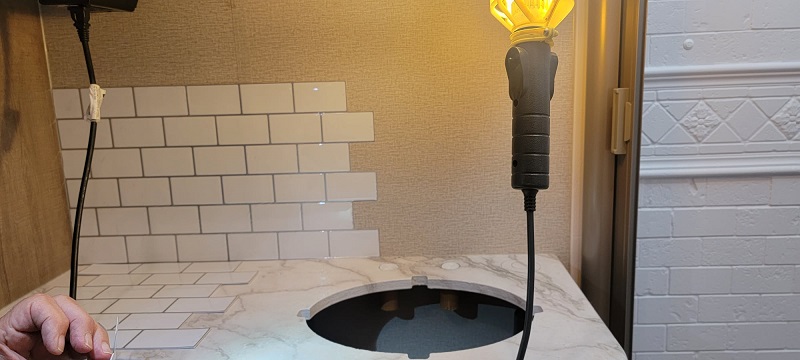
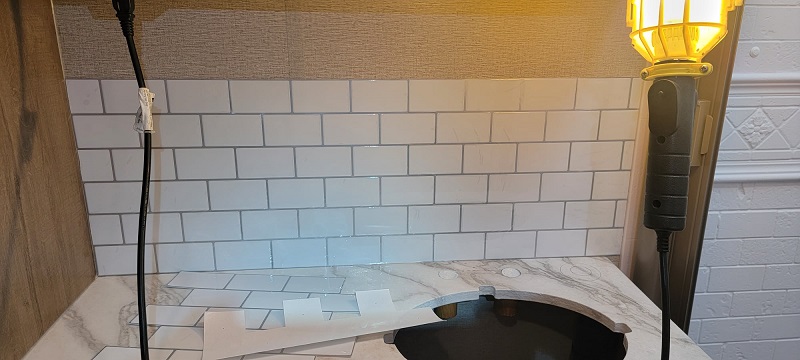
Add the backsplash before installing the new faucet and sink.
You will love the look and find the sink and faucet and it’s so much more practical to use.
