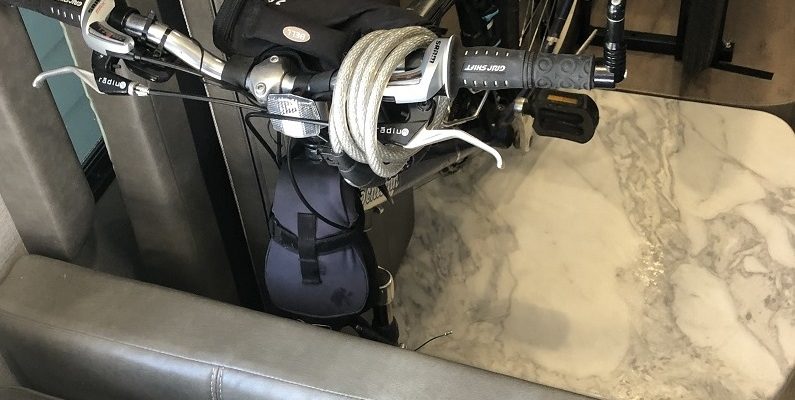
Hack #34 Inside Storage for 1 or 2 Bikes.
We wanted a way to store our bikes inside the trailer to avoid issues over where to attach a rack and to avoid road grime so I designed and built an aluminum rack to store two bikes inside and it worked very well.
However, that rack filled the floor at the back of the trailer which means you cannot get to the bathroom when two bikes are stored AND the slide is closed all the way.
I saw another person using a Quick Release Fork Mount to mount up to 2 bikes in the dinette area. This clears the center space of the trailer when the slide is closed and stows the bikes quite well. Your bike must have the quick release front wheel in order to attach it to the fork mount.
I added a 2 bike Floor Stand to provide better control side-to-side. Since I am only storing one bike, it also provides storage for the front tire that must be removed. I made this new rack for one bike as our other bike is now an E-bike that fits perfectly in a large tote with wheels that also fits well in the back of our SUV.
It requires very few pieces and is an easy modification to do. 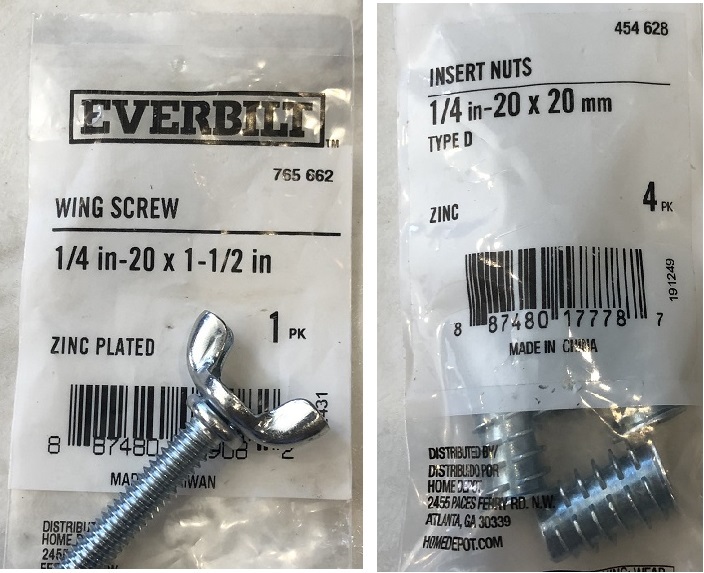
You will need to purchase eight 1/4″ – 20tpi insert nuts (anchors), four 1/4″ – 20tpi 2 inch long wing screws and four 1/4″ – 20tp 1-1/2 inch long wing screws as well as eight flat washers for the wing screws.
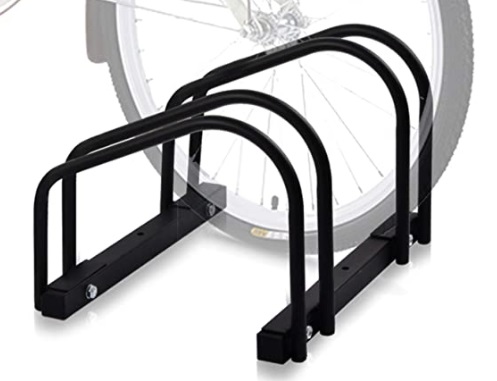
You will also need Quick Release Fork Mount(s) (available on Amazon) and a bike Floor Stand ( available on Amazon). If you do not have scrap 3/4″ planking around you will need a 4′ length of 4″-6″ wide.
Here is also a great opportunity to replace the existing plywood under the dinette seat cushions with pieces of unfinished plywood and keep the finished ones for projects and repairs around your RV.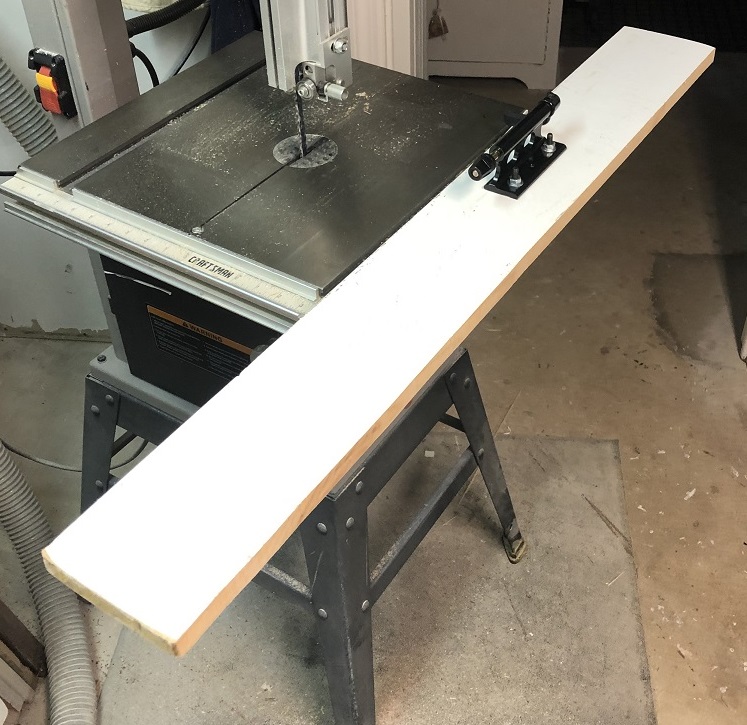
Locate the fork mount on the plank. Be sure it is far enough from the wall to allow the handlebars to clear.
mark the locations of the 3 holes on the board. Drill three 1/4″ holes all the way through a the marked spots.
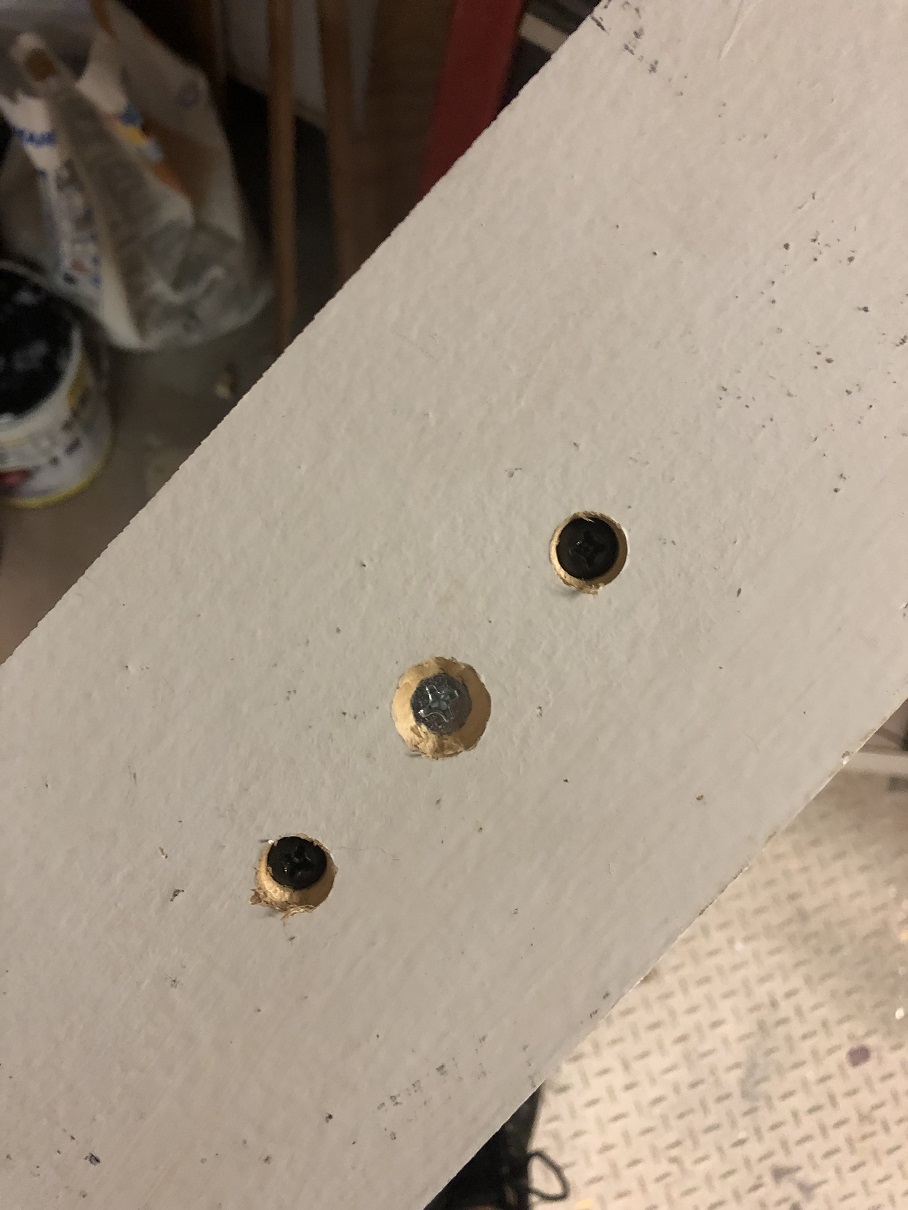 Counter-sink the holes on the bottom as it will be sitting directly on top of the plywood.
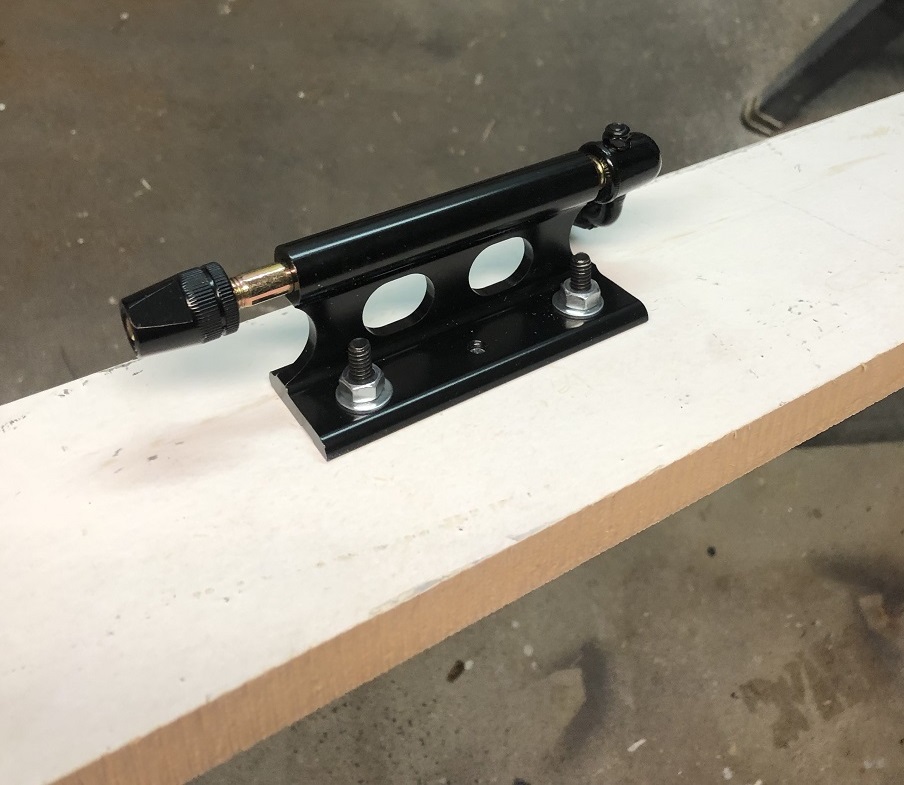 Secure the fork mount to the board.
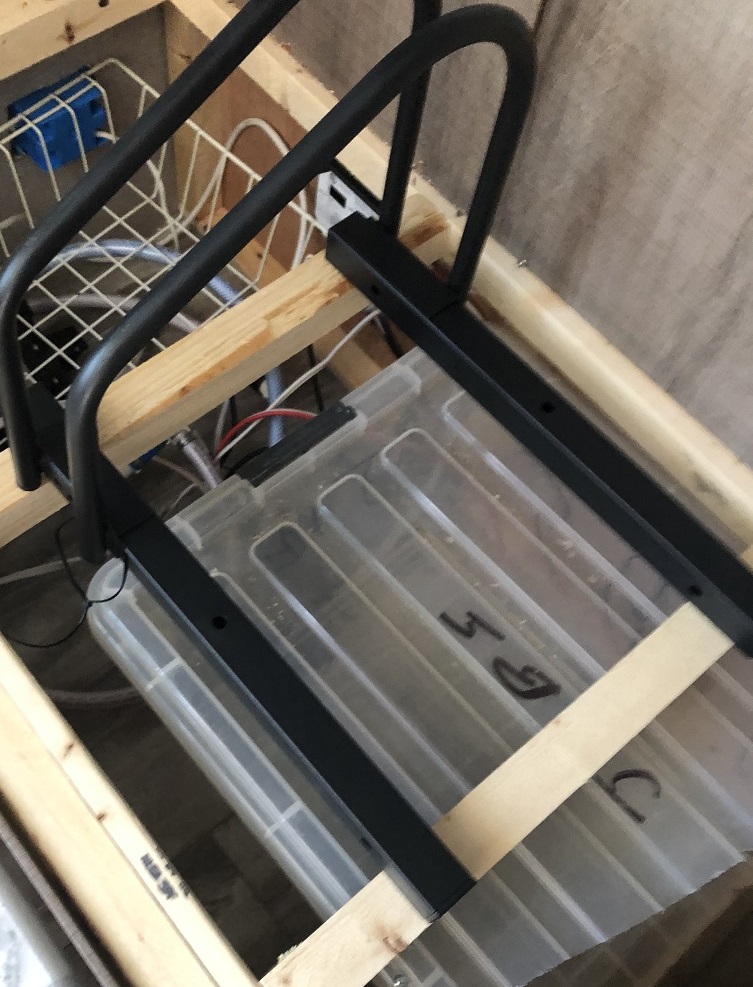
The floor stand was only drilled for one bolt on each side but I wanted better anchoring so I changed that to 4.
Drill holes near the ends of each support for the floor stand. This will also align with the supports under the plywood.
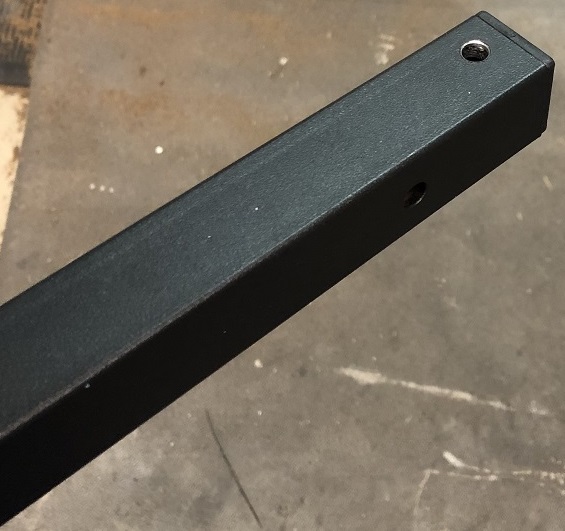 Be careful that you have the support turned the right way.
Mark the plywood to show where the wooden supports are located under it when in place.
put the plywood into place. Position the floor stand in place so that the mounting holes you drilled fall on the marks for the bracing under the plywood. If you take the front tire off a bike, you can stand it in the rack to see how much clearance to the wall you will have.
Mark the locations for the mounting bolts through the holes in the base with a pencil.
Remove the stand and drill 11/23″ holes all the way through the plywood and the supports.
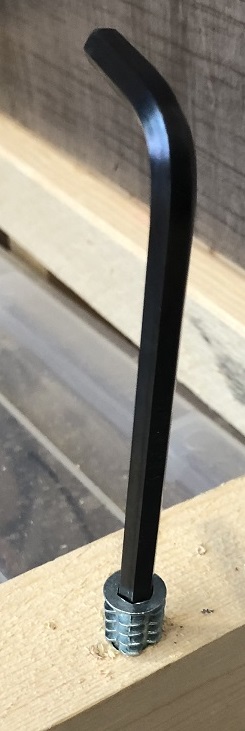 Remove the plywood again and screw the insert nuts into the holes with an Allen wrench.
Make sure they are in far enough that they are below the surface.
Replace the plywood and test fit the rack now. Install it with 4 of the long wing-screws with washers on each screw. If any holes do not line up well enough, enlarge the holes in the plywood and, if necessary, the bracket.
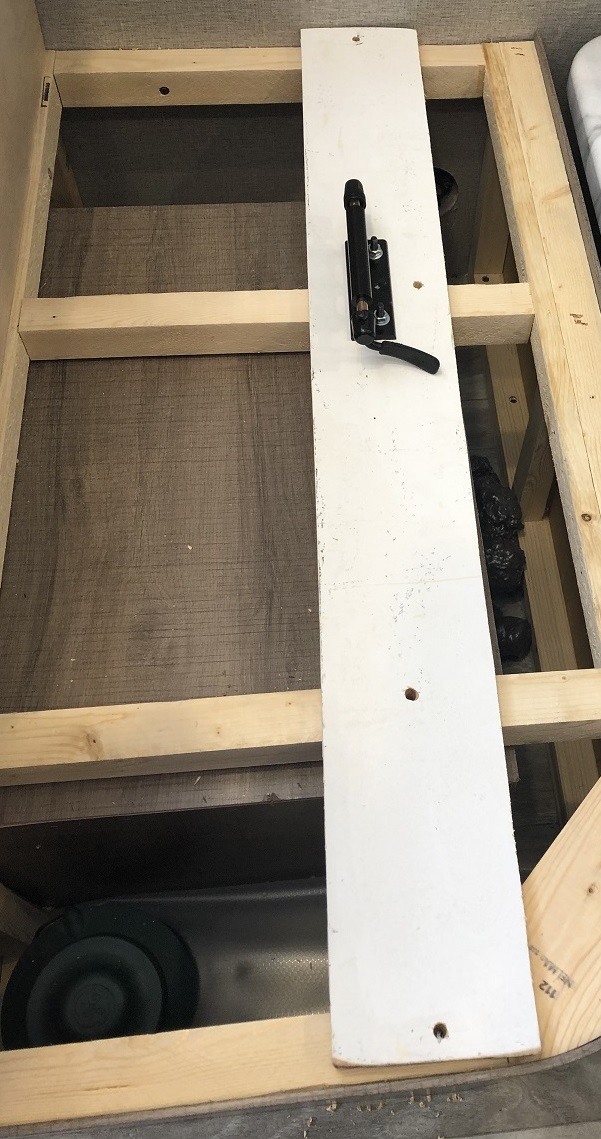
Remove the plywood from the other seat. Lay the board on the supports under the seat and mark where the supports line up.
Determine the best placement of the other mount. Remove the front tire from a bike and place the bike on the benches with the rear tire in the floor stand. Mark where the forks touch.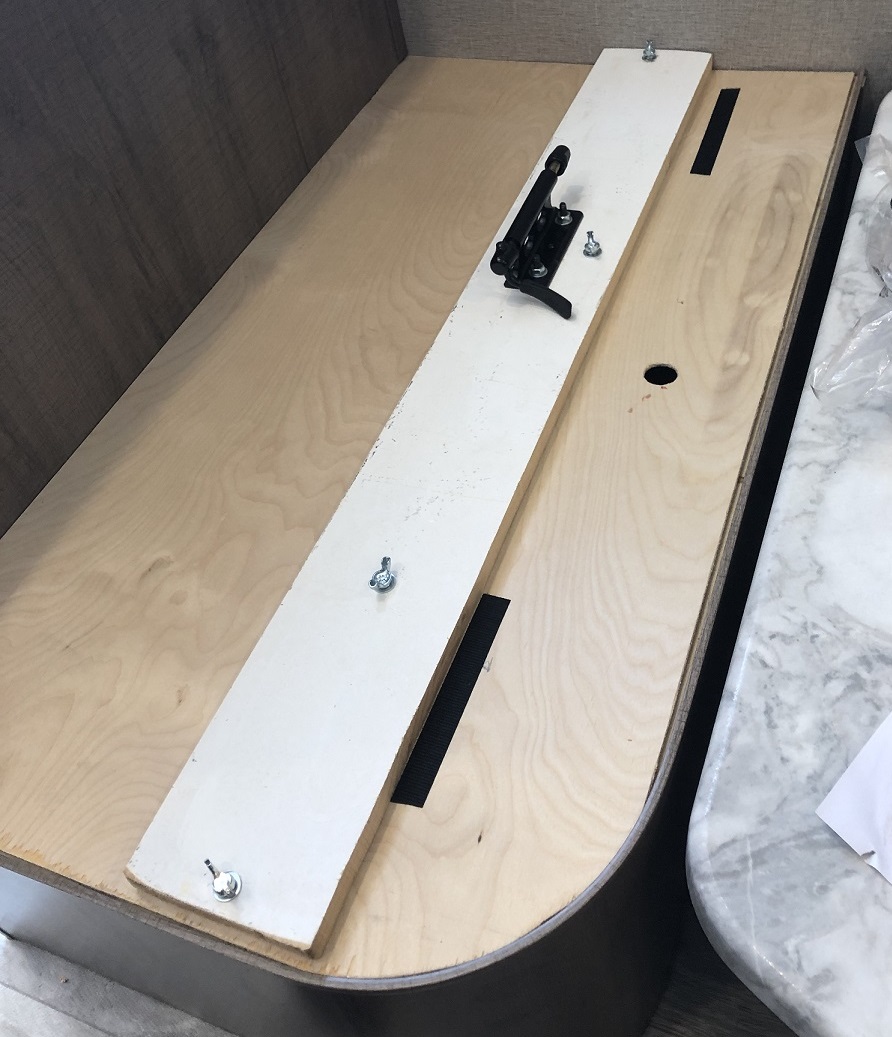
Remove the bike and position the board on the seat aligned to place the fork bracket where you marked the forks.
Replace the plywood then drill the four holes where you marked for the support studs. 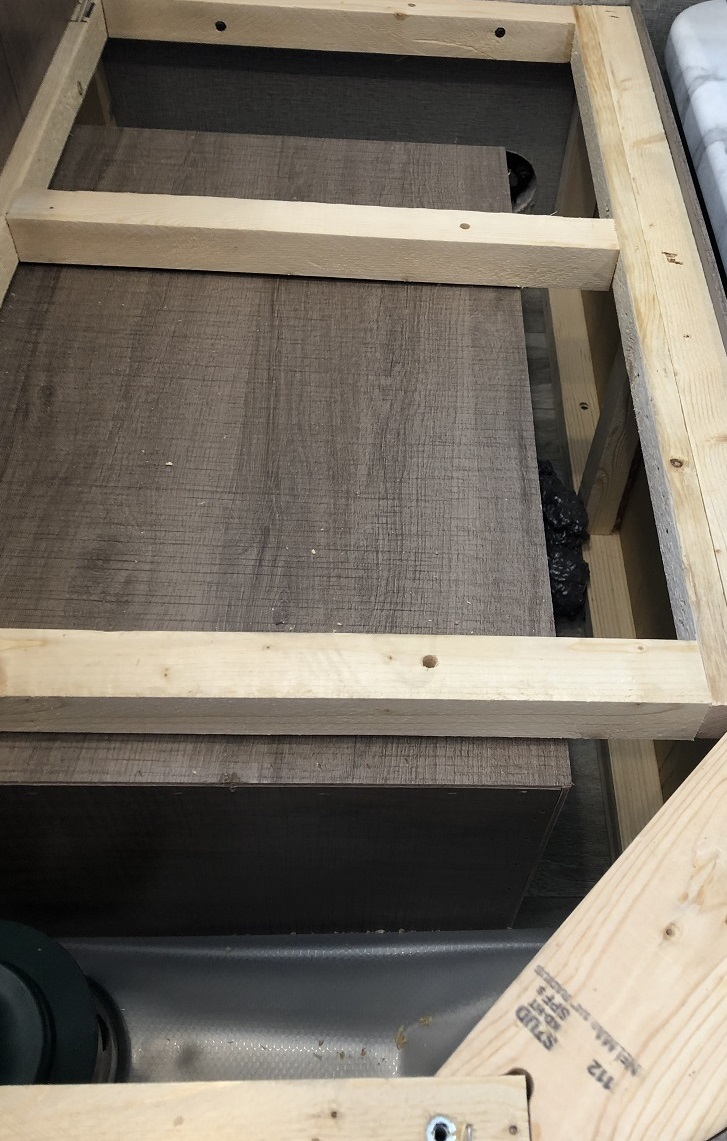
As before, remove the plywood again and screw the insert nuts into the holes with an Allen wrench.
Make sure they are in far enough that they are below the surface.
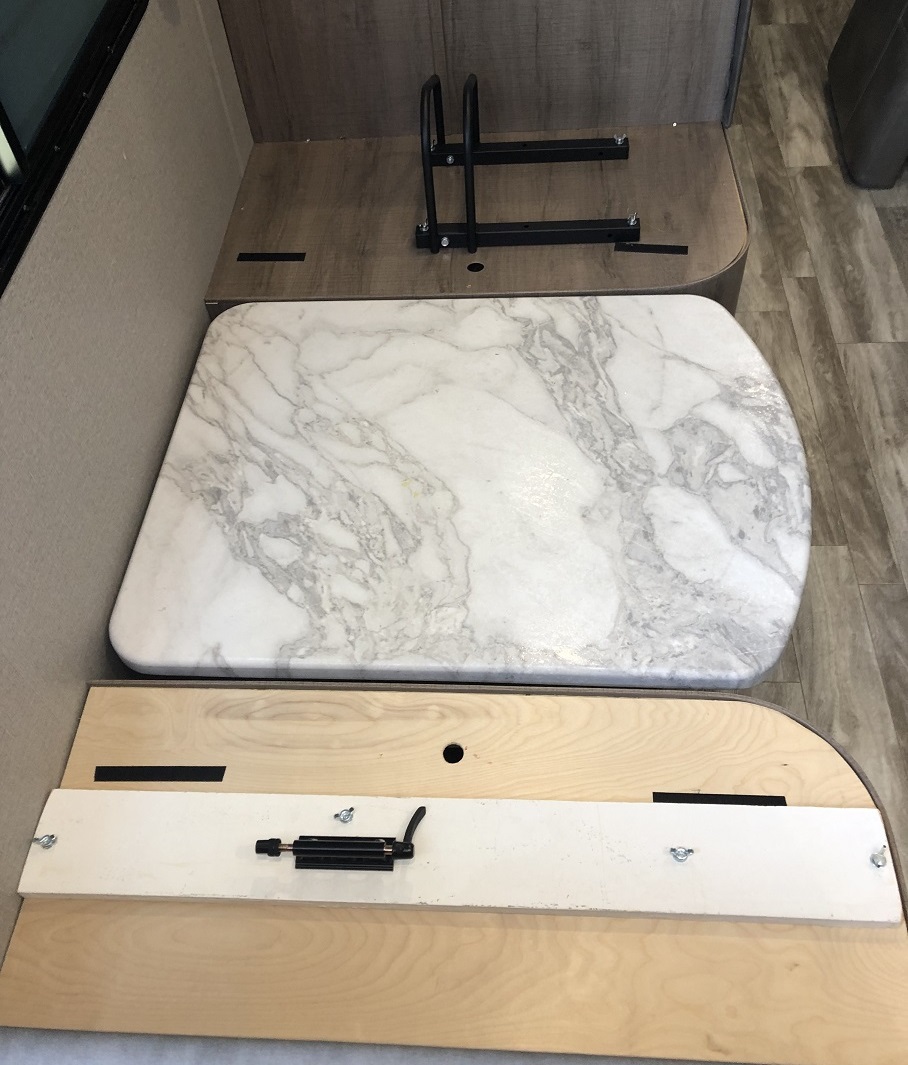
As before, replace the plywood and board then test fit the rack now. Install it with 4 of the shorter wing-screws with washers on each screw. ![]()
If any holes do not line up well enough, enlarge the holes in the plywood and, if necessary, the board.
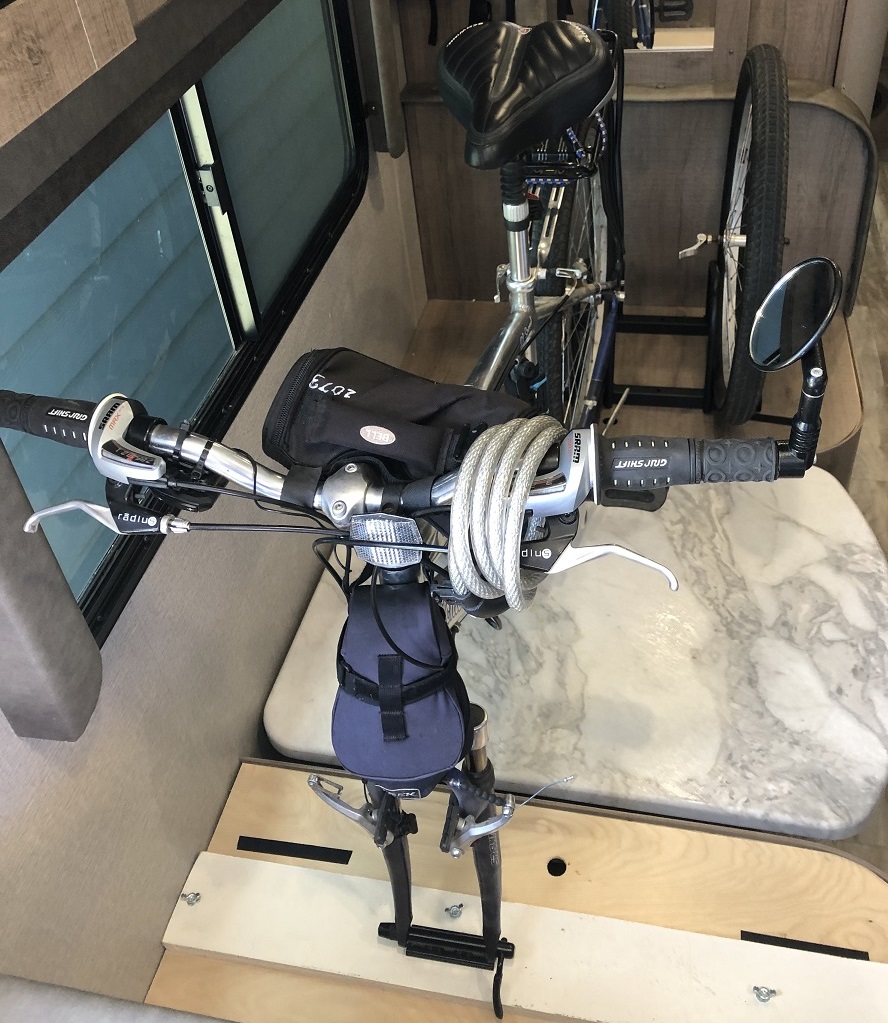
To load your bike, remove the front wheel and place it on the bench with the rear tire in the floor stand.
Inset the fork into the fork bracket and tighten it firmly.
Place the front tire in the other slot of the floor rack (if mounting just 1 bike).
Secure the tires in the floor rack in place with Tie Down Straps Lashing Straps. Be sure to use good straps. 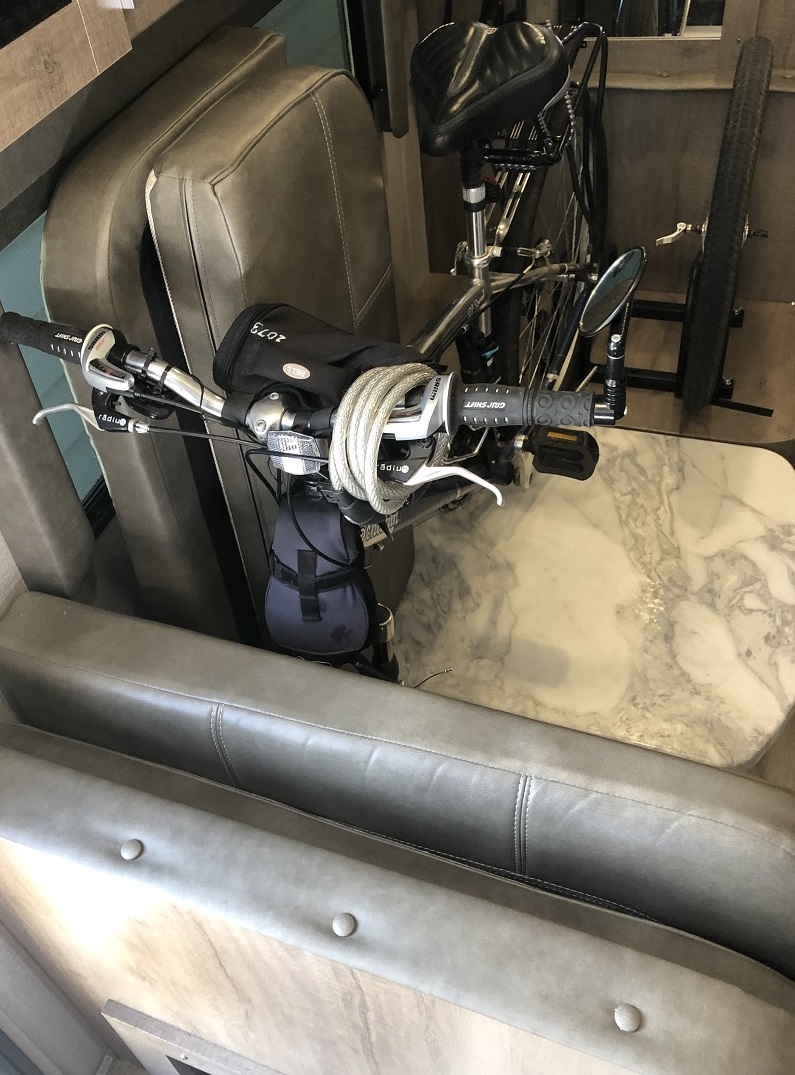
The seat cushions all fit safely around the bike now. Always double check that the bikes are tightened securely in place before traveling. A loose bike could do some very bad damage bouncing all around back there.
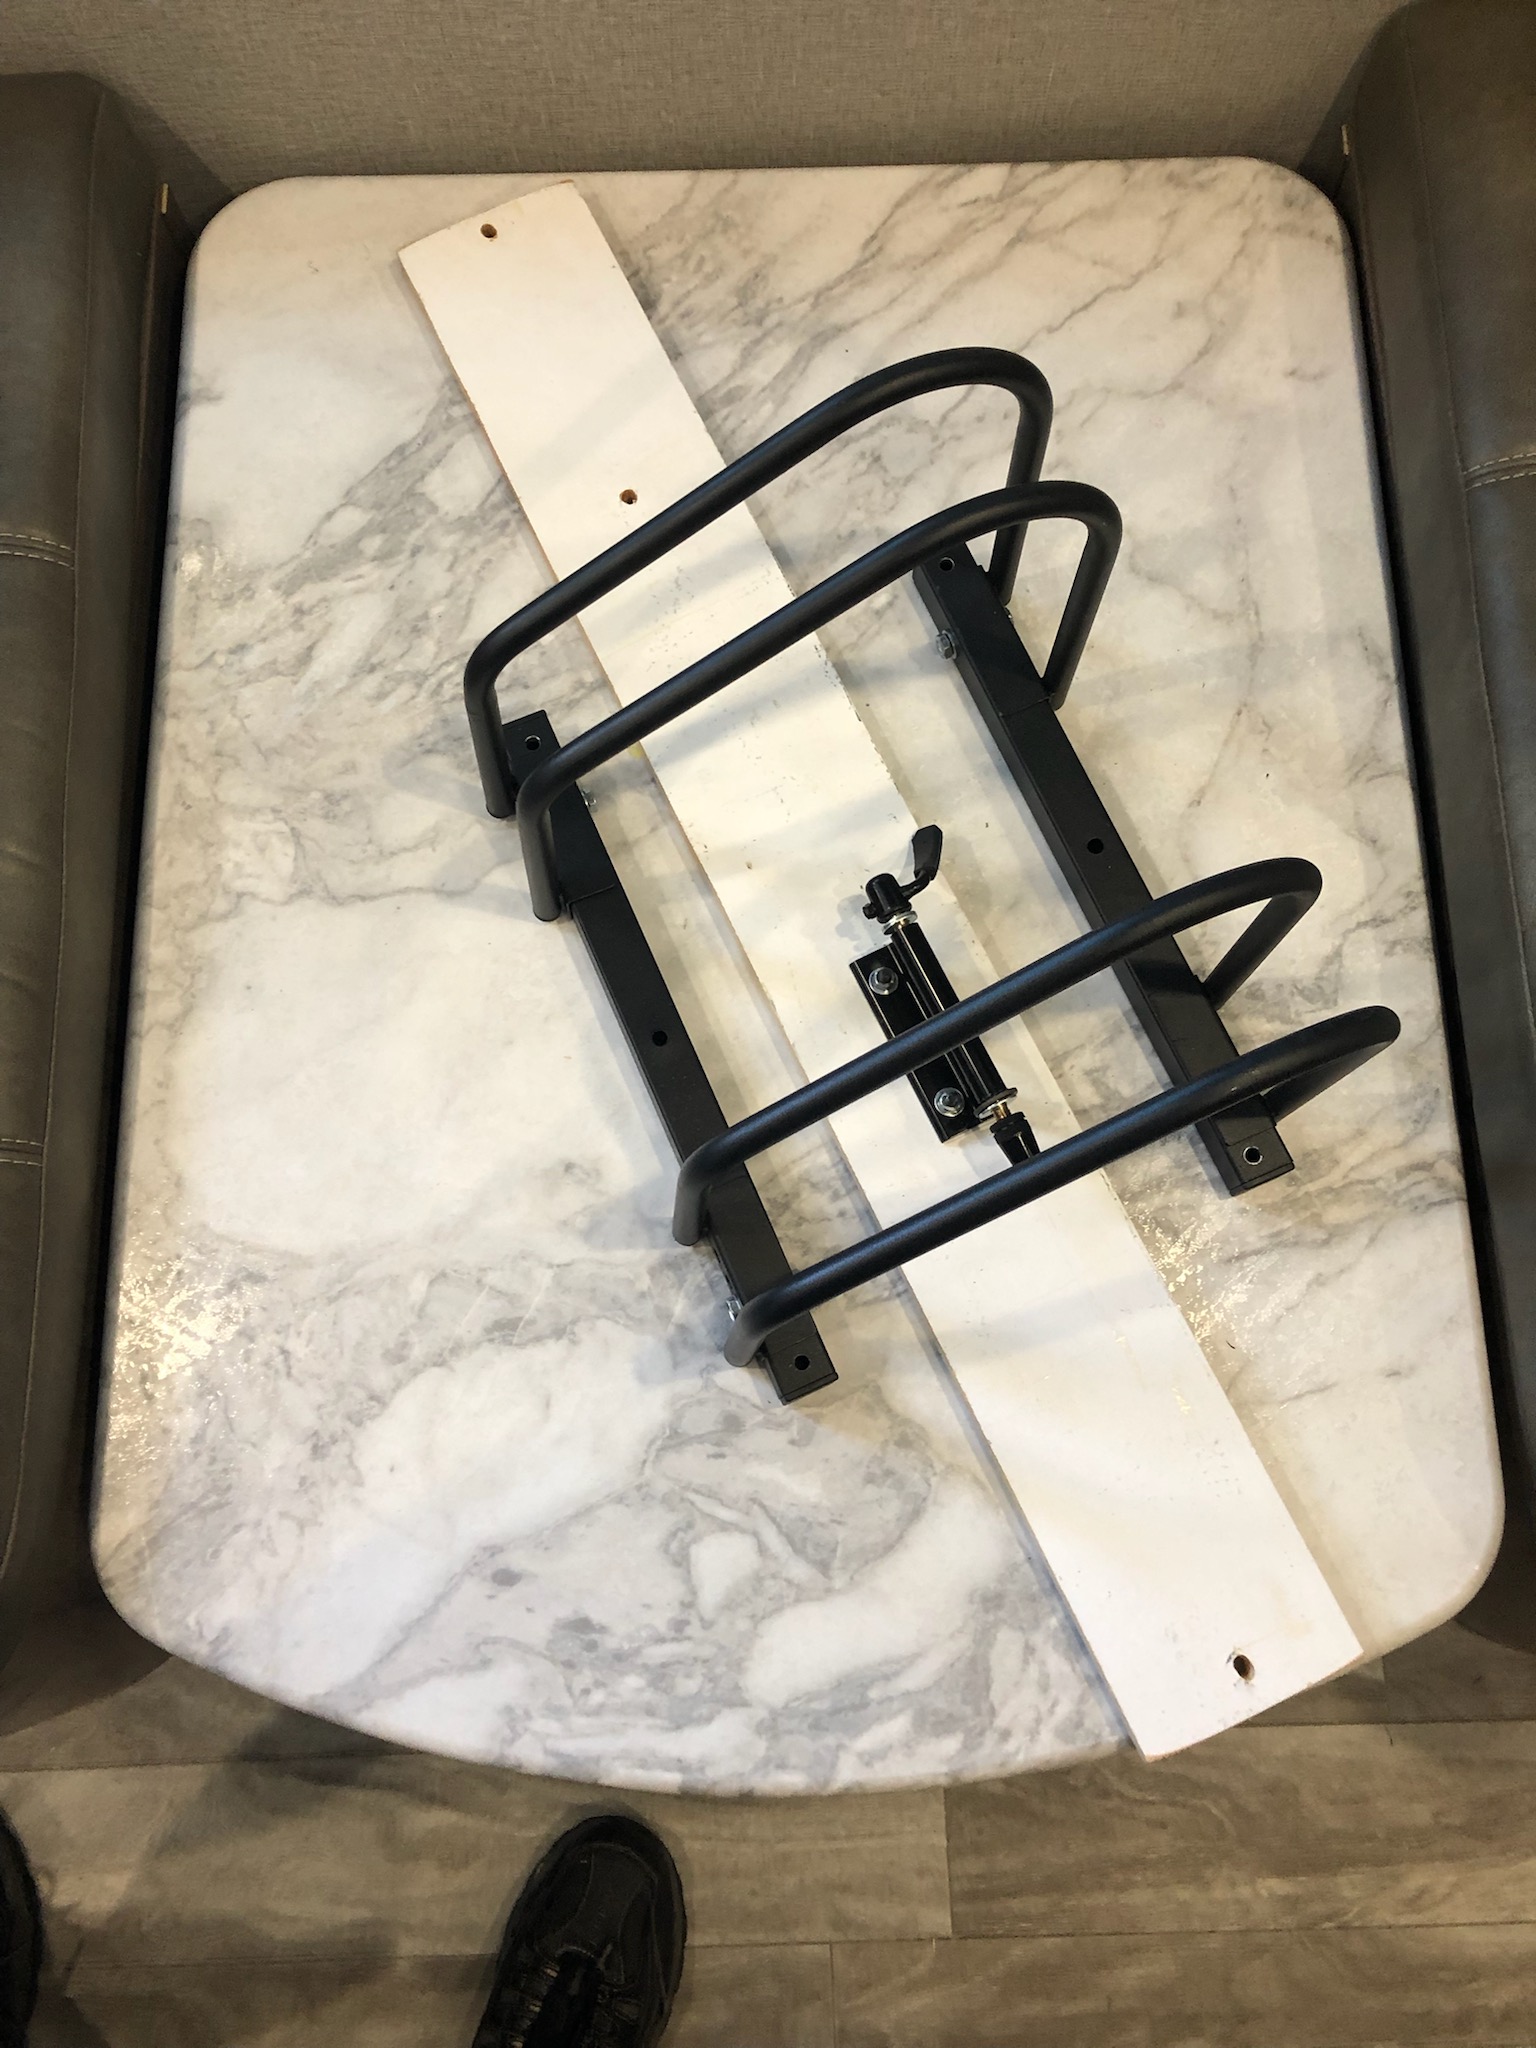
The whole mount stores easily and compactly. Just keep a small zip-lock bag around for the screws and washers. You could even make it smaller (basically a flat-pack) if you wanted to dissemble the black floor rack every time you store it.
