Hack #33 Separate GFCI circuits.
We found that the GFCI breaker in the bathroom would typically trip nearly every time we traveled then opened up the trailer. This meant that ALL the AC outlets in the RV would be off. We even found that we often had to wait a while (even hours) to be able to reset the outlet (likely due to moisture somewhere).
I found this to be an incredible nuisance since most of the outlets have no substantial reason to be GFCI. The one in the bathroom and two over the sink truly do. One could even argue for the one in the passthrough and the one outside on the front.
I decided to break these out and place individual GFCI units ONLY where needed. Upon tracing out all the wiring, I discovered that the wires run haphazard & back-and-forth around and across the RV. (Why in the world I cannot imagine.) They run as follows for our 2019 XLS 22MLE :
Circuit breaker to the bathroom GFCI (all circuits run as GFCI off this outlet.
Bathroom to the left sink (under cabinet).
Left sink to right over the sink.
Over the sink to the TV.
TV to the right side of the bed.
Right bed to the left side of the bed.
Left bed to pass-through.
Pass-through to bench seat under the table.
Under table to outside outlet.
Outside to undercabinet outlet left of fridge.
Left of fridge to the theater seating.
Crazy ? ? ? ? ?
The first thing is to change the bathroom outlet wiring. GFCI outlets can daisy-chain GFCI circuits our pass the incoming circuit on separately.
If you are not competent in electrical wiring then DO NOT attempt this without help from somebody who is.
First – turn off the proper circuit breaker and make the sure the circuit is dead.
Open up the bathroom outlet. You have to remove the cover plate and the surface box.
The incoming circuit should be connected to the top screws when the golden screws are on the right but take care since this is not always the case. They should be labeled as the ‘LINE’ connections.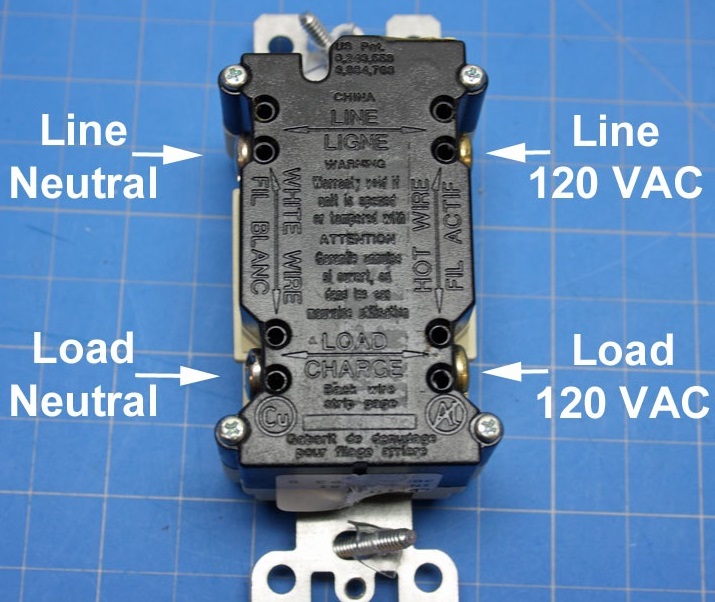
The circuits intended to continue as GFCI circuits off this unit are connected to the ‘LOAD” terminals. Anything connected in line from here will also be a GFCI circuit. They will turn off when the GFCI trips.
Second wires connected to LINE terminals will NOT be GFCI protected and will NOT turn off when this GFCI unit trips.
In order to change the other outlets in your RV to not go dead with this GFCI unit, simply remove the (outgoing) wires from the LOAD terminals and connect them to the LINE terminals with the incoming circuit.
Reinstall the bathroom outlet. At this point NONE of the other circuits are GFCI protected.
Remover the left undercabinet outlet near the sink. Gently pop the cover plate off. You should be able to do this with a fingernail. Next unscrew the special outlet using to the two corner screws to turn the tabs that hold it in place. 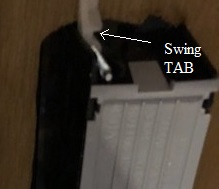
Remove the back covers by pressing the grey tabs. I found needle-nosed pliers work well.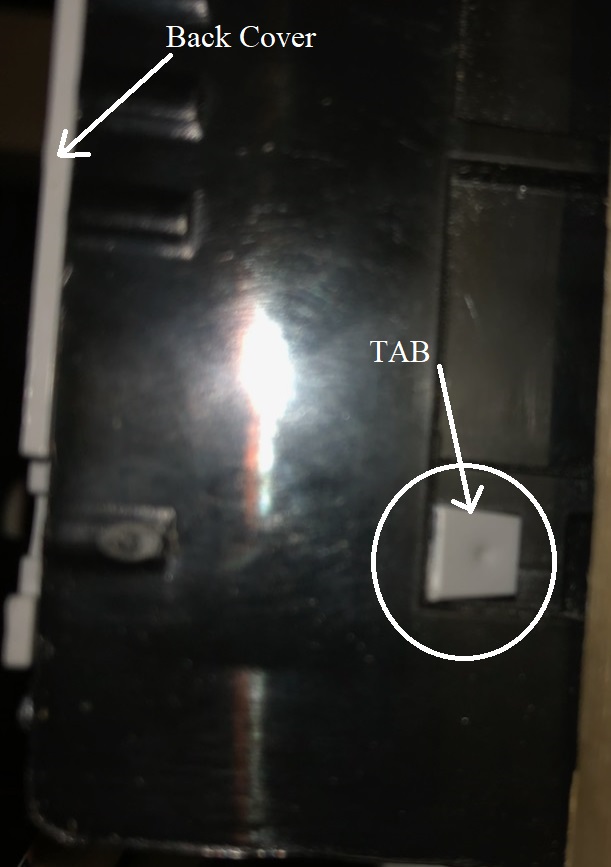
Remove the right sink outlet but leave the box closed for now.
Feed a new length of wiring from one opening through the other. Label it (on both ends) with a sharpie as ‘LINE’.
R
R 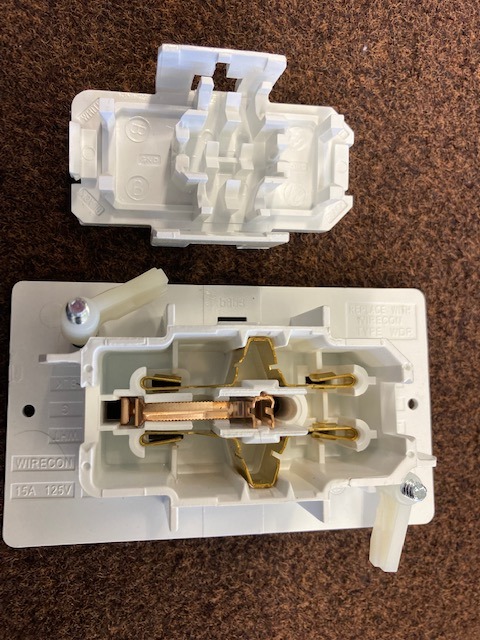
Remove the two wires form the left box. Label the wire leading over to the other sink outlet as ‘GFCI’ (on both ends).
Install a new Old Work Box in the left hole (with mounting tabs). You will need to enlarge the opening. 
Install a new GFCI outlet. Connect the incoming wire and the ” LINE’ wire going to the other hole to the LINE terminals.
Connect the “GFCI” wire going to the other hole to the “LOAD” terminals. Install a cover plate.
Open the right sink outlet box. Remove the top wire. This should be an unlabeled wire (runs to the next spot) and the wired labeled ‘GFCI’ should still be connected. If not swap the 2 wires. Replace the back onto the box with ONLY the wire labeled ‘GFCI’ in it.
Splice the reaming wires together with wirenuts and tape them securely.
Push the wire up into the hole and out of the way then reinstall the outlet and cover plate.
At this point, the bathroom and 2 sink outlets are GFCI protected while all the rest are not and will only go dead of the breaker trips. You can stop here is that is what you want or go on and replace the outside and passthrough outlets.
Simply follow the same process for each one.
Remove the old outlet and disconnect the wires.
Install a box if needed then install a GFCI outlet connecting both wires to the LINE terminals so each continuing circuit is separate.
The outside outlet cover is held on by 4 corner screws. 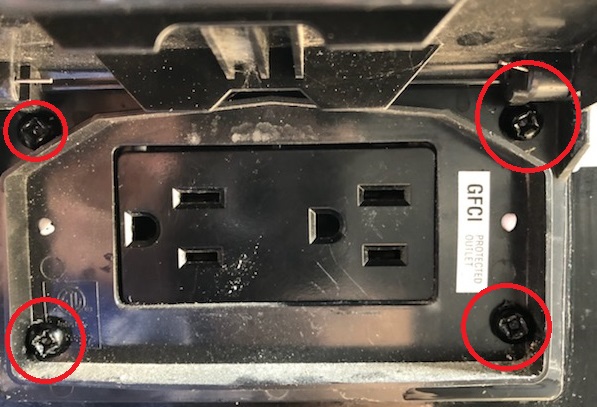
Flip the circuit breaker back on and test each receptacle for power and the operation of each GFCI.
Now, when an individual GFCI circuit trips, it will be just one outlet. The remaining units will still be powered unless the circuit breaker also trips.