Hack #30 Quieter Range Hood Fan.
From day 1, we felt like the fan in the range hood exhaust sounded like a prop plane about to take off. We never used it so always had to take the smoke detector down while cooking.
This was just not acceptable so I researched a solution.
First, I opened the hood up to see what was there to start with. I found what looked like a cheap 12V motor you might find in a cheap kid’s toy. 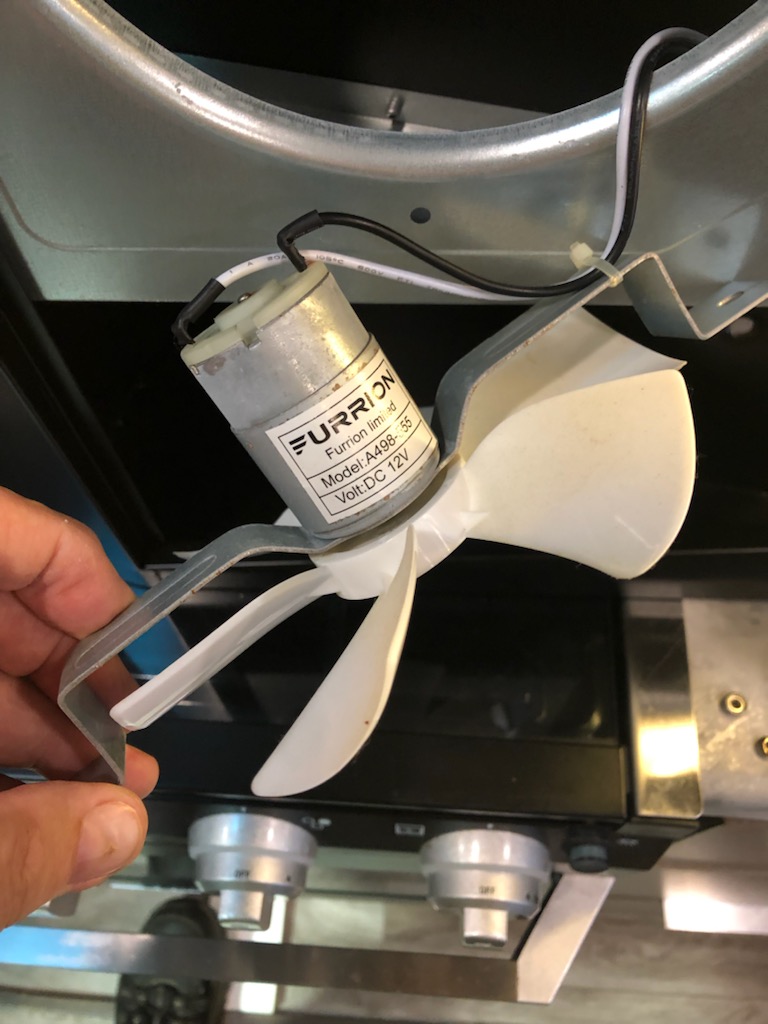
I also saw that the opening was about the same a a cooling fan for computers/IT ( AKA ‘muffin fan’).
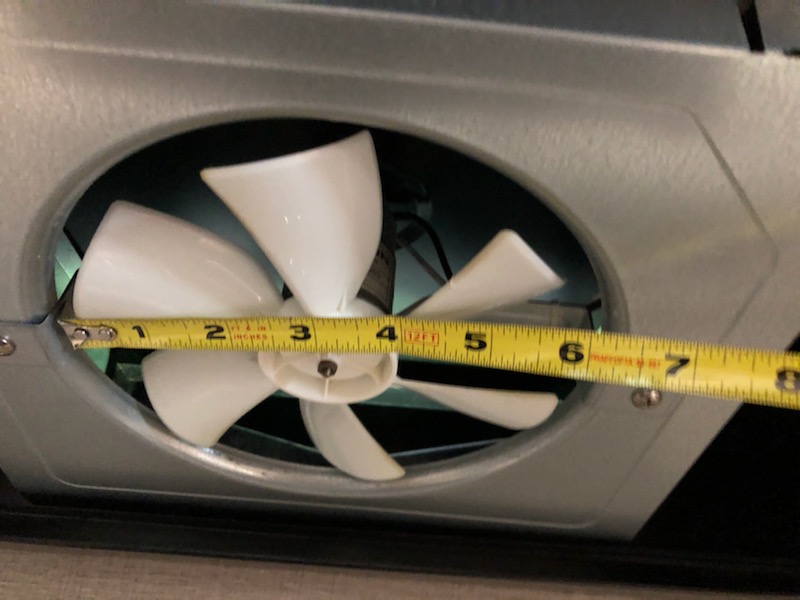
A little searching on Amazon and I had some decent data to work from.
The Furion specs for the 12V Horizontal RV Range Hood list it at a 52dba noise level and 100cfm air flow.
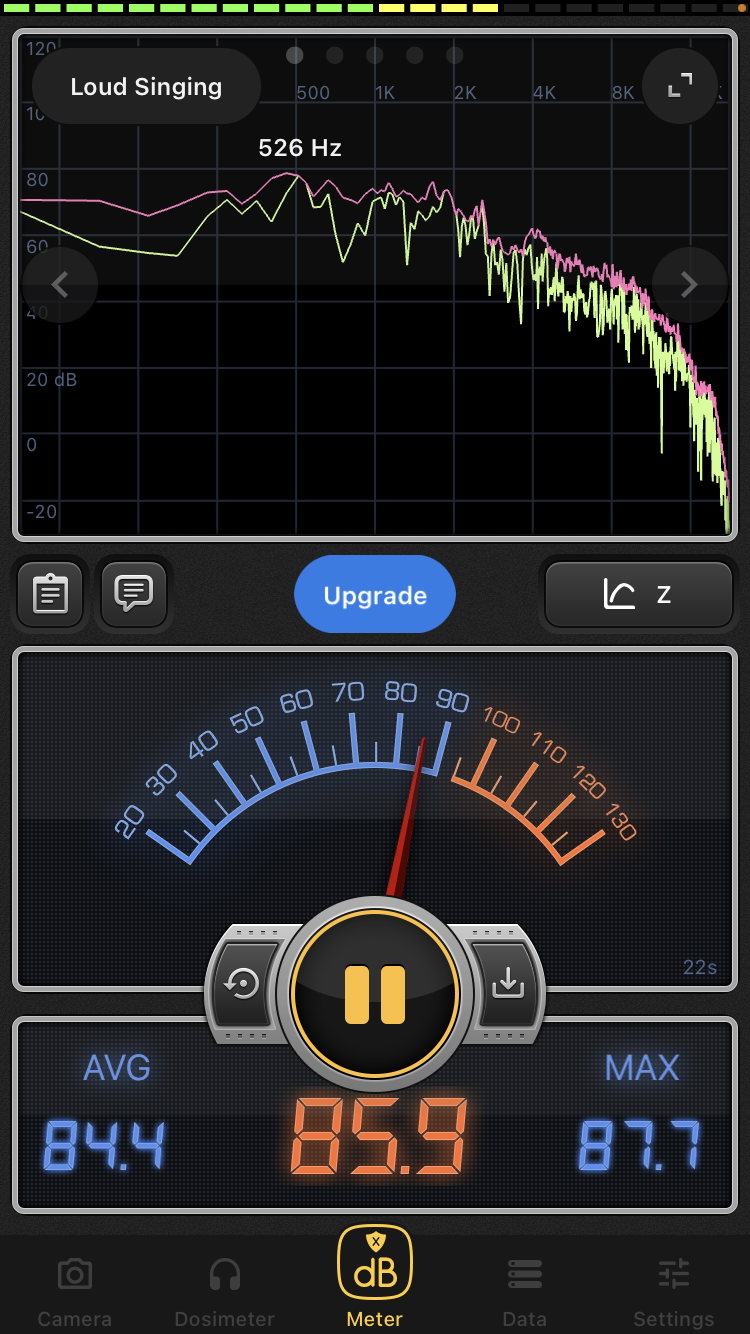
I used my ‘Decibel X’ Iphone app and measured 85db for it while installed (not sure how accurate that is but can see relative differences). The big kitchen range in my house (works great) and reads only 50db on low and moves the air well.
I found and ordered 2 muffin fans from Amazon with comparable CFM airflow rating. One is rated at 92cfm 35db the other at 110cfm 42db.
(Listed on Amazon as “12V Moisture-Proof Fan 120mm 2-Pack High Speed 12 Volt DC 2Wire 3Pin Exhaust Cooling Fan 3000RPM” – 4.72 x 4.72 x 0.98 inches)
I removed the original fan from the hood.
Remove the filter panel by releasing the two tabs.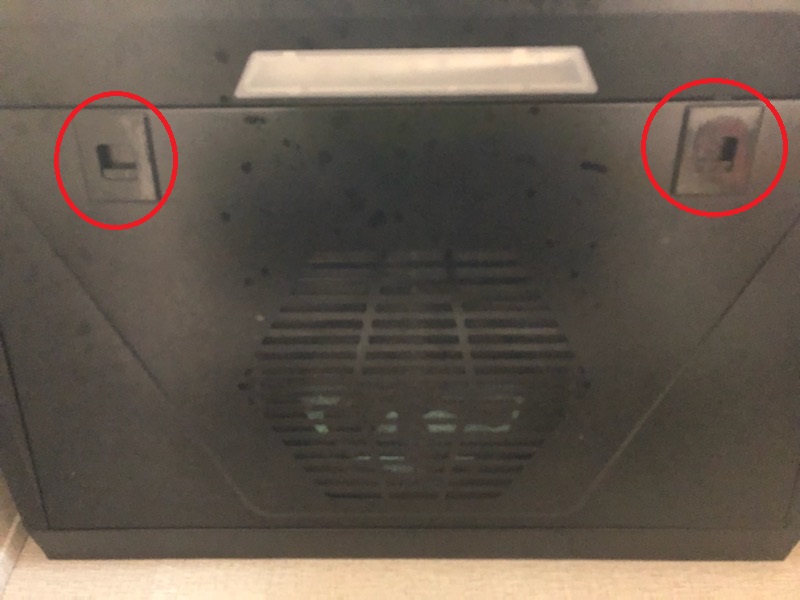
Next, remove the whole hood assembly by removing the for screws that secure it in place. 
Remove the fan by unscrewing the two nuts & bolts that hold it in. Each one also has a flat washer. You can reach in the vent hole to hold onto the nut and washer. 
Now simply snip the white and black wires going to the fan as close to the fan as possible.
Unscrew the nut that holds the fan blade on then remove the two screws that attach the fan to the mounting bracket. 
Luckily, the depth of the bracket is the same as the new fan but the ‘bump’ in the middle needs to be reshaped.
I used the anvil area of my bench vise for this. Flatten out the middle of the bracket out
Take a few critical measurements first. You need the width of the fan area (A) and the distance between the 2 mounting holes (B).
Flatten out the middle of the bracket out then reshape the bracket to provide the original widths for A and B. The red lines in the pic show the original bends.
Drill a new hole in the reshaped end at the distance measured (B). 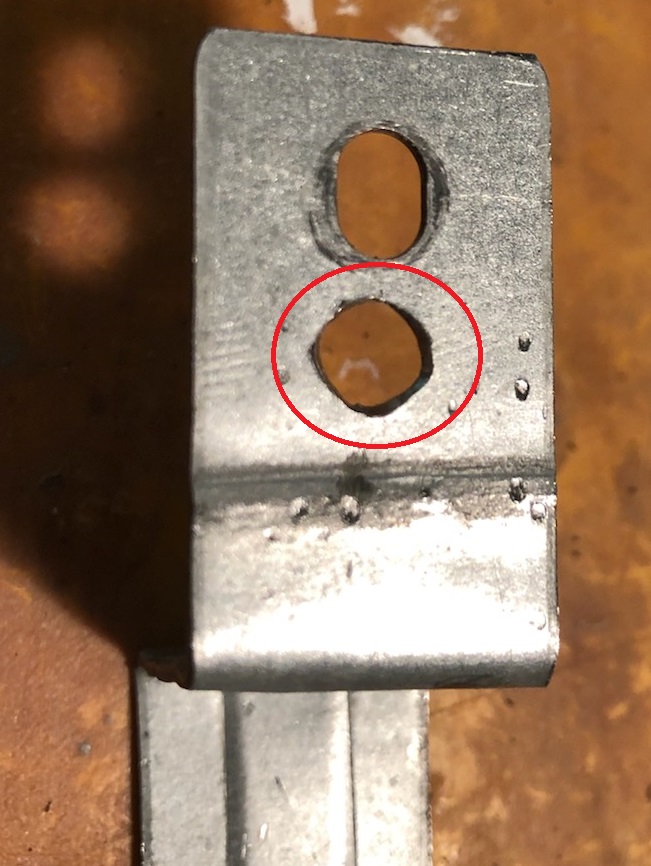
Sand the corners round to better facilitate clearance between the fan and the hole it mounts into. 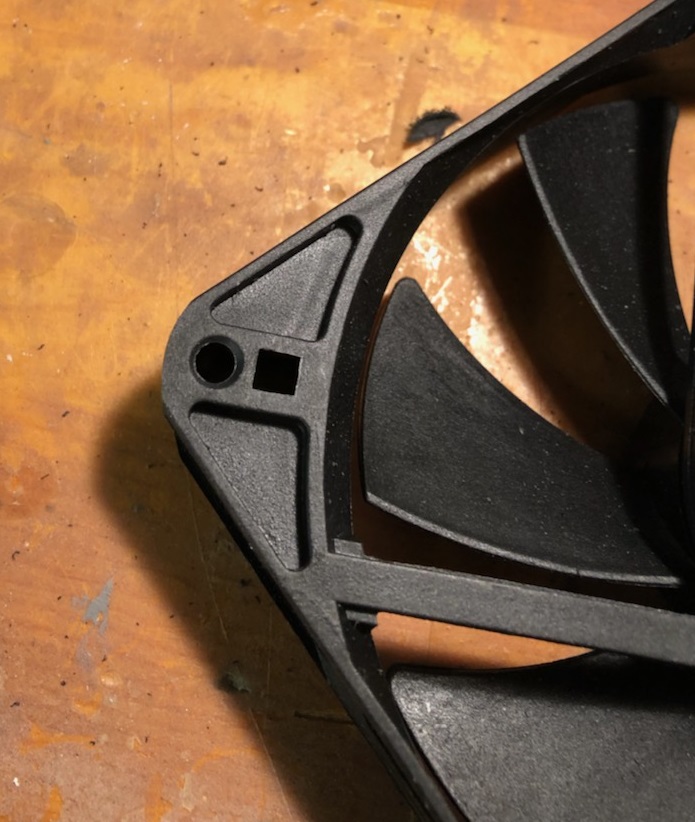
I Make sure you know which direction air travels in the new fan. Test it if you are not sure.
Mount the fan using two Bolts and nuts with wide flat washers as indicated. 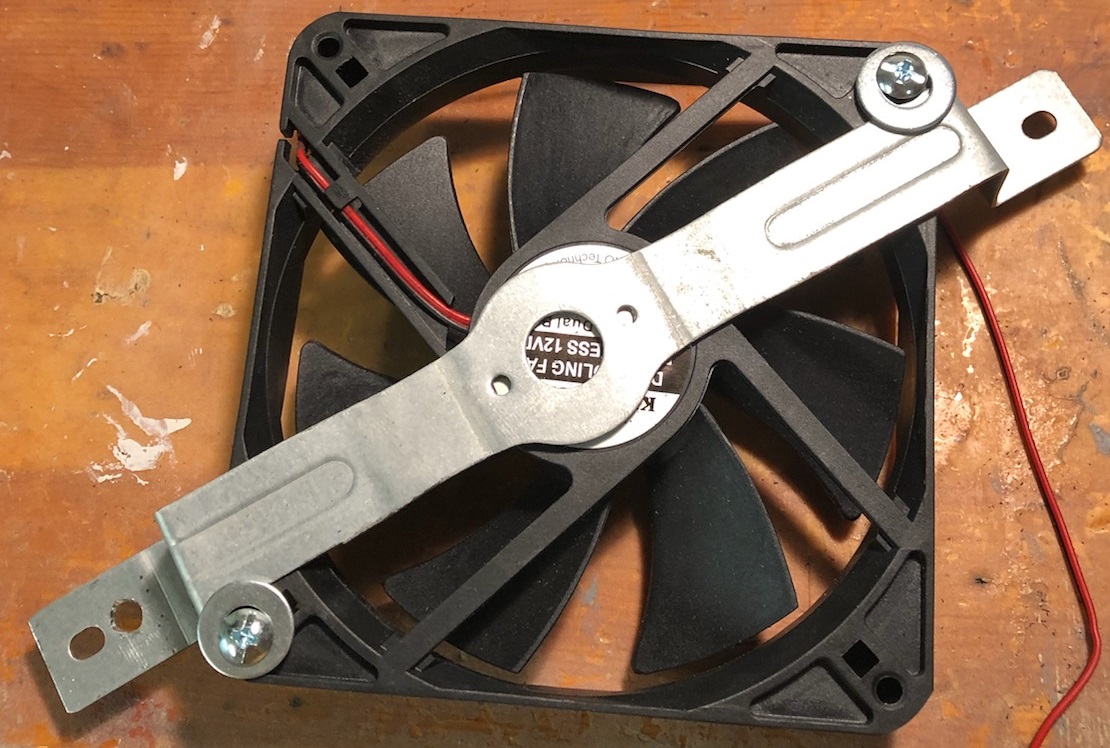
Since the washers do not lie flat, I super glued the washers, bolt heads and bracket together just to be sure nothing slips apart de to vibrations later. I did not super gluw this to the fan in case I ever have to replace it.
Cut the fan wires about 2-3 inches from the fan and connect them to the black and white wires in the hood. The black wire from the hood goes to the red wire on the fan while the white wire from hood goes to the black on the fan (yep – that’s right).
I soldered these together, taped them and placed a small zip-strip around it all.
Reinstall the new fan and old bracket back into the hood assembly. Just for precaution, I added rubber washers between the fan bracket and the hood for noise control.
In order to maximize the direction of the air flow, I added metal duct tape over the gaps around the fan case. 
Reinstall the hood with the four screws. Again, I added 4 rubber washers (hose washers) between the hood and the cabinet for noise control. Tape them in place while installing the hood.
Clip the filter cover back on and you are done.
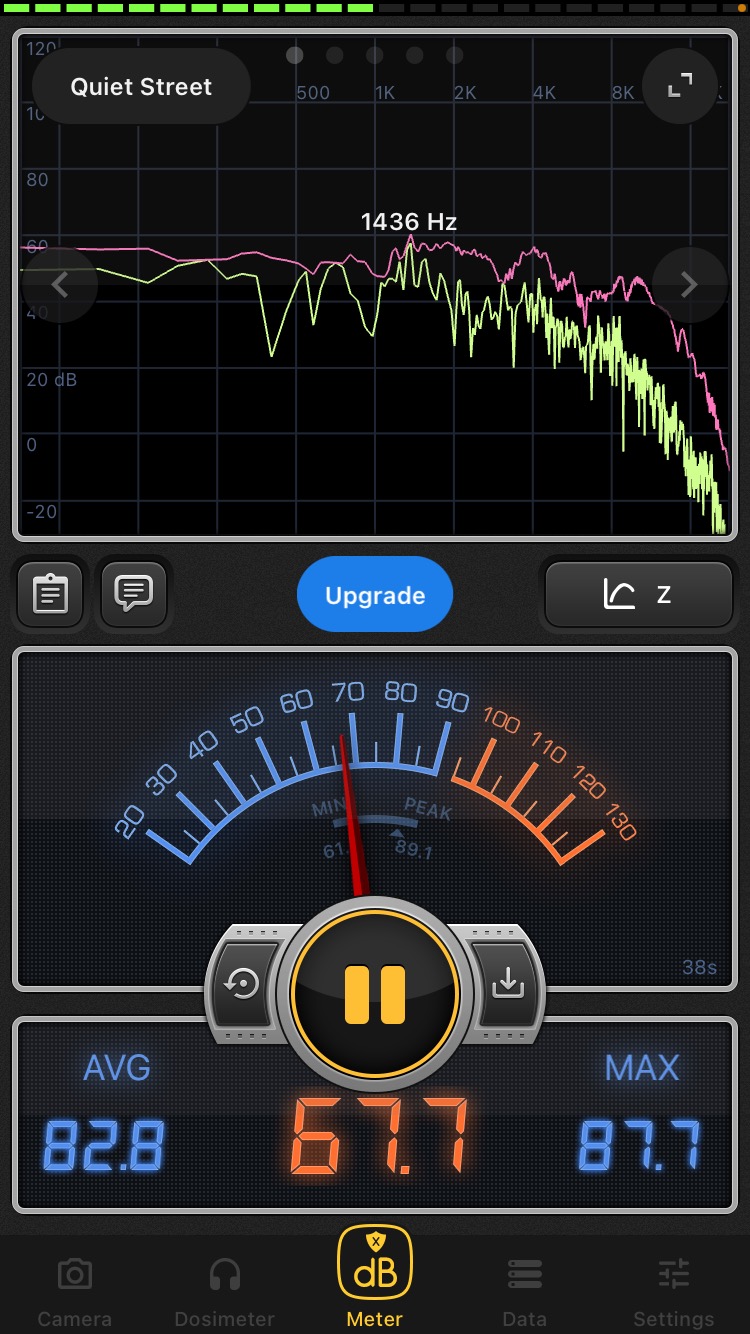
I checked the new noise level : 68db – a great improvement. 