Hack #32 Inside switch for outside outlet.
We experienced a significant problem on one of our really long trips. The GFCI in the bathroom kept tripping. It eventually would not come on at all.
I troubleshot the problem and discovered the issue was in the outside outlet itself.
This was no easy feat as the wiring runs back and forth all over the unit in a crazy pattern. In talking to others with the same RV, I found that they each vary a bit.
I found the culprit to be a small strand of multi-strand wire ‘floating’ around inside (probably just fell out of a worker’s tool). Cleaning it out resolved the present issue but I saw how easily water might get into this outlet and cause the circuit to shut down. I had even seen many post of that very issue in RV discussion groups.
I realized it would be VERY good to be able to easily isolate this outlet in order to let the others continue to operate without tripping the GFCI. All it needed was a switch – a typical light switch.
All of the wiring involved is right under the dinette seat and easily accessible.
If you are not competent in electrical wiring than DO NOT attempt this without help from somebody who is.
The circuit source is from the outlet under the bench seat. It runs to the outside outlet then across the unit to the slide-out.
Determine which circuit breaker this circuit is on and turn it off. For me, this circuit is on breaker #2 in the main panel.
Remove the outlet under the bench.
The cover plate simply snaps off. You should be able to do this with your fingernail.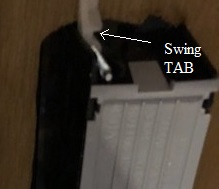
The outlet is held in with 2 screws – top right and bottom left. They adjust tabs that swing in and out. Loosen just enough that the tabs swing in against the box for removal.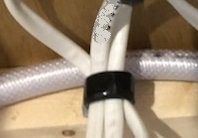
Unscrew the cable clamp located just under the box to give you slack in the wires.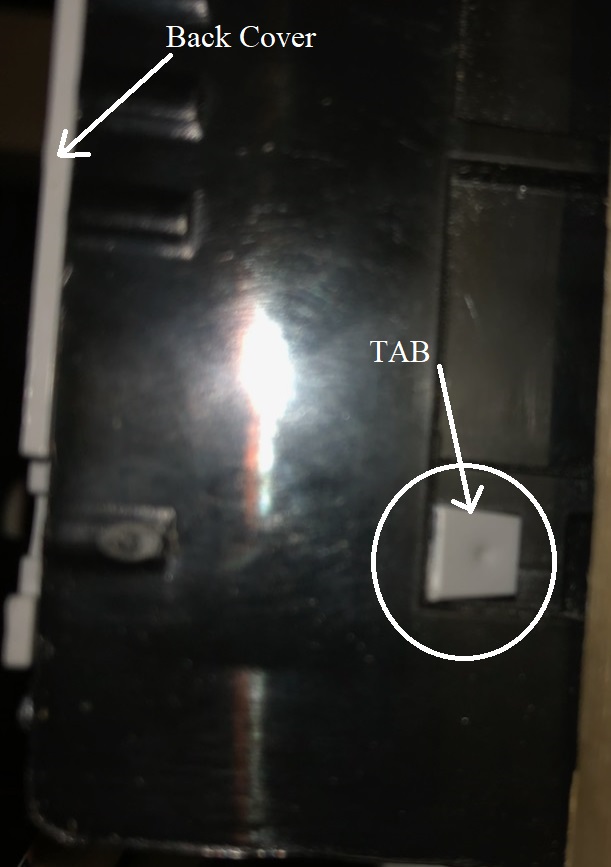 < with the 4 tabs and another type >
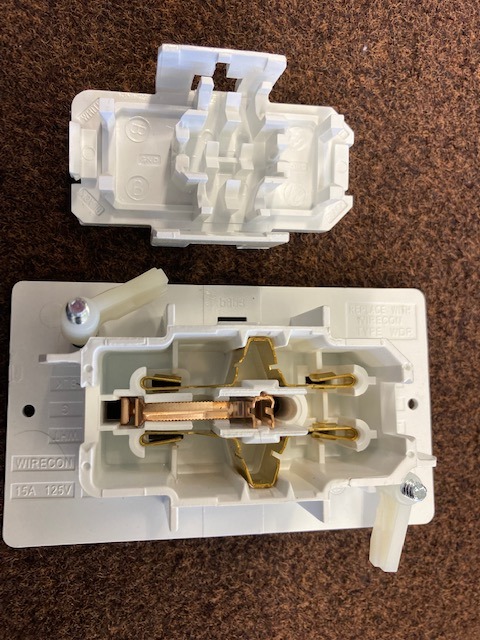
Open the back of the box by pressing in the 4 tabs in the small square holes near the front of the box. It helps to slip a small screwdriver blade under the lip of the first one so it does not snap back in while working on the next tab. Some units have slightly different boxes.
Pull the top wire out of the box. This should be the wire leading over to the external outlet. If not, pull the second wire out and reinstall the first one. Label the loose wire “TO EXTERNAL OUTLET”.
Installing wires into boxes can be a challenge without special tools but can be done.
I made a special tool for this but you can press the wires into the pinch terminal by placing a large, dull bladed, screw drive on it next to the terminal and pushing quick and hard. Do this on both sides of the terminal and repeat to get a solid seating if needed.
Cut a short piece of #14 wire – about 16″ long. Strip off the outer case on one end and install it into the box. Put the back cover back in place and reinstall the box and cover. Use a sharpie and label the wire “POWER TO SWITCH”.
At this point you can replace the back of the box and reinstall it but I left it out until all the work was done and tested – just in case. < Easy Install box or Mounting bracket >
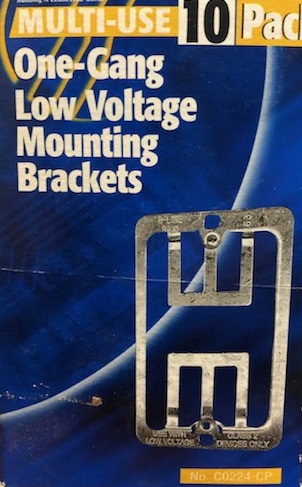
Locate the new switch to the right of the AC outlet. Cut out a hole for new box. You can add an easy install box or just use a mounting bracket (not to code). Hold the box in place and draw the opening with a sharpie to help with cutting it precisely.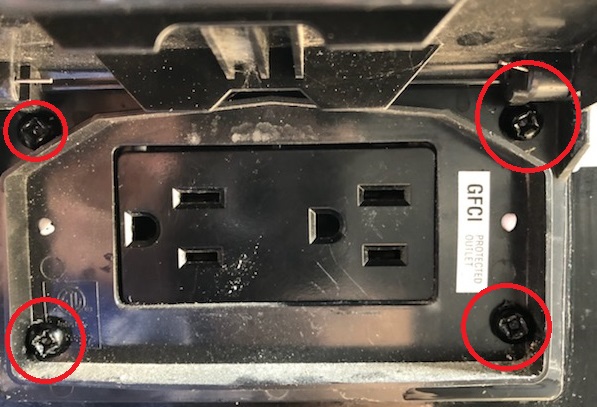
Remove the outside outlet. Four screws hold this cover on then the outlet is the same as before. Push the outlet inside the trailer for easier access.
Open the back and remove the top wire. This should be the one going into the floor (and over to the slide-out). The remaining one should be the wire you left disconnected from the bench outlet labelled “TO EXTERNAL OUTLET”. If not, pull the second wire out and reinstall the top one. The wire left in this outlet needs to be the “TO EXTERNAL OUTLET” wire.
Label the wire going into the floor “TO SLIDE-IN”.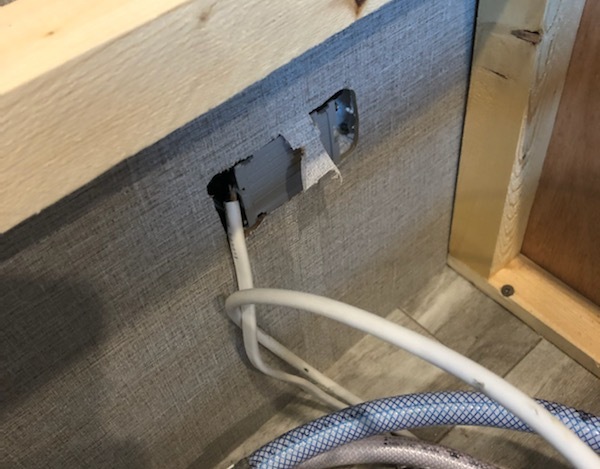
Reinstall the external outlet.
Strip the outer insulation on the end of all of three open wires back about 3″ and the black and white wires back 3/4″. Twist all of the bare ground wires together tightly but snip two shorter leaving the third extend out about and inch or more.
Connect the twisted together ground wires to the green terminal.
Twist the three white (neutral) wires together and secure with an appropriate wing nut.
Determine the top of the on-off switch (look for printing on the switch paddle itself). Connect the black (hot) wire of the “POWER TO SWITCH” wire to the top terminal.
Connect the black of the “TO SLIDE-IN” wire into the push in connection for the top terminal. This passes the live circuit on to the rest of the circuits.
Connect the remaining black of the “TO EXTERNAL OUTLET” wire to the bottom terminal.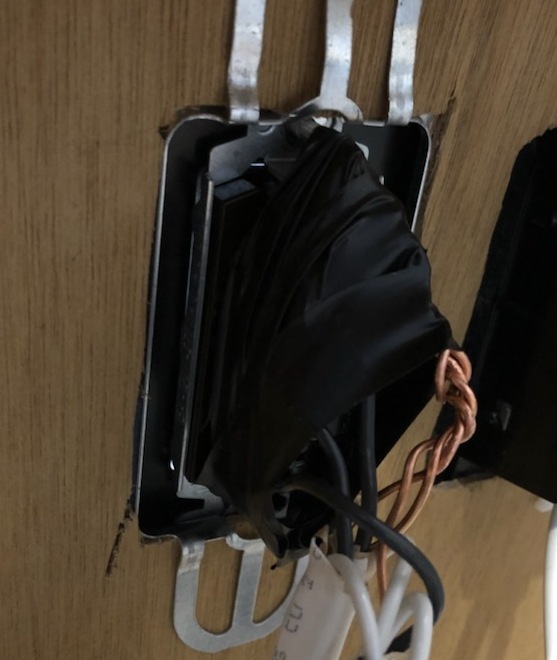
If you did not add a new box for the switch, be sure to securely wrap and enclose the back of the switch with a good quality electrical tape as there are live contacts here.
Look over the wiring and be sure you did it properly then flip the breaker back on.
Should the breaker trip back off, carefully follow your wiring again. Something is wrong.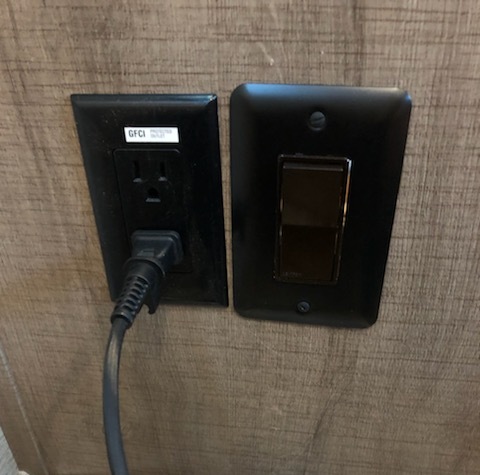
Once everything is good, flip the breaker back off, reinstall the external outlet and install the new switch. Turn on the breaker when all the work is done.
I simply leave the switch off until I need the outside outlet but that is not essential.
Here are the circuit drawings: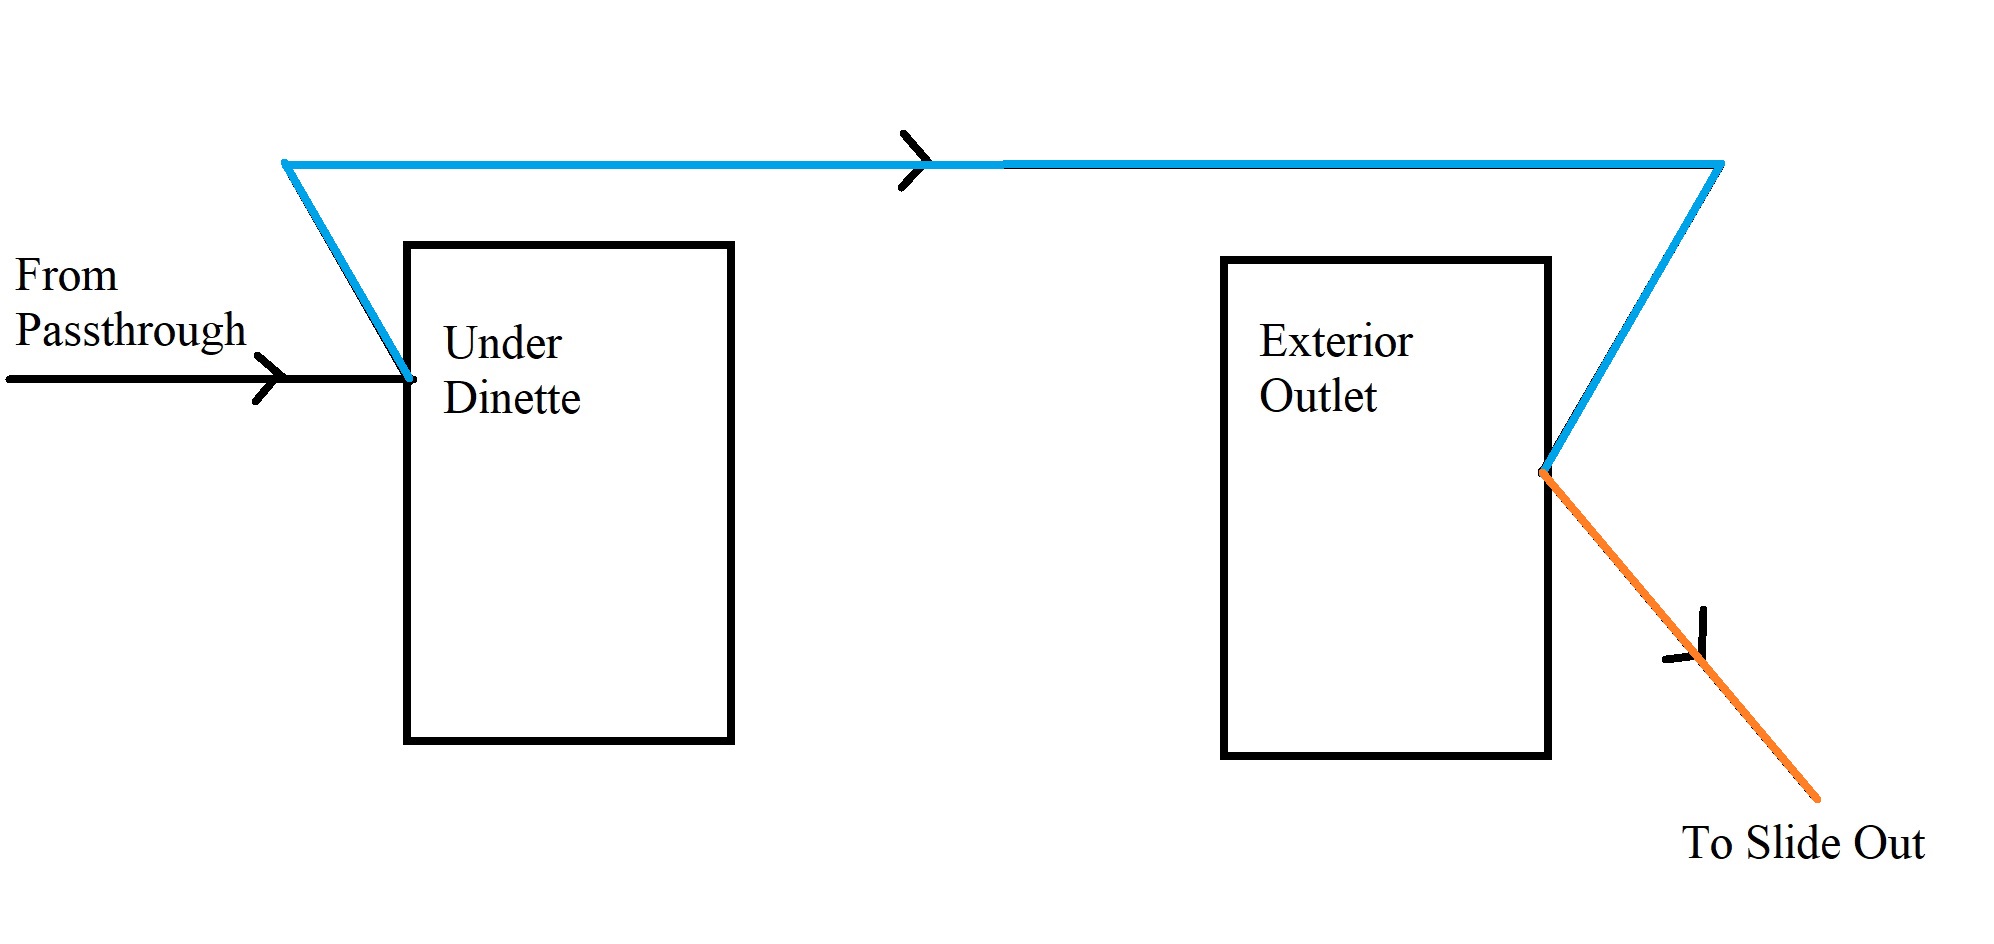
Original wiring.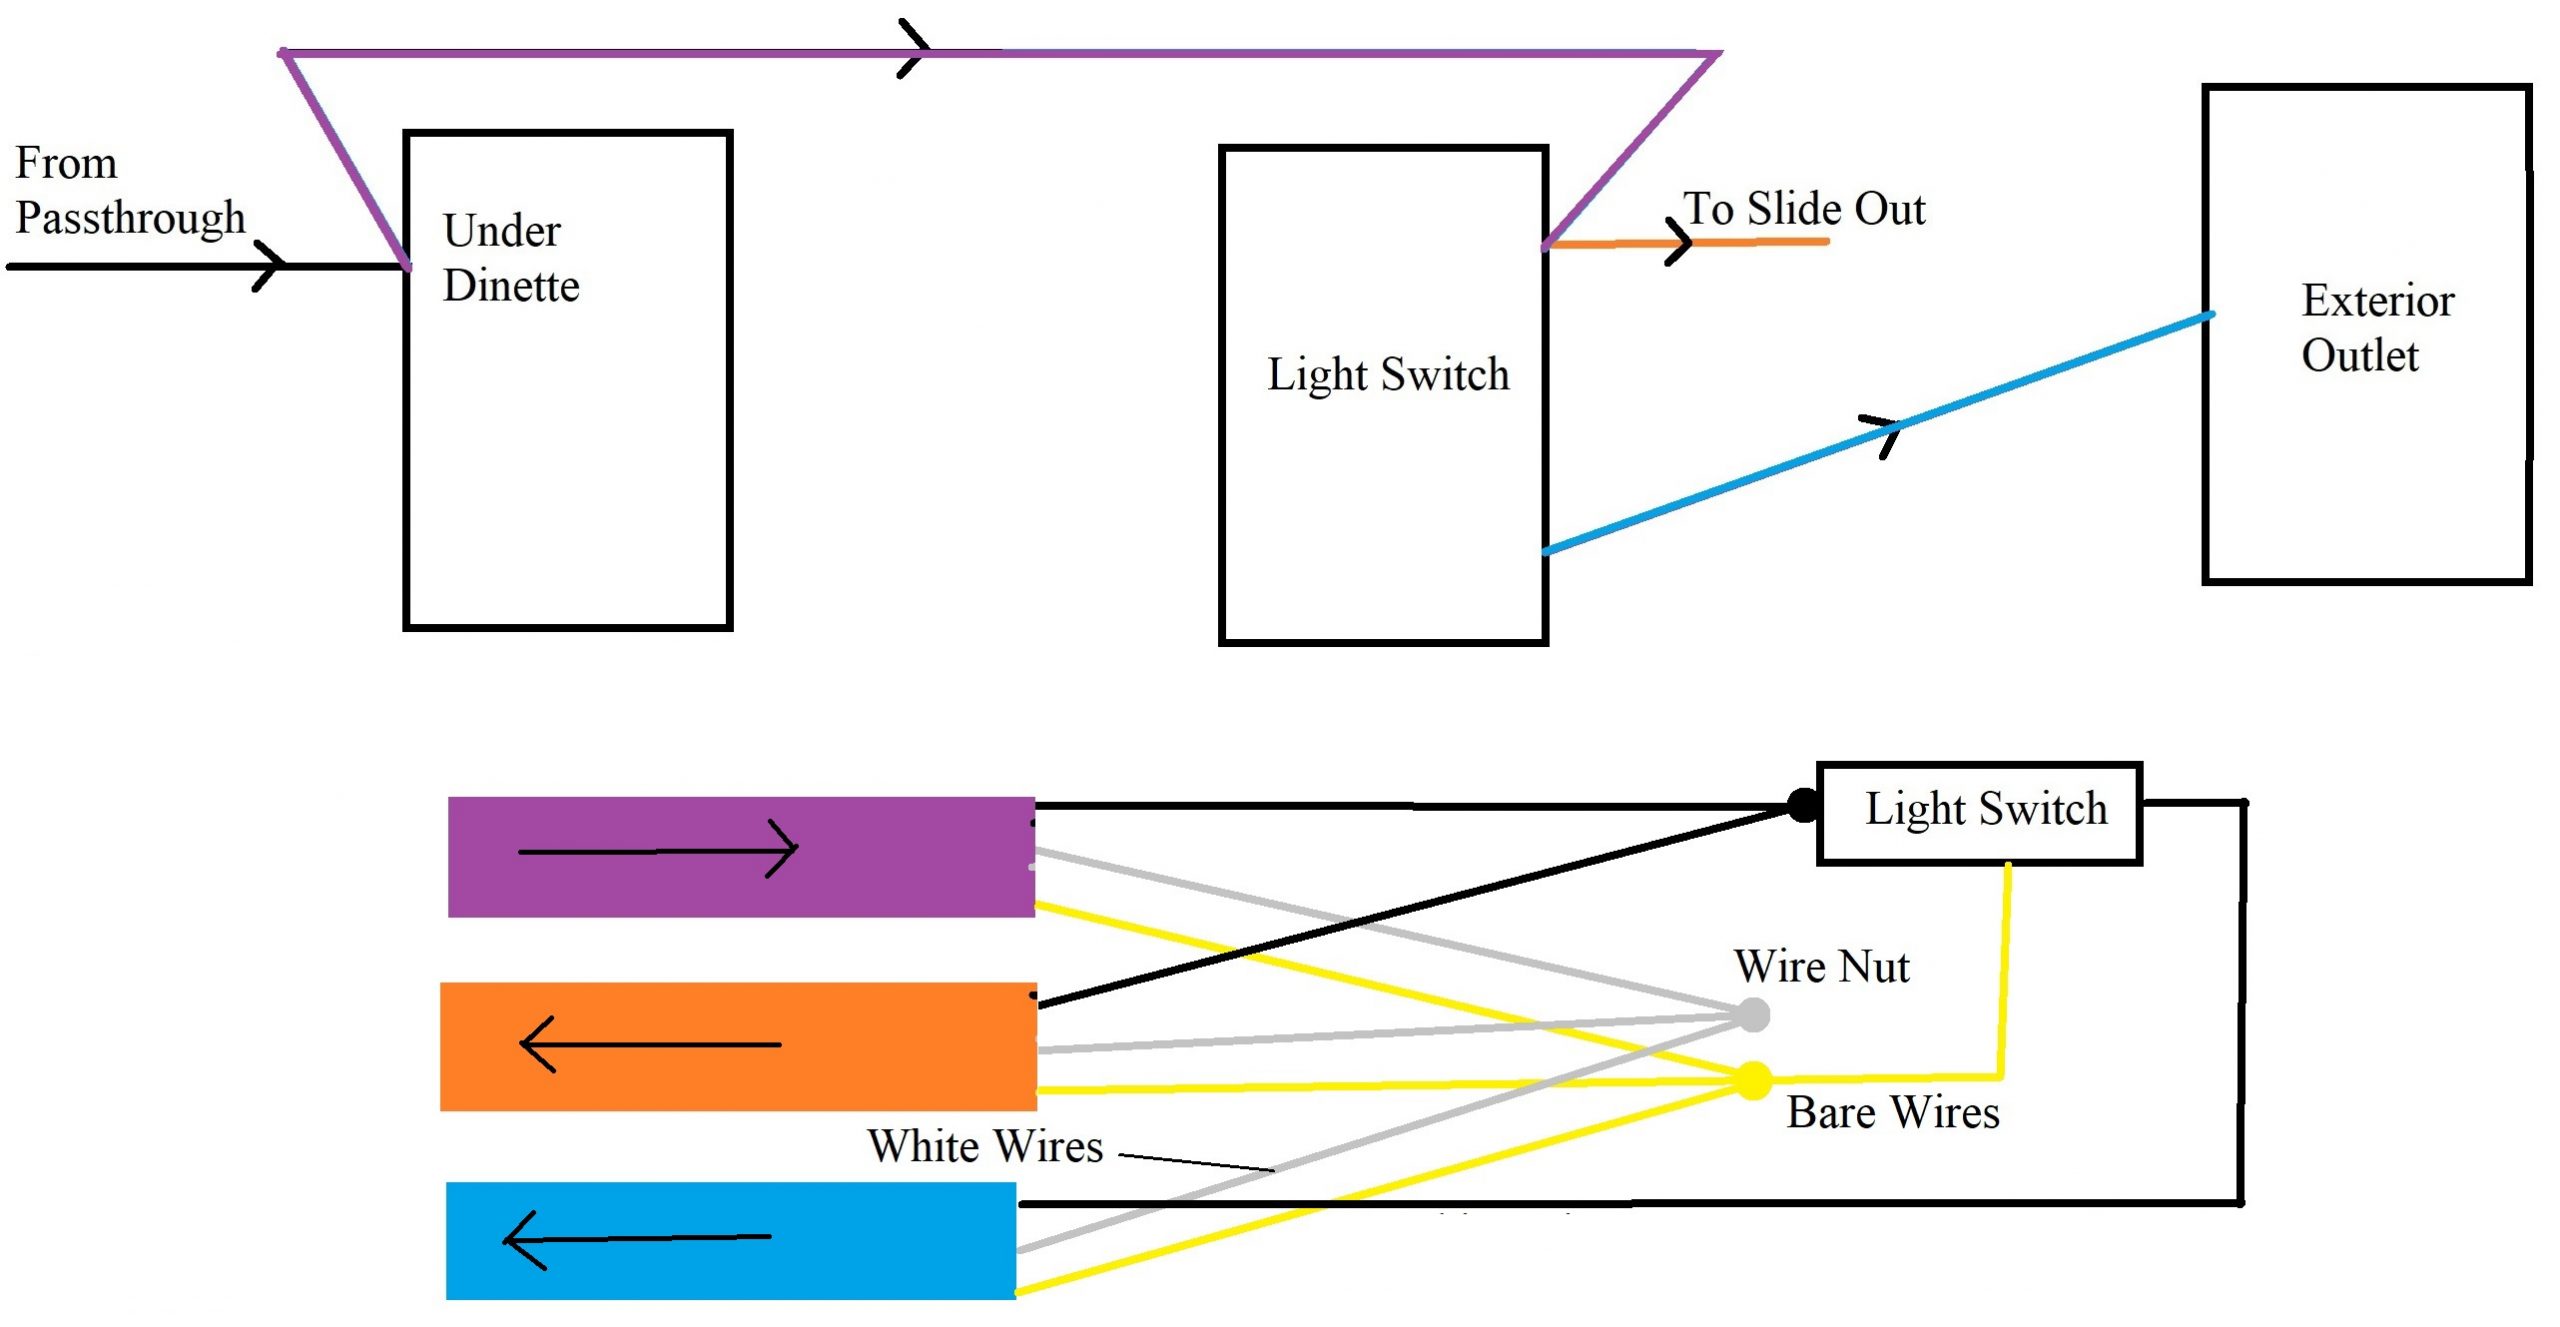
Modified wiring.