Hack #27 (Way) Under the Sink Storage.
The first time I looked under the sink to check out the winterization valves for the hot water heater, I noticed there is a lot of wasted space. That was shortly after bringing it home and while checking that everything was right and getting our MLE ready for the first trip.
Our trips last season were no longer than 2 weeks so we were not worried about storage space. This season involves an 8 week, 5,500 mi trip so we waned to use as much storage as we could so I decided to access this space under the sink.
It is actually a fairly easy modification.
* * * * * This project is vastly easier if you have a nail/brad gun. * * * * * *
First, remove the 2 screws that hold the panel on. These are the 2 you would remove to access the hot water heater valves. I also removed the left door for better access while working. Save the panel.
Construct three walls to isolate the space from the water heater. Since every unit is slightly different, measure the space and determine the right dimensions for your walls. Measure the height from the floor to the top, and the 3 walls. My back and right walls were 12″ long while the left was 8.5″ long.
Construct a frame for each wall with ¾” by ¾” stock to the wall dimensions. Cut the paneling (or other 1/8 inch plywood) to fit each frame.
I took an extra precaution and added high temp insulation to the back of these walls but this is probably overkill.
This space is hidden behind the existing doors so you may be happy with painted walls – or just don’t worry about them. I used the MLE paneling for the middle wall. A good source of paneling is the panels under the dinette seat cushions. Simply replace them with plywood.
now
You have a choice for the center wall. You can maintain access to the hot water heater valves here but some people prefer to access them by removing the bottom drawer to the left. I like access through here.
If you want access here, cut off about 4″ from the top of the center panel. Glue and nail it to the top of the center wall now. You may need to add notches on some corners to fit around existing framing and one in the right wall for the wires to pass through.
If you do not have a nail gun, you will be attaching the panels with screws. Position the panels on each frame and attach with 4 screws – one on each side. It is best to drill holes through the panel for the screws.
Leave the panels off to allow easier access installing the walls.
Position the walls into place (being careful to keep them squared) and secure in place with the nail gun, finishing nails or with screws. Drive the nails for the top down into the frames from the space above.
Once the walls are installed, nail or screw the panels in place. The removable panel (if used) has to be attached with screws.
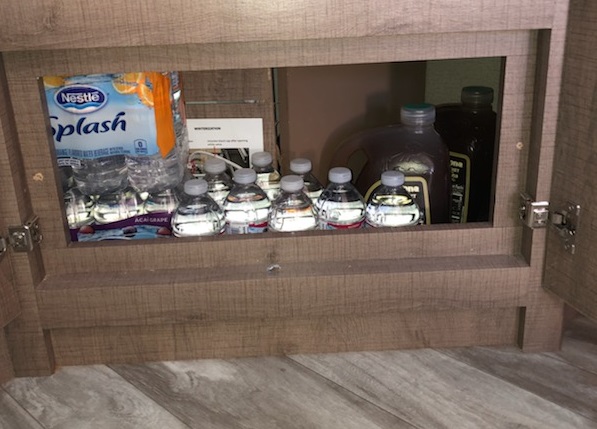
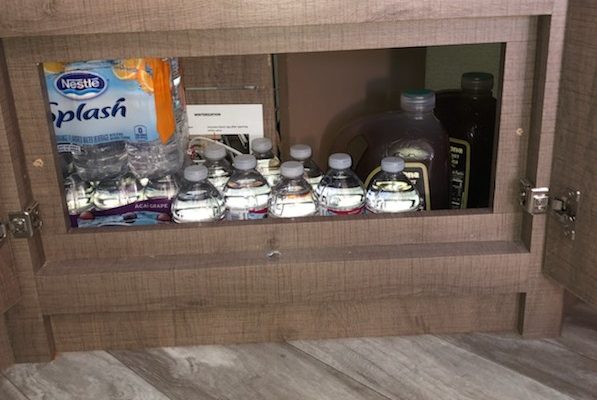
We store our many bottles of tea and water in the space and it serves the purpose quite well. I
I
