Hack #13 Bed Cubbies.
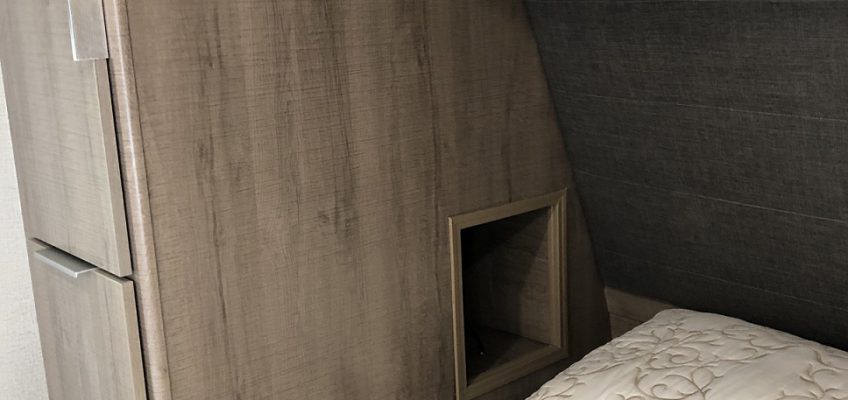
We were never too crazy about using the shelf space next to the bed but in front of the drawers. You had to move everything to open the lower drawer and the space was not very handy when in bed.
The space under the ‘closet’ and behind the two drawers on either side of the bed is completely wasted. I saw where one family had a cubby added at the factory and liked the idea. Needless to say, I knew I could do this hack myself so I made some measurements and off to the hardware store for a few supplies (only if you want to add shore power outlets in the cubby).
I wanted outlets in my cubbies but you can pass on that. Do not tackle the wiring if you are not proficient at electrical wiring practices. Simply skip all the steps on wiring.
I picked up two outlet boxes, 2 receptacles with USB chargers, 2 cover plates and 25′ of wire. I had the rest of the materials laying around.
One place to get panels that match the walls is from under the bench seats. Nobody looks under there so you can replace those pieces with plain plywood. Another place is to remove the piece under the bathroom sink which also gives you a LOT more storage room under there.
I have 2 sets of plans available. The one detailed here is my plan but I also have a set detailed by Charles Staley. His plans use corner molding available from GD and includes 12V utility sockets – a great addition for those with CPAP units. You can download his complete set of directions as a PDF file here –> 22MLE Bed Cubbies 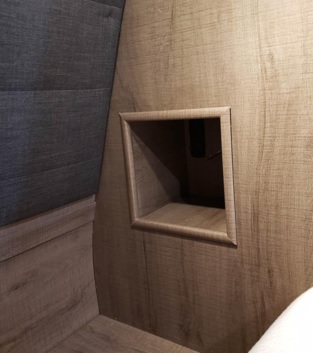
Thanks Charles!
The first step is to measure and layout the cut. The vertical cut toward the foot of the bed has to be at least 19 inches from the front corner of the closet to clear the panel behind the drawers so I went 19½ inches. I marked my lines with masking tape. Just be sure you remember which side of the tape to cut on. Draw arrows to help you remember.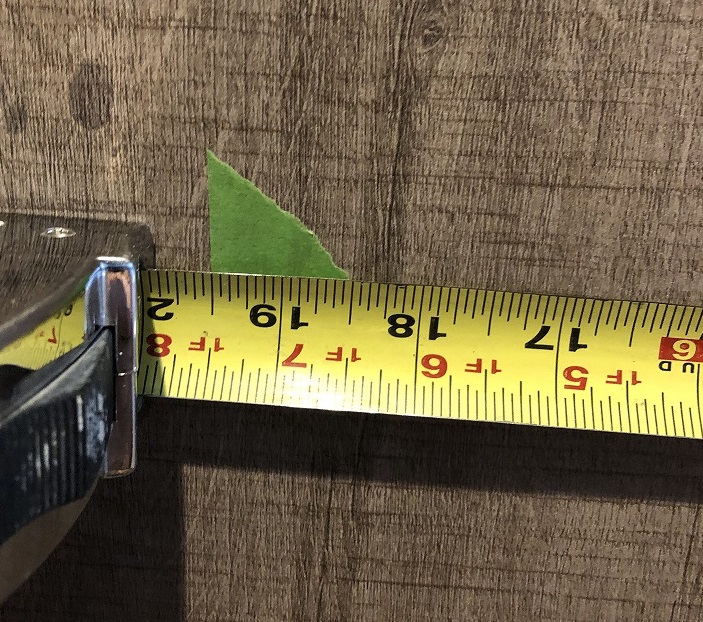
The distance to the top of the opening up from the bed base is 20 inches – to clear the framing for the closet.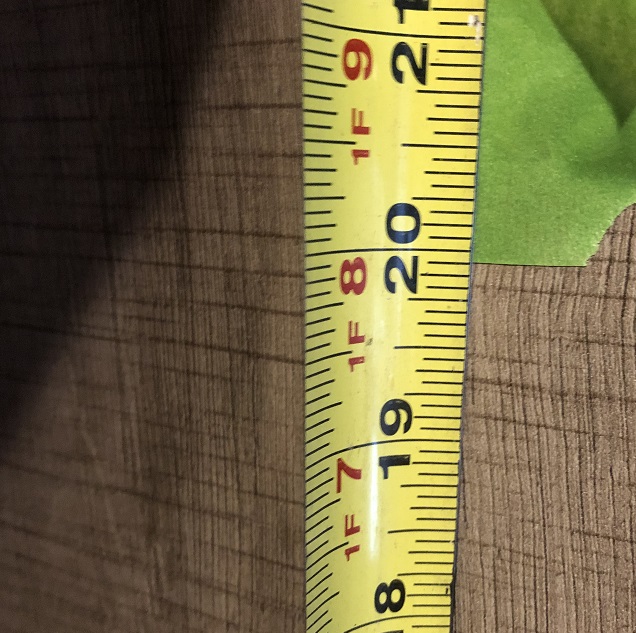
The bottom of the cubby has to be above the mattress. A residential mattress is typically no more than 9 inches tall so I used that.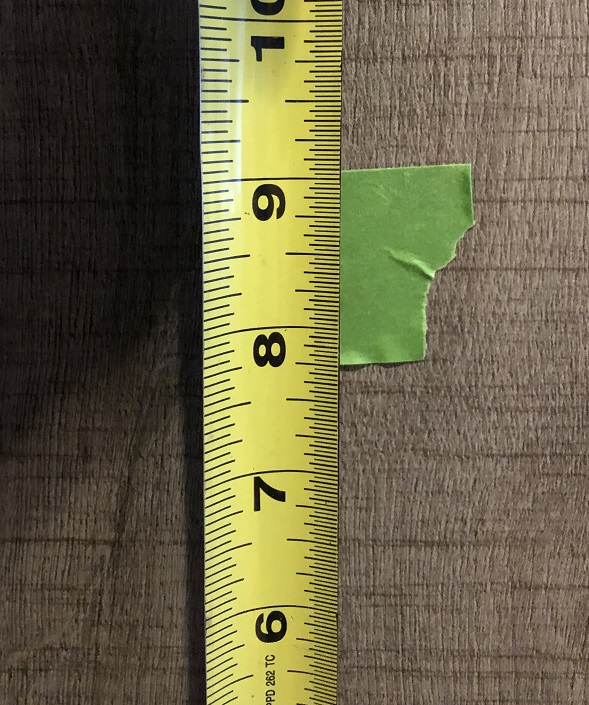
In order to have clearance for the trim, I used a square to determine that I needed a maximum width of 10 inches.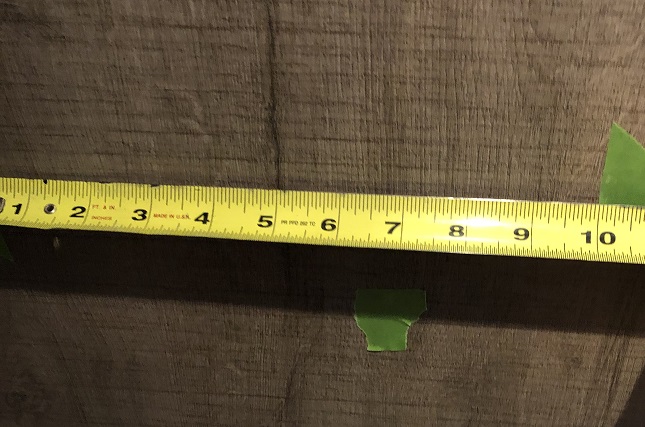
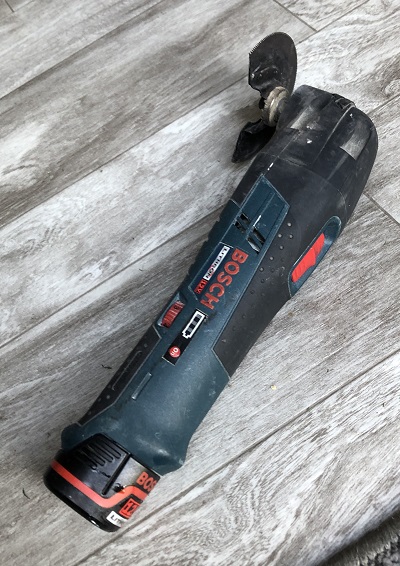
I marked off the area and cut the hole out with my Bosch Oscillating saw. 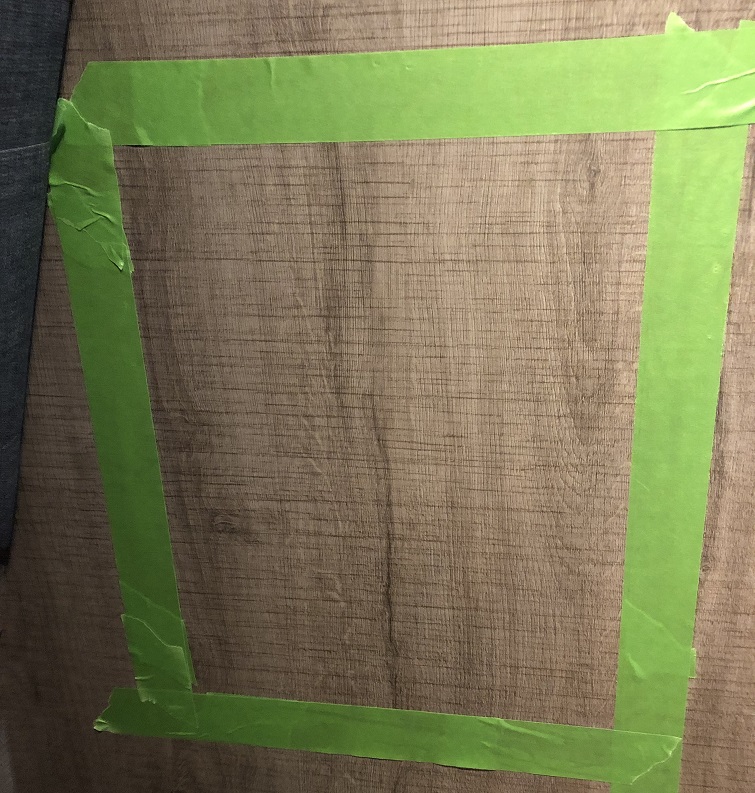
Add framing supports to the inside of the four sides of the hole. These can be cut from 3/4″ stock. The bottom one has to be shorter to allow for the supports on the bottom of the box. 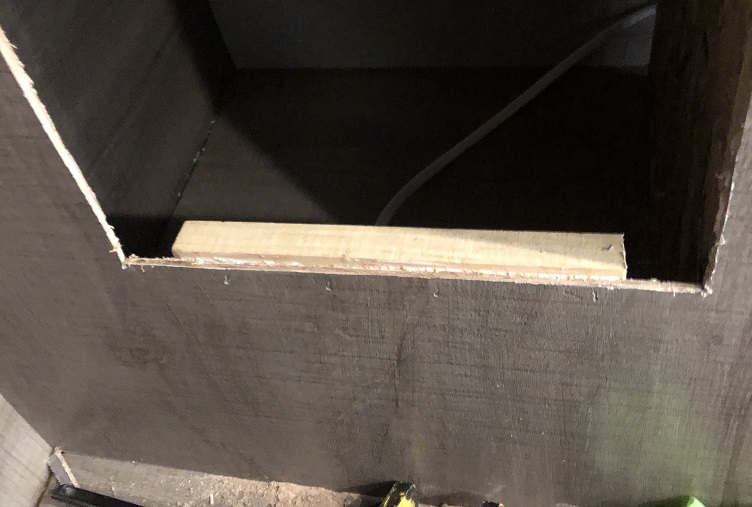
I constructed the box to slip into the hole I just cut. The exterior dimensions of the box have to match the hole precisely:
11 inches tall – 10 inches wide.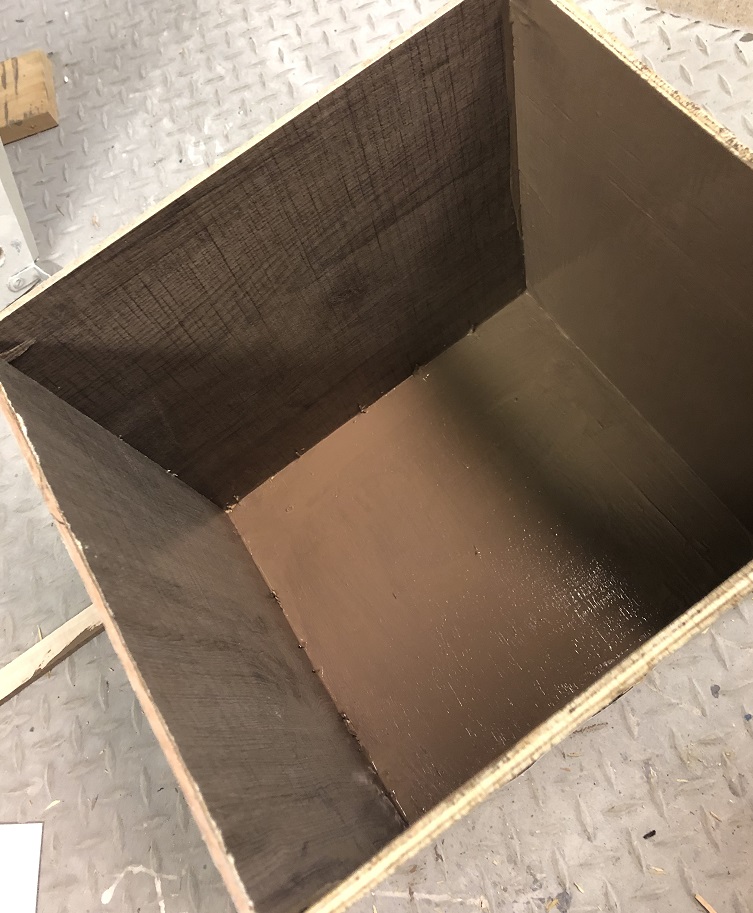
You can go as deep as you want but leave space behind the box for wiring and the outlet box. I chose a depth of 11 inches so that I could use the piece I cut out as the bottom.
I used pieces from the panel I removed from under the bathroom sink for one side on each cubby – the side you see from the foot of the bed. Paint the bare wood a good matching color.
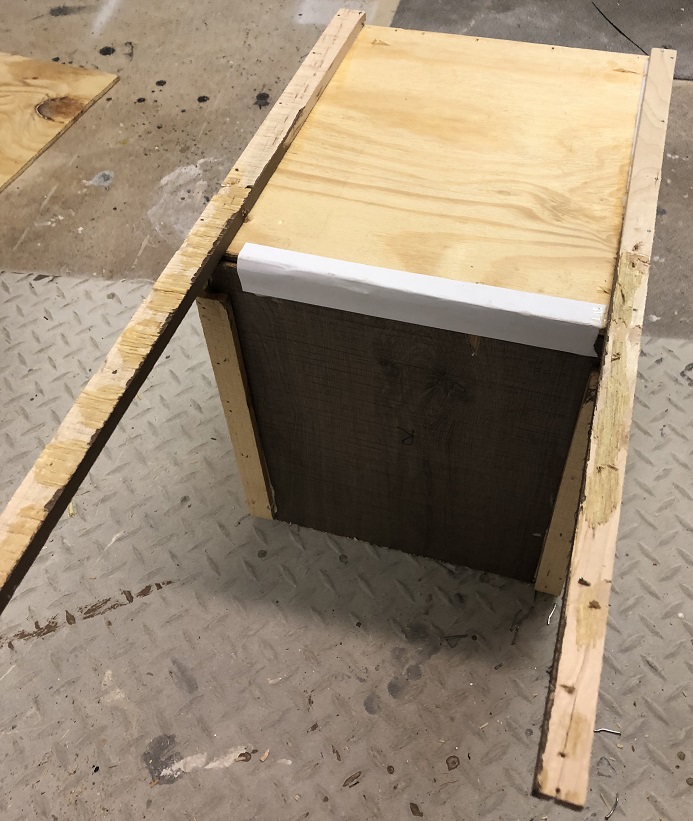
Add a support to the back at each corner. It needs to extend the below the same distance as you use for the bottom of the opening – 9″ for mine.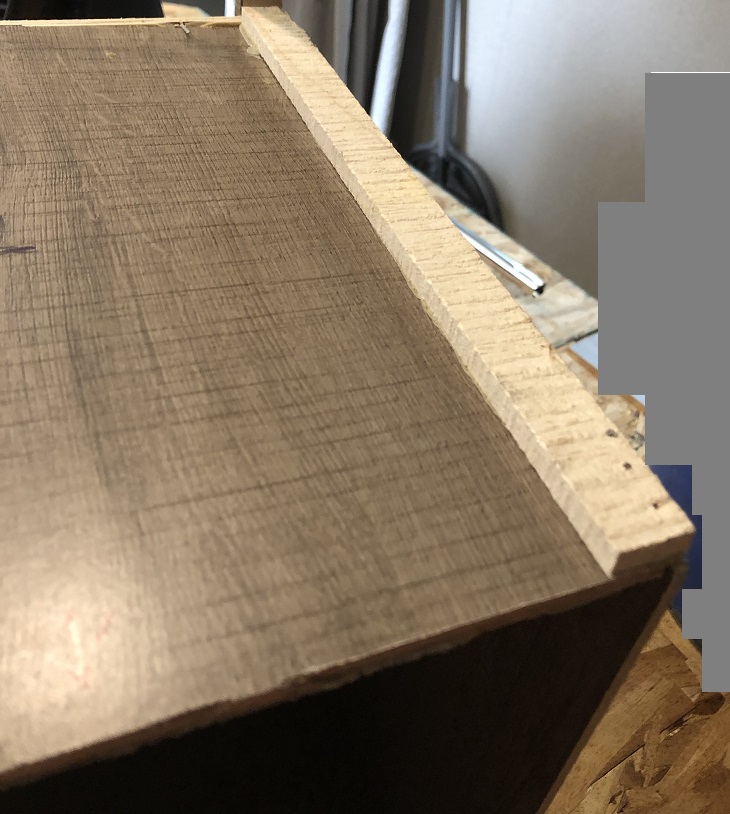
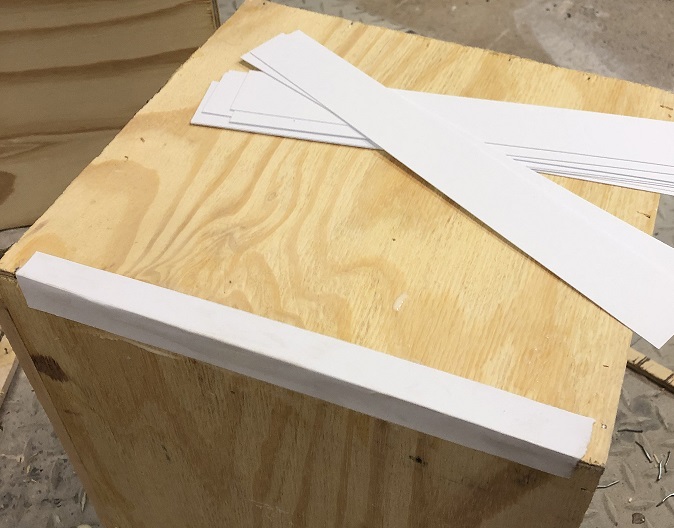
I also added support at the bottom but you need to notch the opening for these to fit through. Glue some card stock on the seams to add strength if desired.
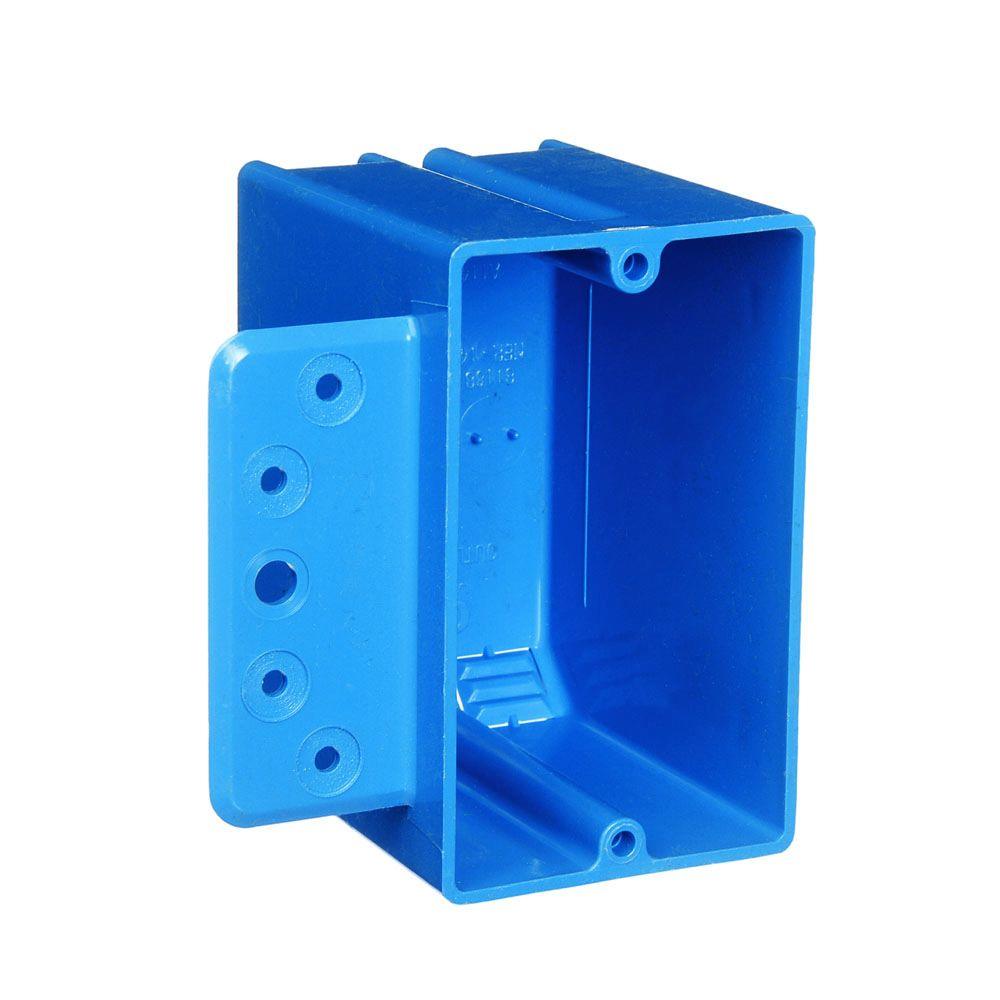
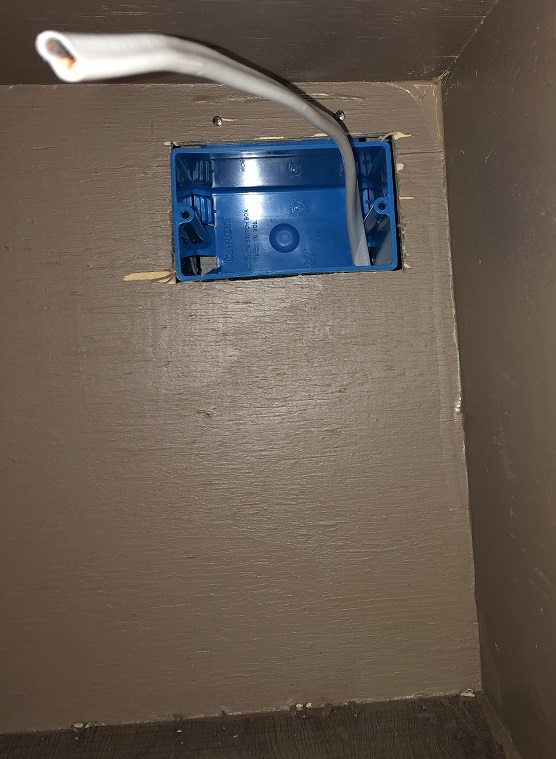
Cut a hole for the outlet box and install it in the back of the box.
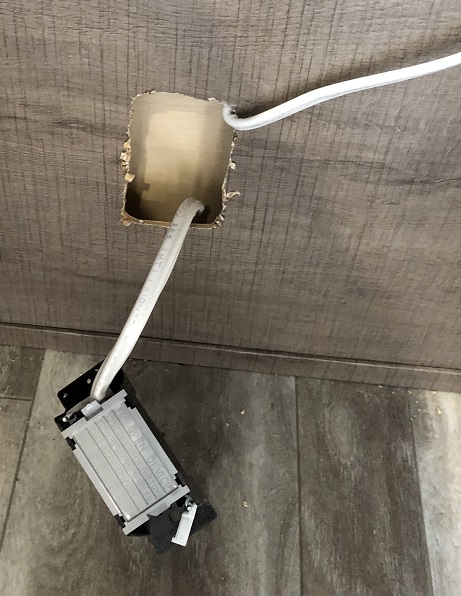
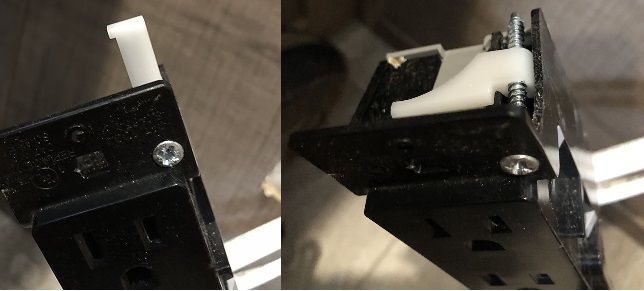
There are outlets next to each side of the bed for you to tap into the circuits. They have white tabs that flip up and down for installation and removal. You will need to pass the wiring through the back of that space, through the pass-through area, and up into the space under the drawers, then around the panel behind the drawers. There is a good sized space around the back panel. To remove the drawers, pull them all the way out and use the small black release levers on the guides to release.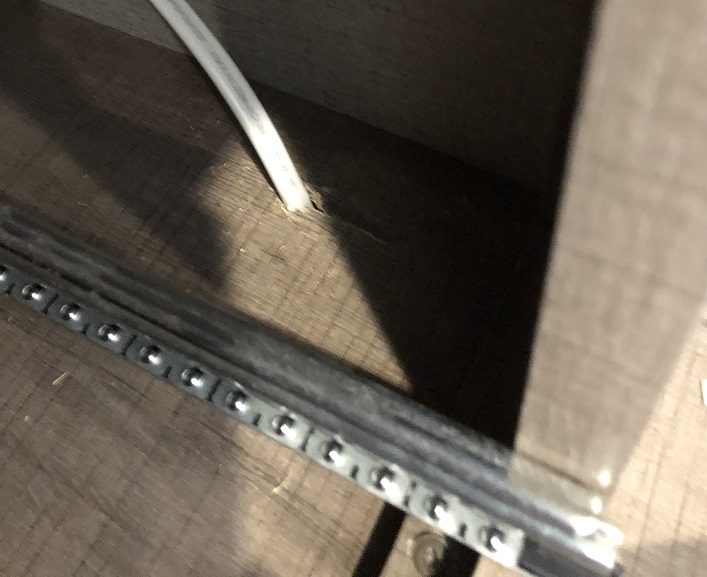
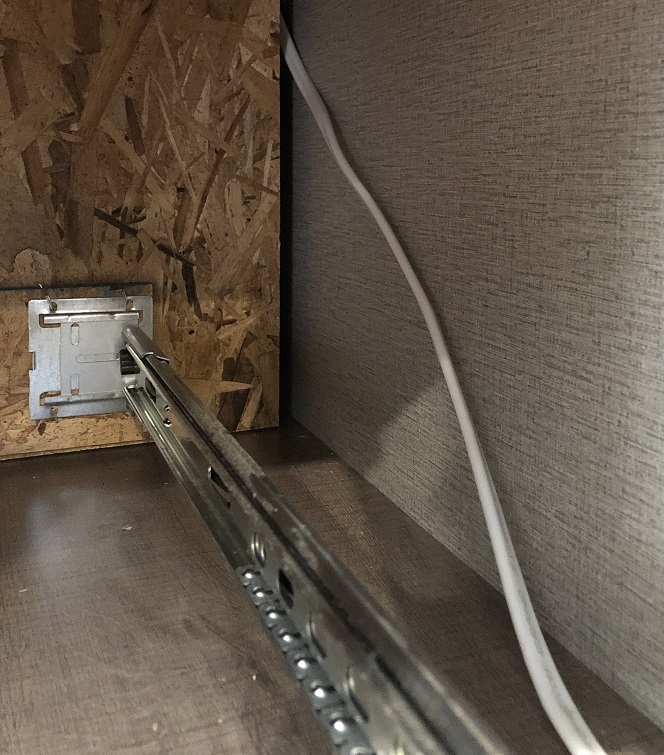
From inside the pass-through, drill a 3/4″ hole into the space where the outlet is located by the bed. The hole should be a few inches in from the outer wall of the trailer and close to the top of the wall going inside but about 2″ down. Go slowly or you might poke through the inner paneling too. Drill another hole up through the top and at least 12 inches into the pass-through space into the area where the drawers fit.
Feed your wire down through the top hole, where the drawers go, into the pass-through and then downward into the hole in the wall into the space where the outlet belongs. You should see the wire through the outlet hole. If not, try feeding it in again. Leave enough wire to cut, trim and connect everything. Use U shaped wire nails to secure the wire to the roof inside the pass-through.
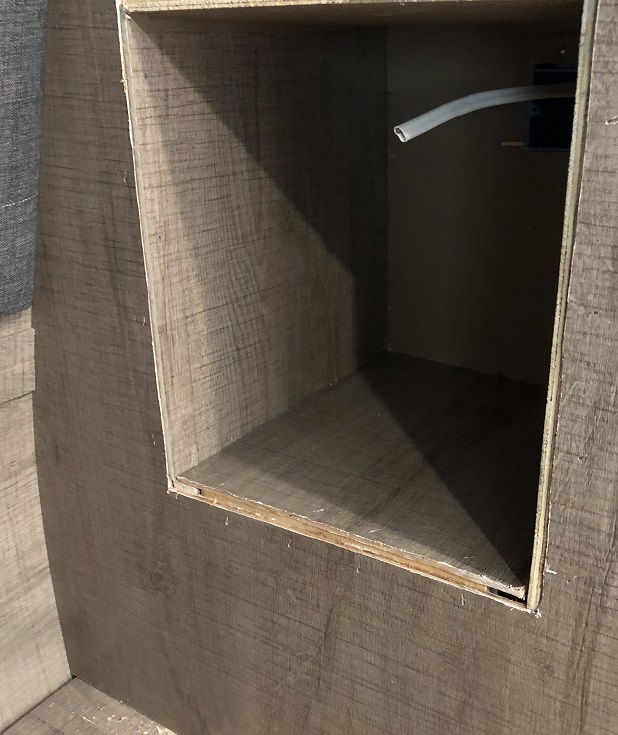
Feed the wire into the back of the outlet box and slip the cubby box into the hole you cut out by sliding the supports in first and tilting the box up and in. Take care that you do not push it in too far. Nail it in place into the supports around the opening with brads.

Install the outlet and cover plate.
Remove the shore power connection from your trailer before tying into the wiring. Tie the other end of the wire into the existing outlet you removed. Gain access to the inside by pressing in the 4 tabs on the side while pulling out on the back. I made a spliced connection externally instead of trying to add a third wire to the internal wire connections.
Test all connection then re-install the outlet in place with the cover plate. Now, plug power back in and test for proper circuit connections.
Install trim around the opening.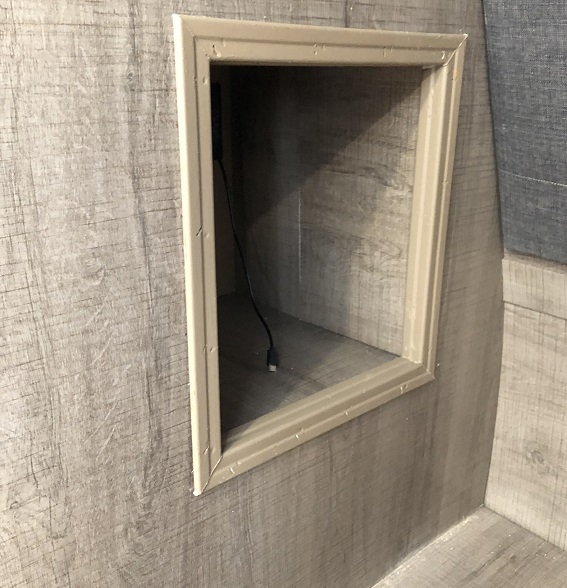
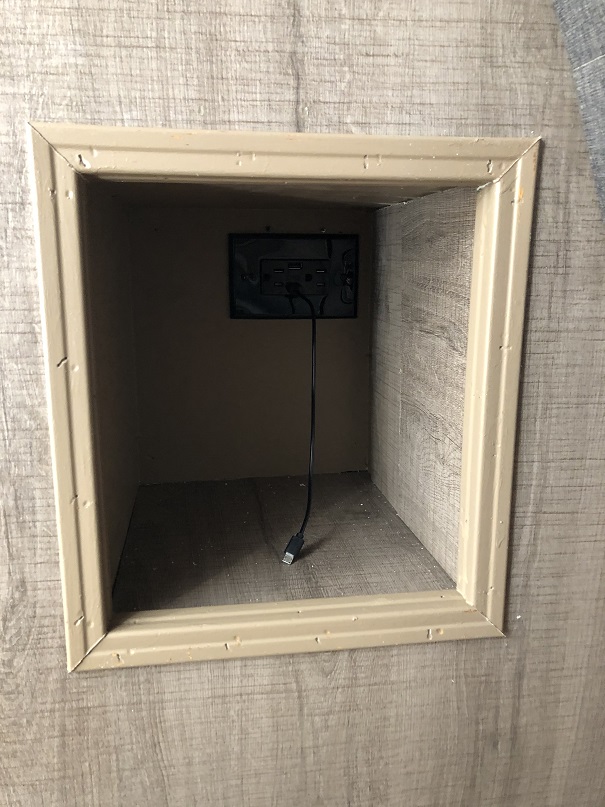
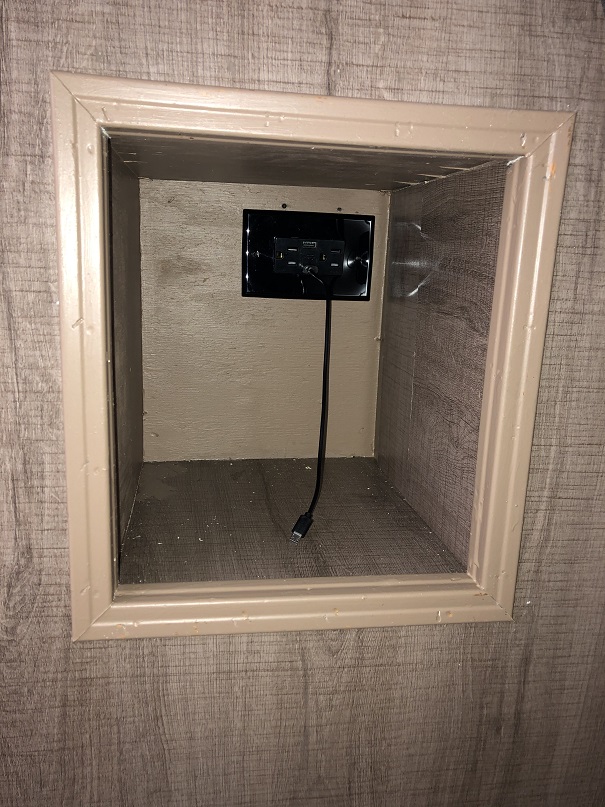
Clean up the mess. You are done.
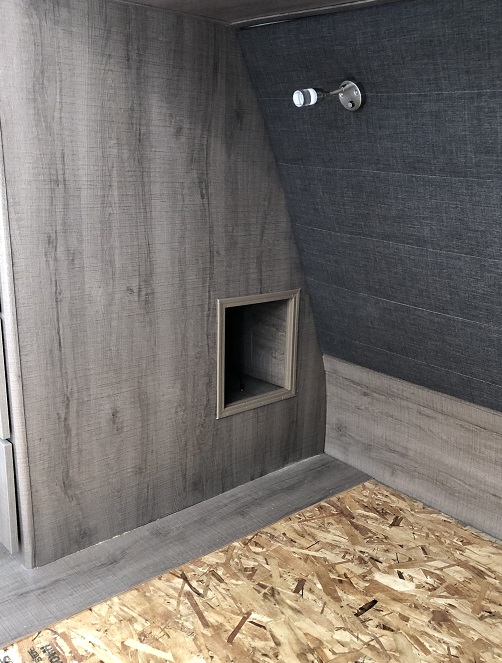
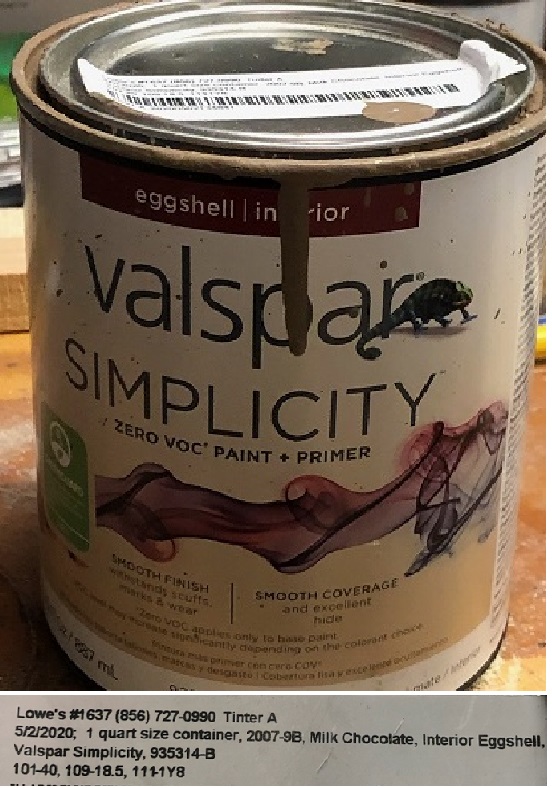
Trim paint : Valspar Milk chocolate