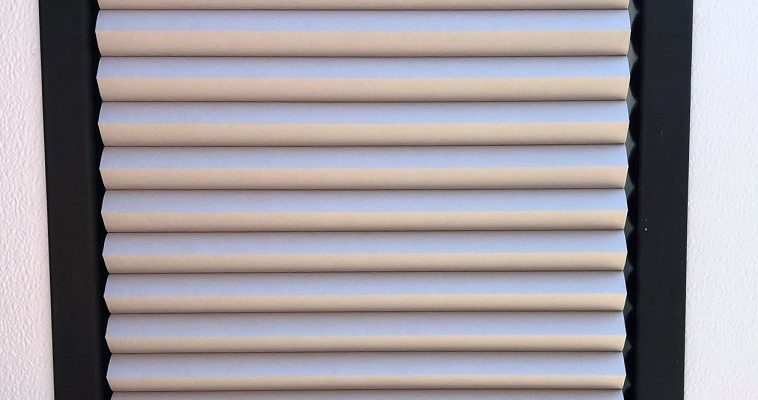
Hack #12 room darkening shade for door window.
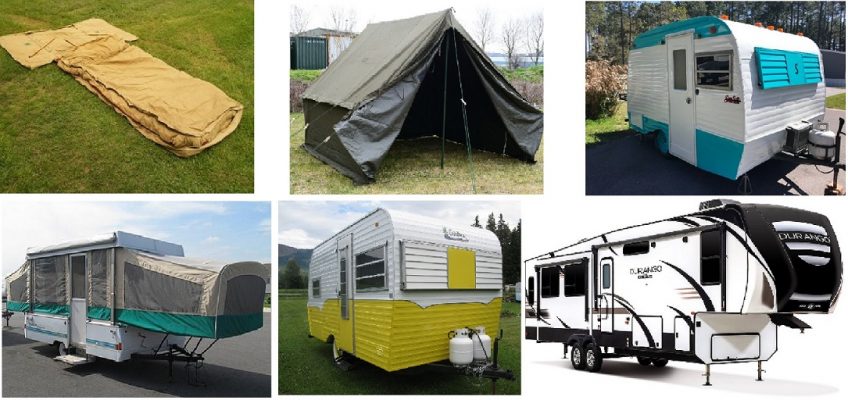
We knew that, sooner or later, we would end up with a campsite where the early morning sun would come beaming in through the door window. This would assure that we woke earlier than we may wish.
I looked online and found blinds custom made for trailer windows but they ran $100 and more for a small blind. The problem with generic blinds is they do not fit the unconventional shape of the window. The rounded corners prevent mounting the blind against the top if they are wide enough to block the full width of the window.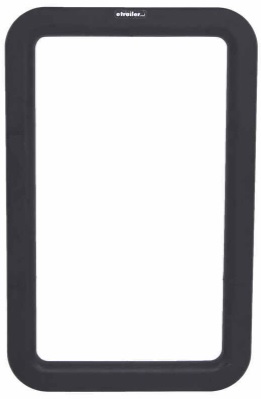
You could use a blind that fills the width but the curved corners would mean it has to be installed about an inch, or more, from the top and would not go all the way to the bottom.
You could always black out these areas but you lose about 1½ inches for the blind and another about three, or more, inches for the blacked out space.
I was not willing to give up that much window. I decided to purchase a standard blind then modify it to fit better.
We purchased an Inside Mount Type – Classic Cordless Blackout Shade from Select Blinds : 13″ W x 22″ H. The top has plenty of room to allow shaping it to fit snugly up into the rounded corners.
The first step was to bevel the back of the top. This cut is not critical as it will be hidden once installed. Remove the plastic end caps. I simply cut an angle off with my hacksaw then filed it more or less round.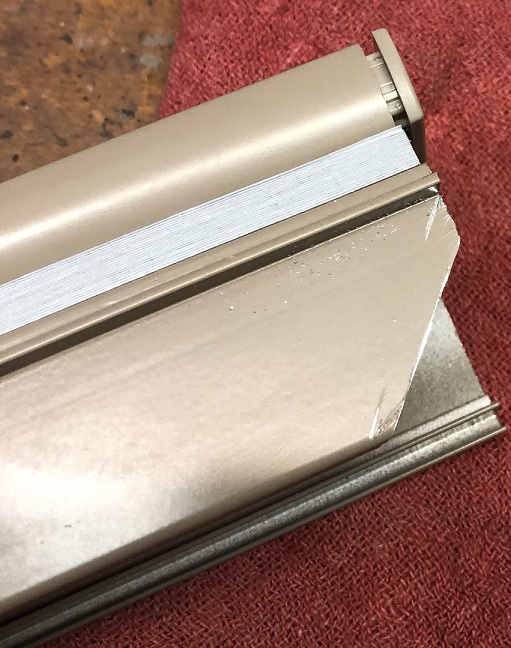
Cut the plastic end caps to remove most of it but leave enough to leave the front and bottom tabs and cover the trim in the front and the bottom.
Now trim the bottom to fit into the curve.
Remove both plastic end caps and slide the bottom off of the slides. They will remain in tact. Cut the bottom down to to 11-5/8″ long.
If you want it to pull down as much as possible, cut a 1/2″ notch into both back corners. This will let it drop the last 1/4″ down so is not essential but I did it.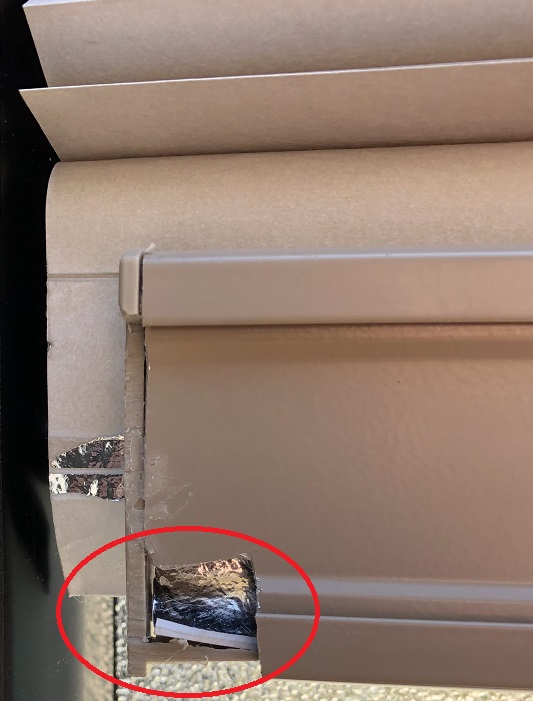
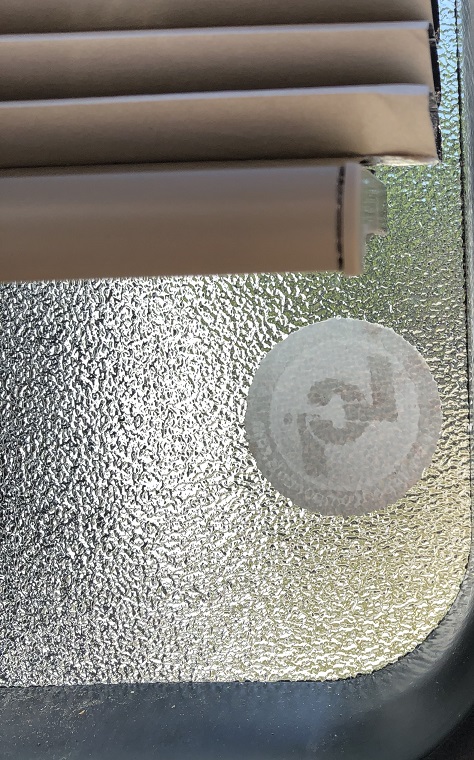
Cut both plastic ends to trim as much as possible off of the bottom but still cover the metal edges. Also cut off enough of the honeycomb fabric to fit back into the bottom.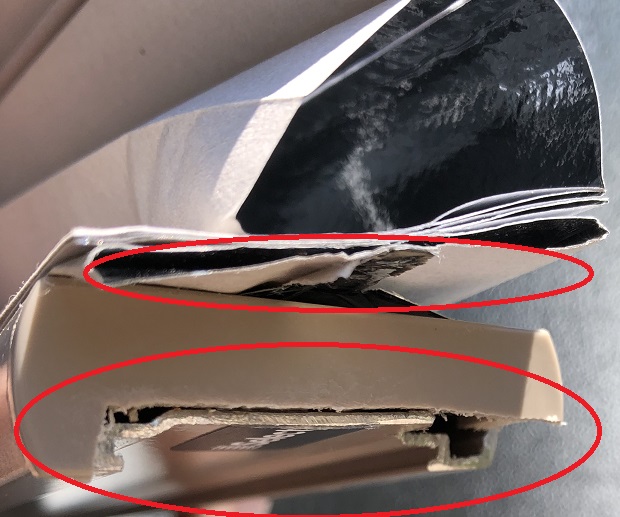
Put it all together and test fit it to the window. You should not need any more adjustments but now is the time for any.
Super glue all plastic end caps back in place to make sure they will stay in place.
Install the brackets. do not use the screws supplied as they are too long. All you need is screws about 3/4″ long.
The spacing here is not critical but they need to be on the straight portion of the frame. Install them with the back of the brackets flush to the window pane.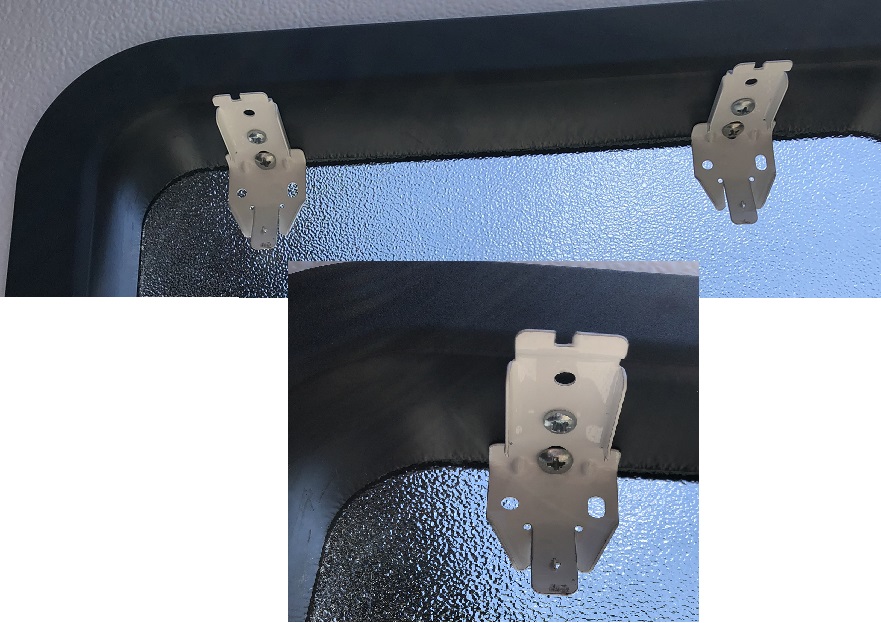
Simply click the blind into place on the brackets and you are done.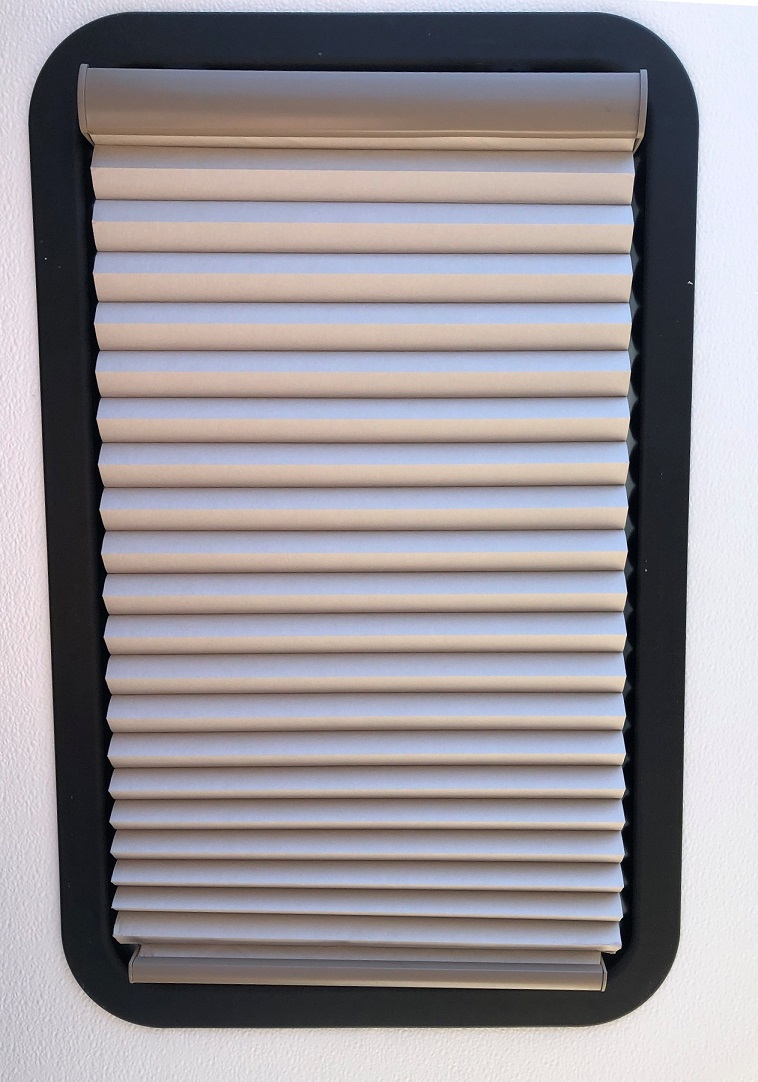
Notice how well it covers the entire window – especially with the notch cut into the bottom.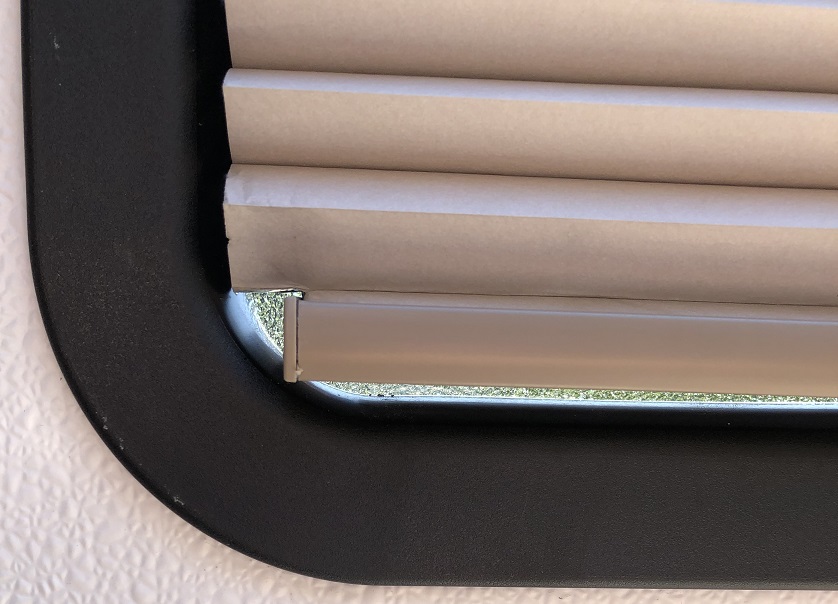
You can add the plastic tab for pulling the shade down but it is to wide and pushes against the screen when closed so I left it off.
You can also add a pull cord to the bottom to allow you to close the shade without having to open the door and screen.I
