Hack #8 Under Bench Laundry Cubby.
We placed a 20 gal. trash can in the unused area under the bed for laundry but wanted a smaller area for daily use.
I unscrewed and lifted the panel under the right dining table bench and found there was a decent usable space there.
I turned it into the laundry cubby.
The first chore was to find a plastic container that would fit in the space, on its side, and utilize as much area as possible. I wanted to be sure I would not have to worry about clothing snagging on the wood framing inside the box. I had an extra around that worked quite well it was 12″ tall.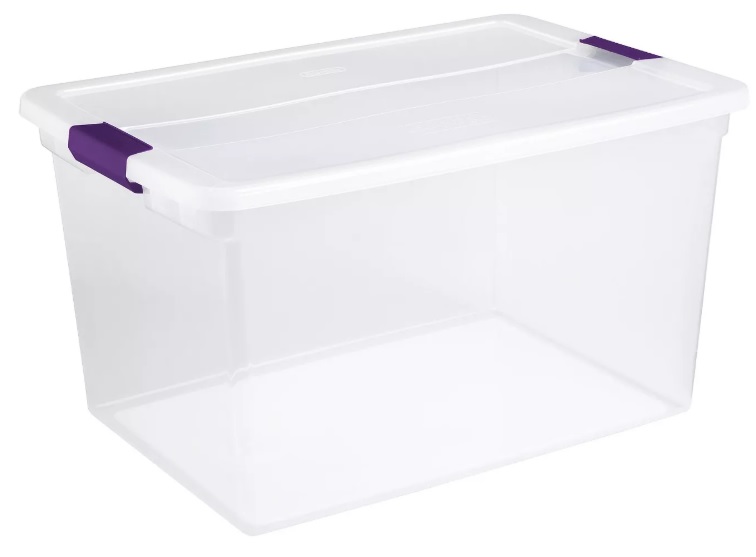
Fitting the box requires a bit of patience and adjustments. I cut the end of the box off and went to place it in the area but the forward seat support was in the way so i removed it. This allowed me to slide the box somewhat into place. I noticed where it needed some trimming to better fit and did so. I wanted it to overlap the frame in the opening so that I could secure it in place. I repeated this until I was happy with the fit and I screwed it to the framing.
I trimmed the lid back to allow for a little air flow to prevent the clothes from getting funky. After installing the lid, I replace the forward seat support. I glued and nailed it back into place.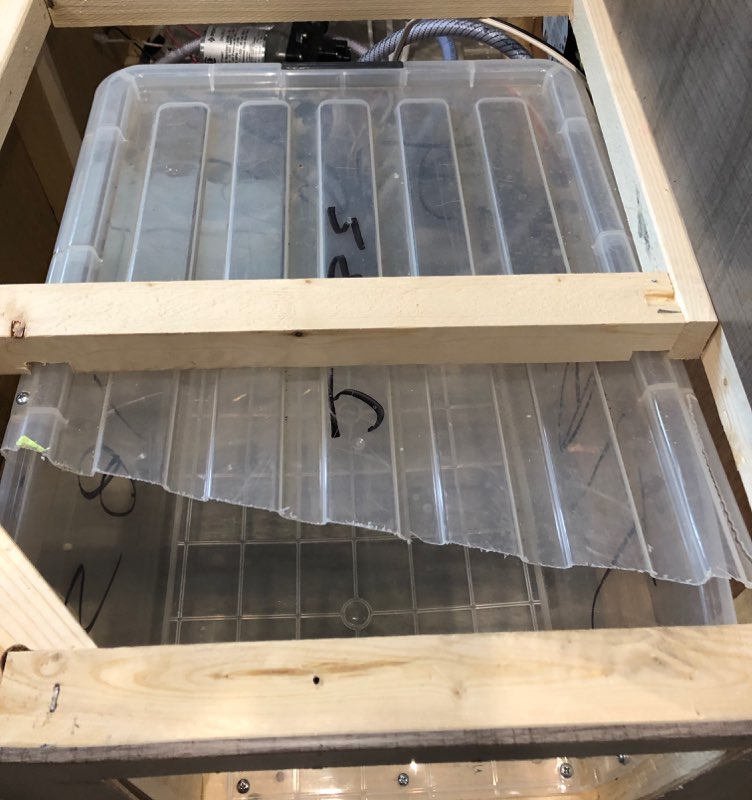
Next step was to create a convenient door. I decided to make a pull down door with a clasp to hold it closed. I cut the door with my Bosch Oscillating saw. The door was cut following the inner edges of the framing in the end of the bench. This allowed me to cut the door flush with the framing. I did this by laying the saw blade flat on the shelf, or framing, and slowly sawing along each side of the hole. Be sure to place a small piece of masking tape near the top of the piece to be cut out marked ‘TOP’ so you will be sure to keep the right orientation later.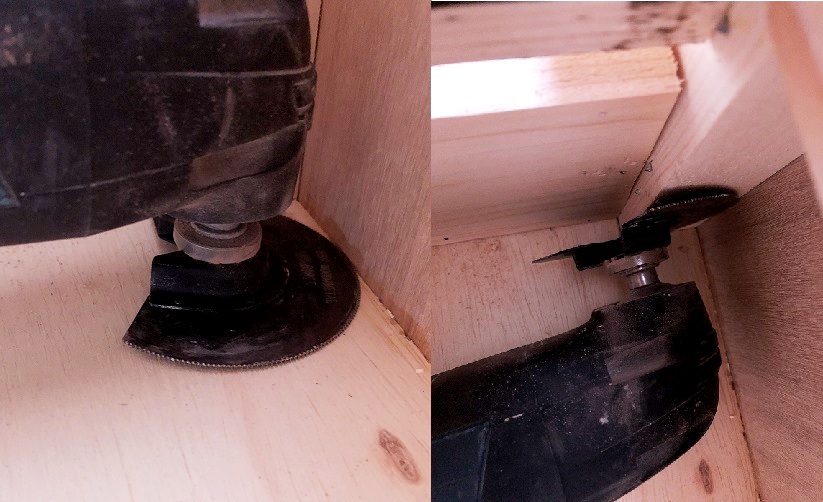
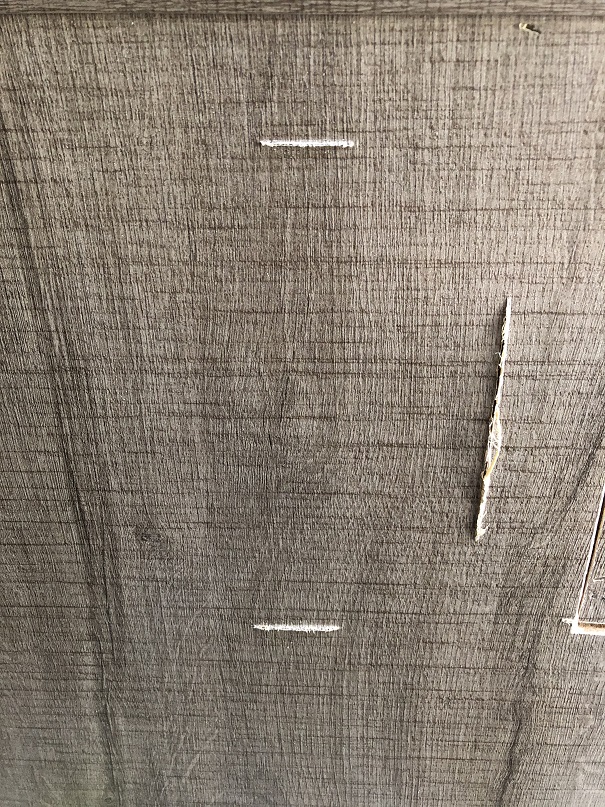
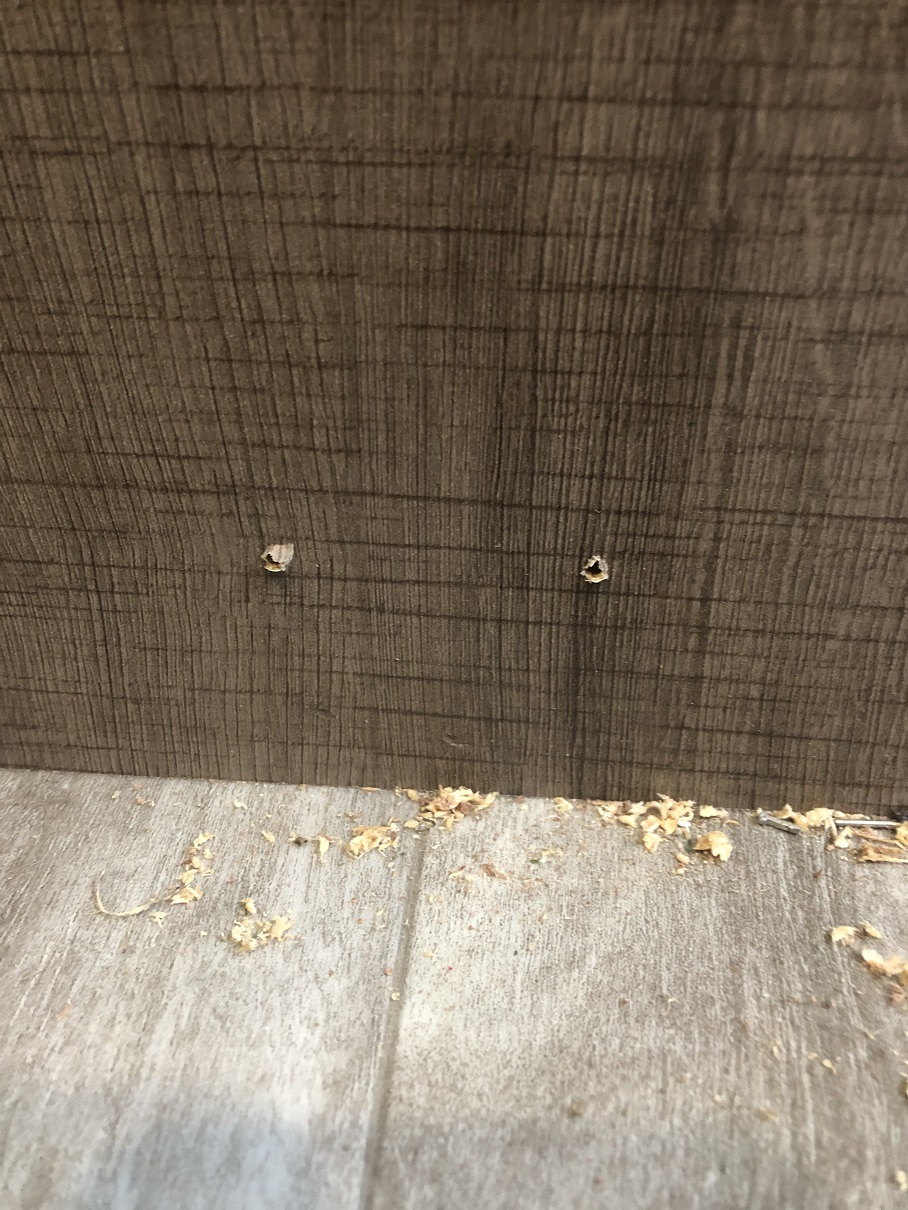
If you are going to use a saw that cannot cut flush, drill a very small hole from the inside out to locate the corners of where the cut will be made.
Once you have these drilled, stretch masking tape along the cuts as a guide line for cutting. Be very careful when pulling the tape back off as it may try to lift the top layer off the paneling.
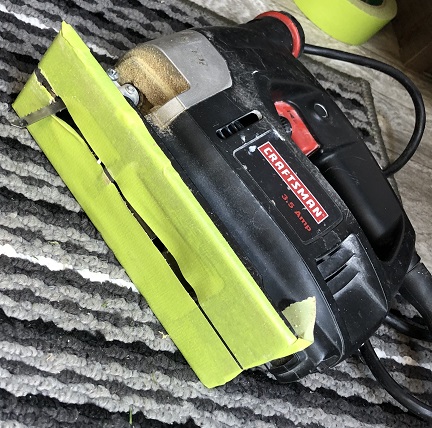
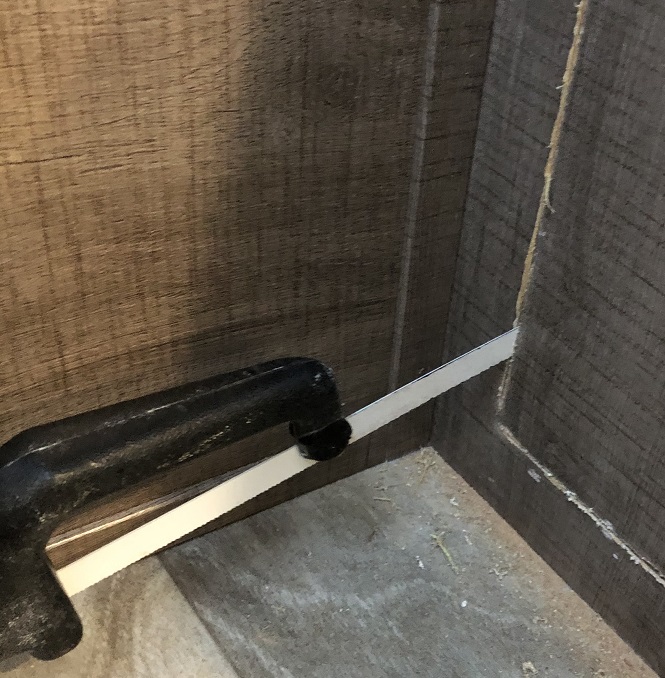
If you are cutting with a saber saw, you can place masking tape on the bottom to prevent scuffing the paneling. A small keyhole, or similar, saw works best for cutting out the corners.
Carefully cut out the opening as it will be used for the door face. Use a rasp, file, or sandpaper to smooth up the cut edges. Trim about 1/16″ off each side on a band saw or table saw (with a fine blade) to true the edges up and allow clearance around the panel.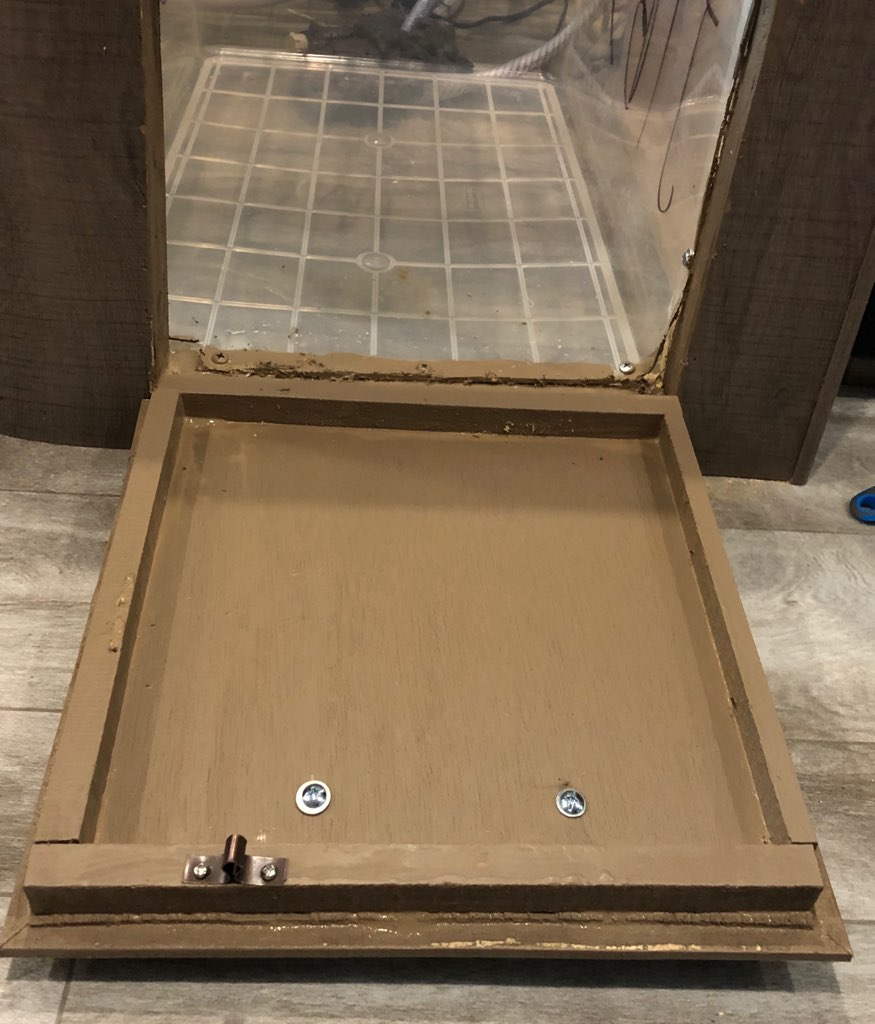
You will need to add support to the panel around the edges. I simply cut ½” thin slices off ¾” stock for this. Add a frame around the back side of the door staying flush with the edges. Add a diagonal too to help minimize warping.
Add trim to the edges of the door to cover the gaps around it. I simply cut thin slices off ¾” stock and painted it for my trim. Be sure to use small brads on the edges to firmly secure them together. Cut and attach the bottom trim first.
The bottom trim should be nearly flush with the edge but every-so-slight over (about 1/64″). You want it to hide the gap at the bottom of the door but not overlapping so far it interferes with opening the door all the way.
One way to maximize this is to open the door and hold a piece, cut for the door width, in place under it and tape it in place then secure it with brads taking care that it does not move.
The trim should extend over the top and side edges about ¼” – 3/8″ to cover the gaps around the door while closed.
Attach the pull handle to the front. You should add a wood block on the inside to provide enough thickness for the long bolts (plus this distributes the stress on the drawer. Locate the center of the door (side-to-side) and use a piece of masking tape to mark the spot.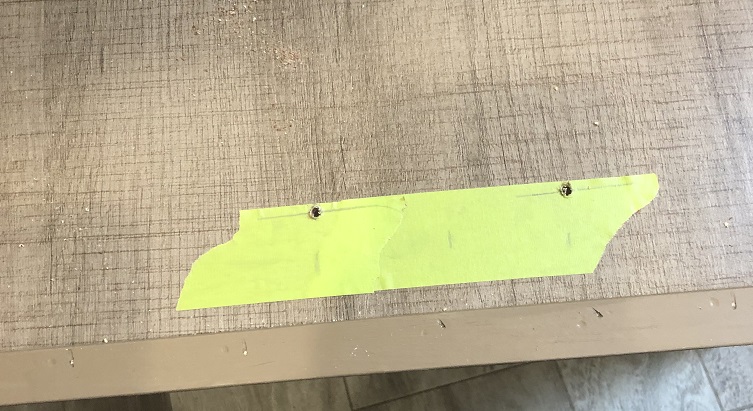
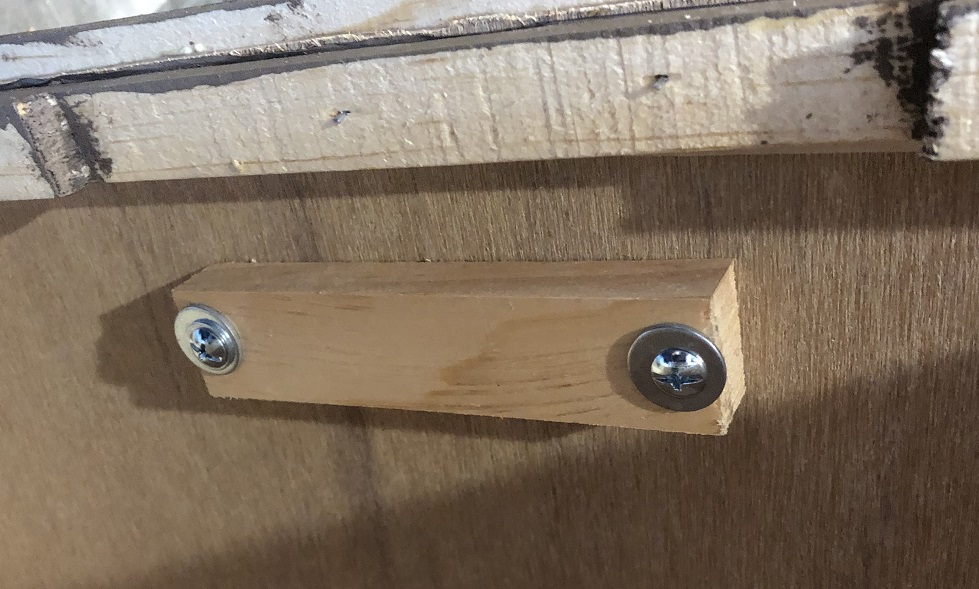
Drill the hole(s) for the handle and mount it.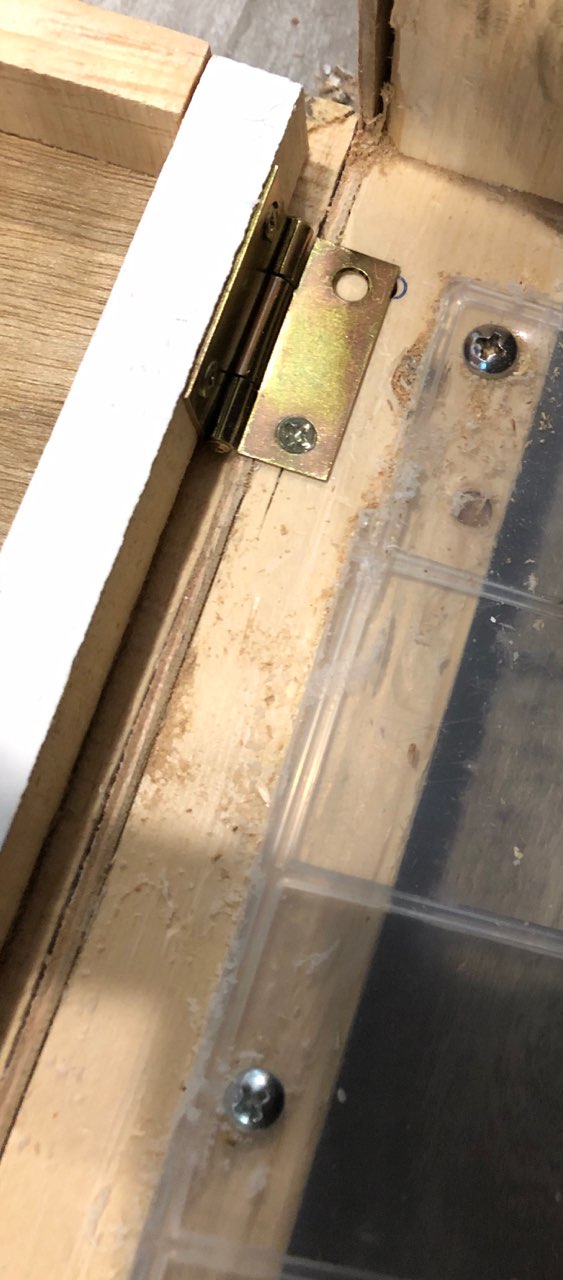
Secure the door to the opening with 2 small, very thin, hinges along the bottom. The hinges should be about 1/8 thick. If thicker, you may need to notch the door where they attach so that the door still swings open freely.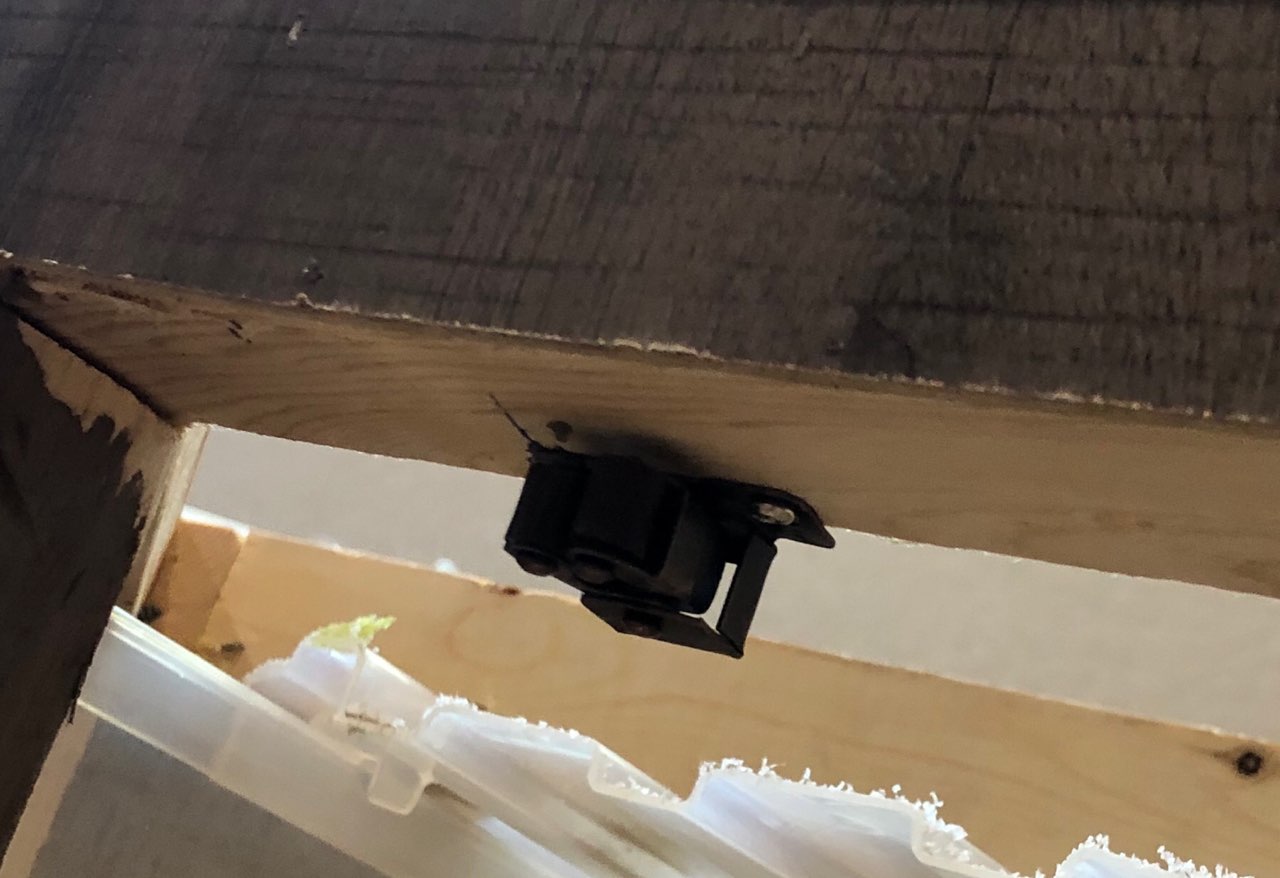
I elected to simply use a cabinet catch to hold the door closed.
A small/light bunji cord stretchy enough (long enough) could be used to pull, and hold, the door closed. Attach a small screw eye to the inside of the top-left corner of the door close to the edge while not interfering with opening the door. Attach an eye bolt with nut to the side far enough back to pull the door closed and still allow it to be pulled open easily.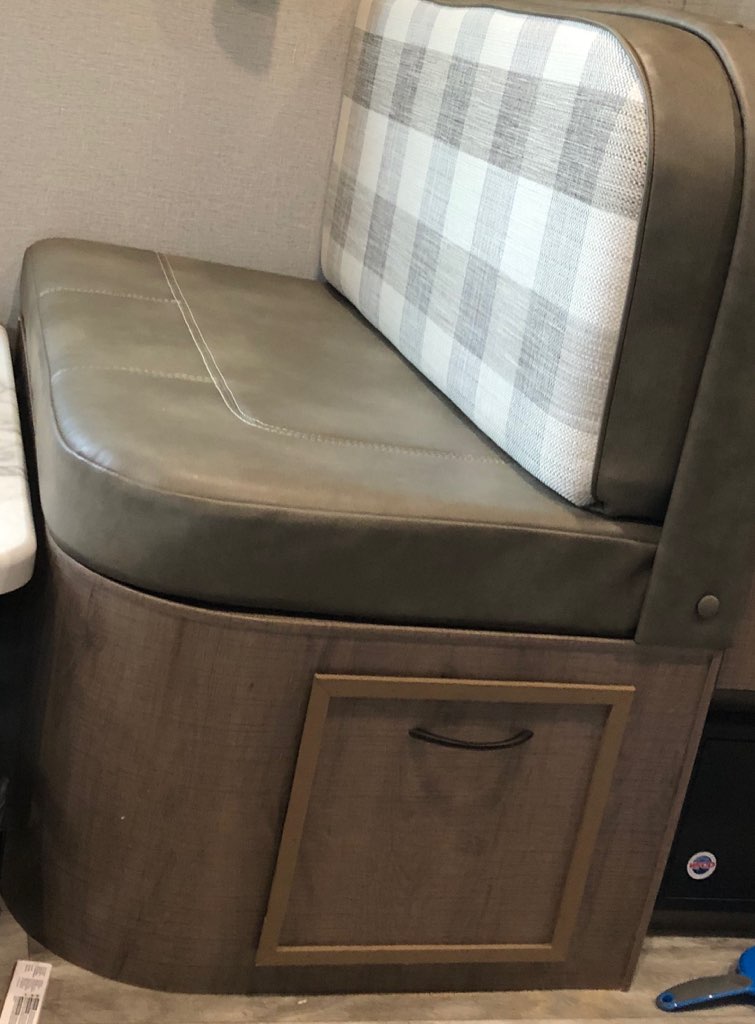
The finished dirty laundry space looks great and hides it away nicely.
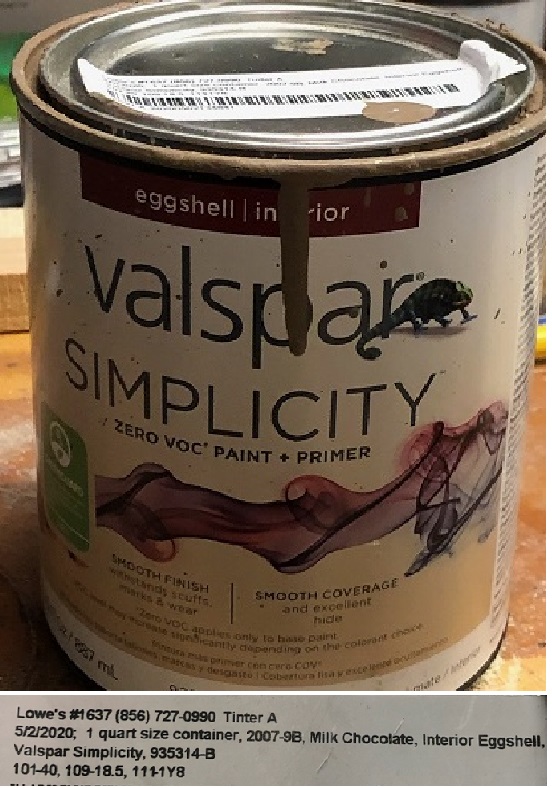
Trim paint : Valspar Milk chocolate