Hack #7 Basement (Front Pass-Through) Storage.
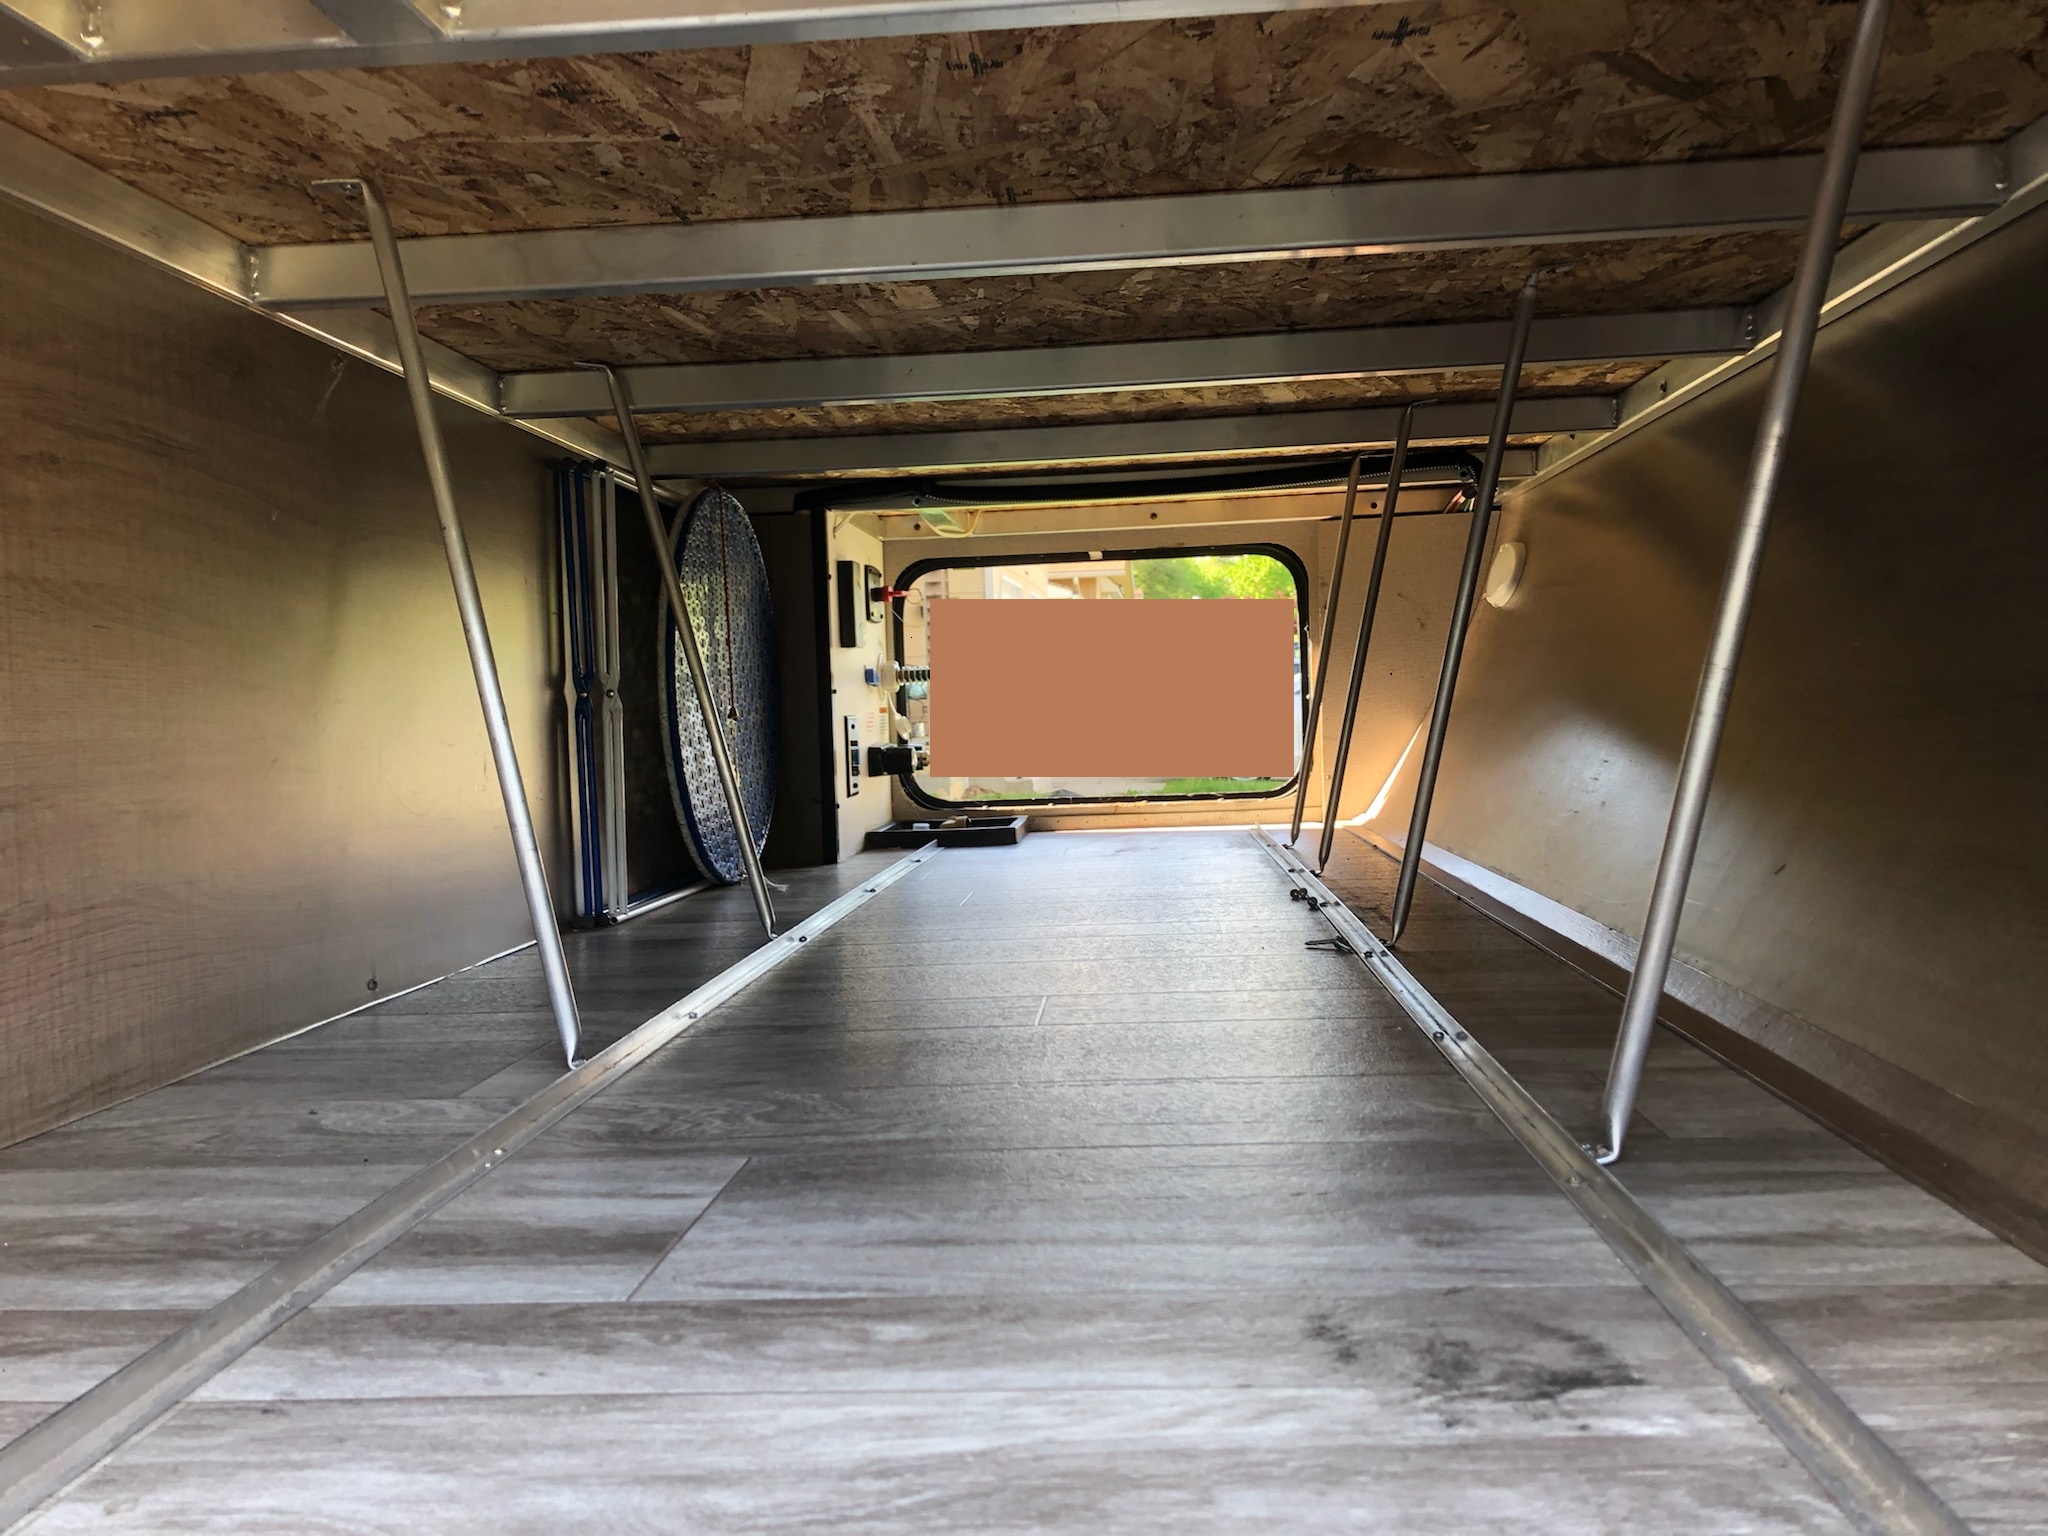
When I opened the exterior pass-through storage, my first thought was ‘lots of storage’ and my second was ‘what a mess this will be’. I had seen some nice slide trays in other, bigger units and knew I needed just that. A quick internet search floored me when I saw that these units run hundreds of dollars. I was not ready to invest $500, or more, into this so I thought it over.
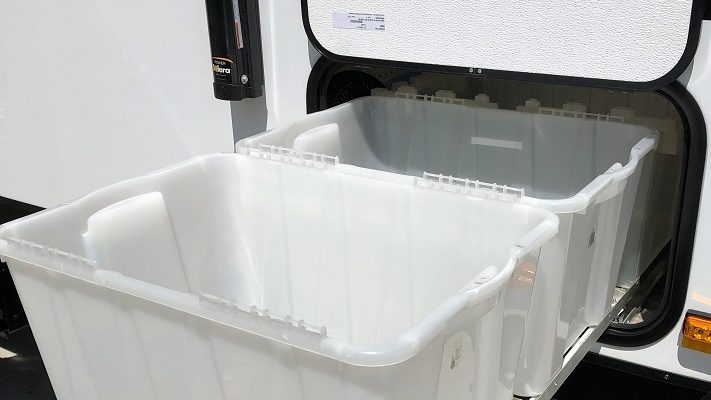
My answer is to use storage units sitting on a light weight aluminum frame and with small casters on the bottom. The casters would run between to aluminum ‘L’ channels to run true.
I would need a way to prevent the whole assembly from simply rolling all the way out (especially if opened when not leveled) and to prevent tipping if I somehow ended up with more weight out than in.
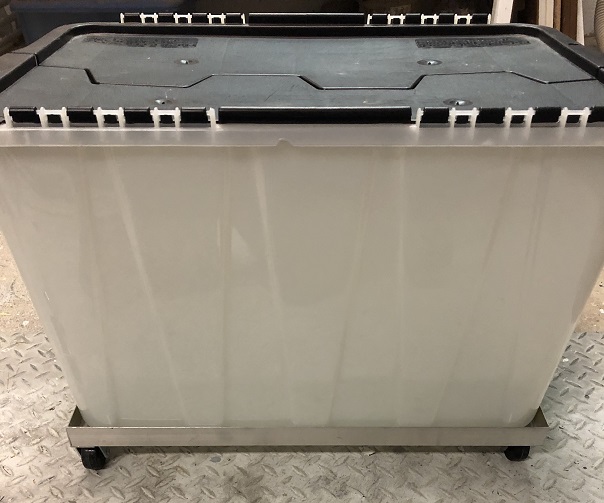
All I needed was to find storage boxes that would fit through the door while mounted on the system. I found that the many boxes I had used to store items in the attic were perfect. They would fit through the opening mounted sideways allowing 6 of them on the cart.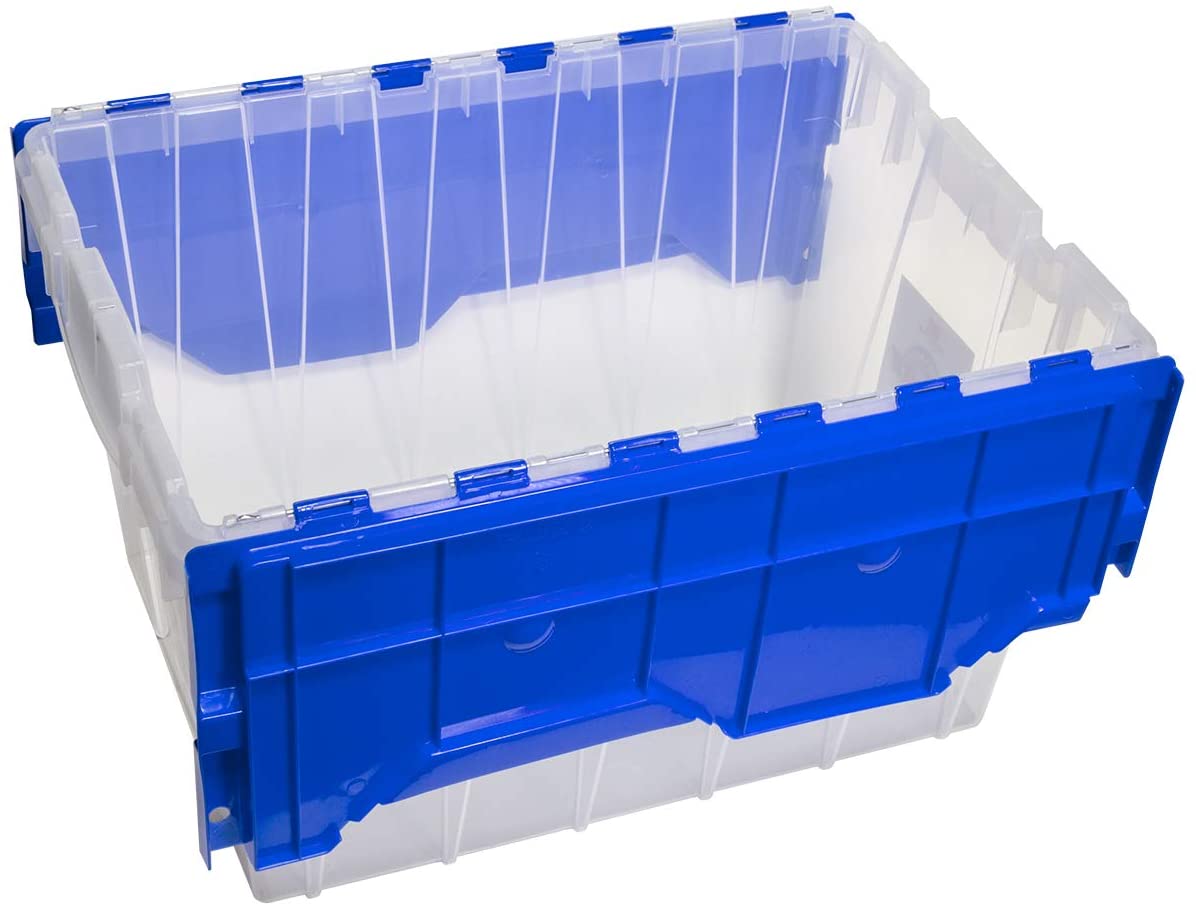
This is not nearly as robust as the systems you can buy. It does not roll all the way out without a little help (explained later) but it works rather well and the cost is extraordinarily lower.
The first step was to build the cart that rolls in and out. This must be sturdy enough to hold whatever items you intend to store but you want it to be light as possible as adding weight in the basement has a strong influence on tongue weight. I used 1″ aluminum ‘L’ bracketing from Home Depot (or Lowes). You will need 4 pieces 96″ long and six 2″ tall casters. Get the heavier duty ‘L’ brackets. I had to re-enforce mine.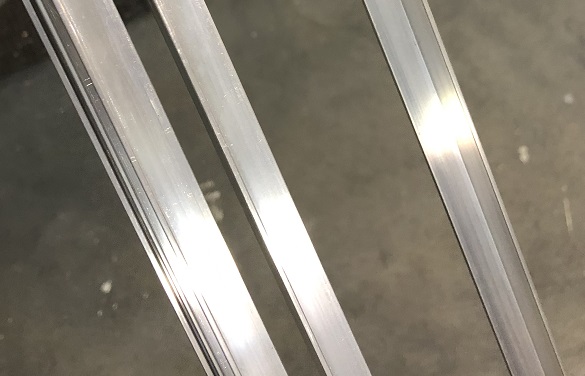
The opening measures a nominal 18″ tall and 24″ wide. Note: the opening is rounded so you have to measure the clearance of a rectangle. The bottom length of the boxes was 19″ so the width of the cart and the separation of the guide rails on floor is 19″.
Cut 5 pieces of the aluminum to 19″ for the cross supports. Position the support at one end of the long side piece and drill a ¼” hole through both pieces. Bolt them together. Drill another hole and insert another bolt and nut. Repeat for the other long piece. 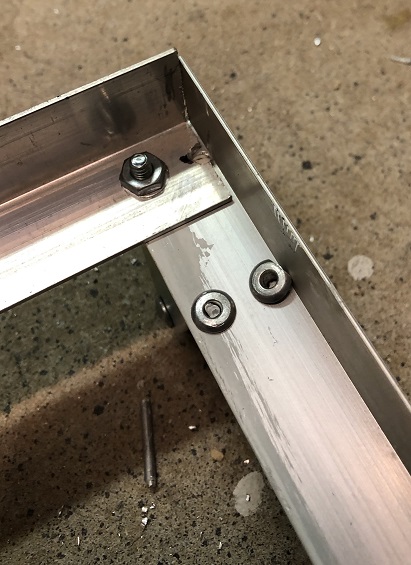
Attach the cross support to the other end in the same way.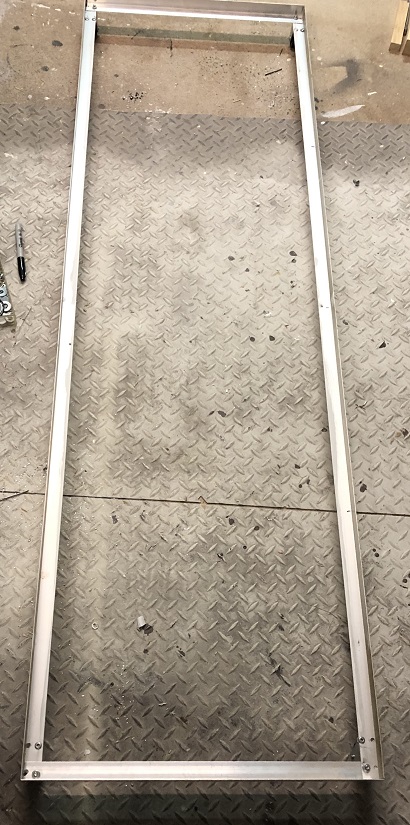
Measure the length of the assembly, divide it into 4 equal parts, and mark them on the frame. Attach the next 3 cross supports along with the casters. Position the cross frame and drill a hole through both pieces. Attach the caster to the bottom at this point with a nut and bolt. Align it (along the long side piece) and tighten it in place. Drill a second hole, to line up with the caster, in long rail and add another bolt and nut. 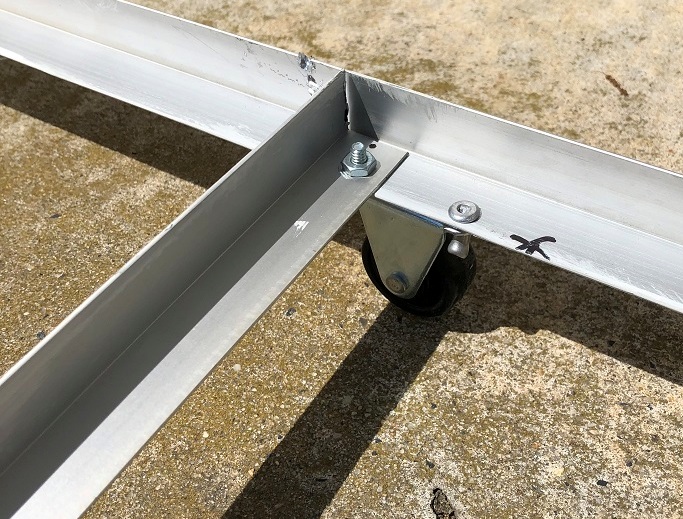
Do the same for the other end of the cross frame on the other side. Repeat this for the remaining 2 cross frame pieces.
Secure the boxes to the cart. Position a box onto the frame then drill holes through the side of the frame and through the plastic box. I secured mine with rivet but you can use bolts for this.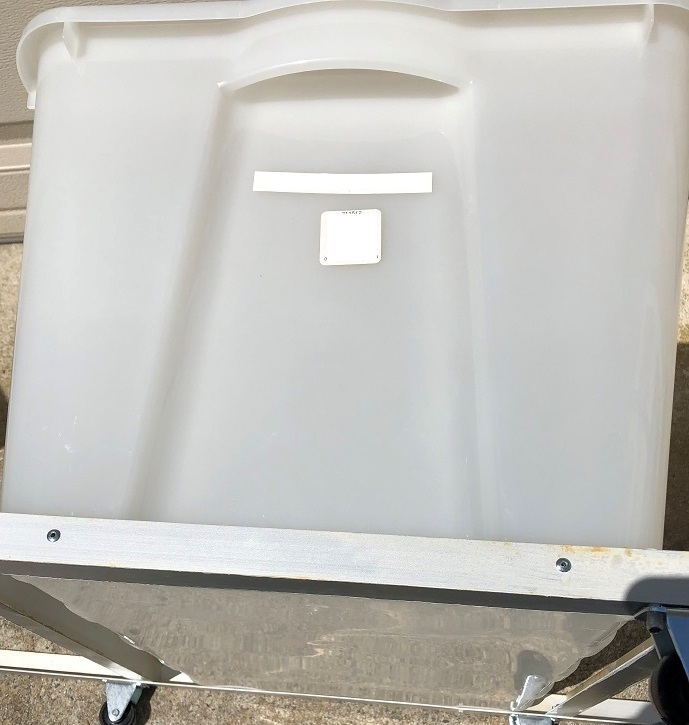
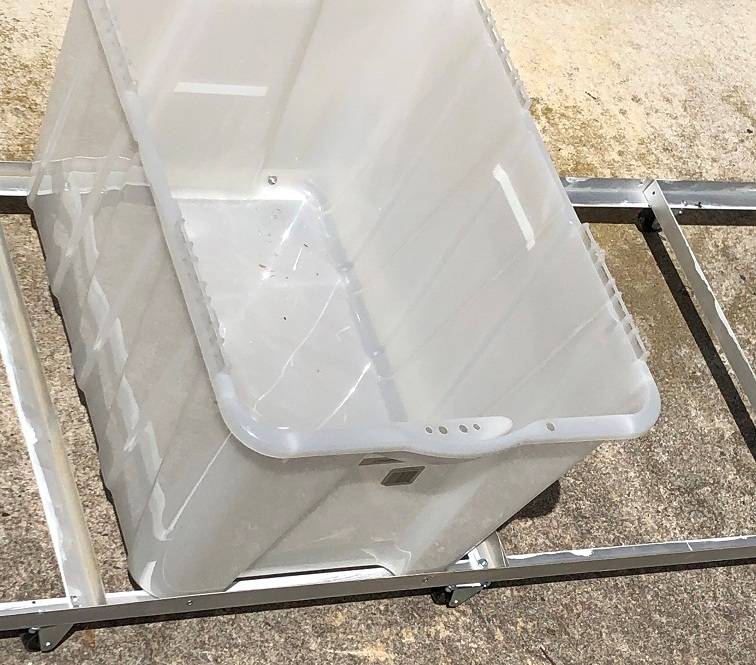
Attach all four boxes to the cart. 
Install the runners into the pass-through. I used ½” aluminum ‘L’ bracketing for the rails. You will attach them to the floor with ½” screws. Locate the center of the door (left-to-right) and mark it on the floor. Place a piece of masking tape on the floor first and mark it. Measure the actual distance of each set of wheels from outer edge to outer edge. The widest will be the distance to mount rails apart.
Attach the rails half the distance measured plus 1/16″. The left rail is positioned to look like an “L” while the right is reversed. I installed mine the this way so that the wheels roll on the lip of the ‘L’. This means rolling over the screw heads. You can reverse them for a smoother roll but that will create wear directly to the floor.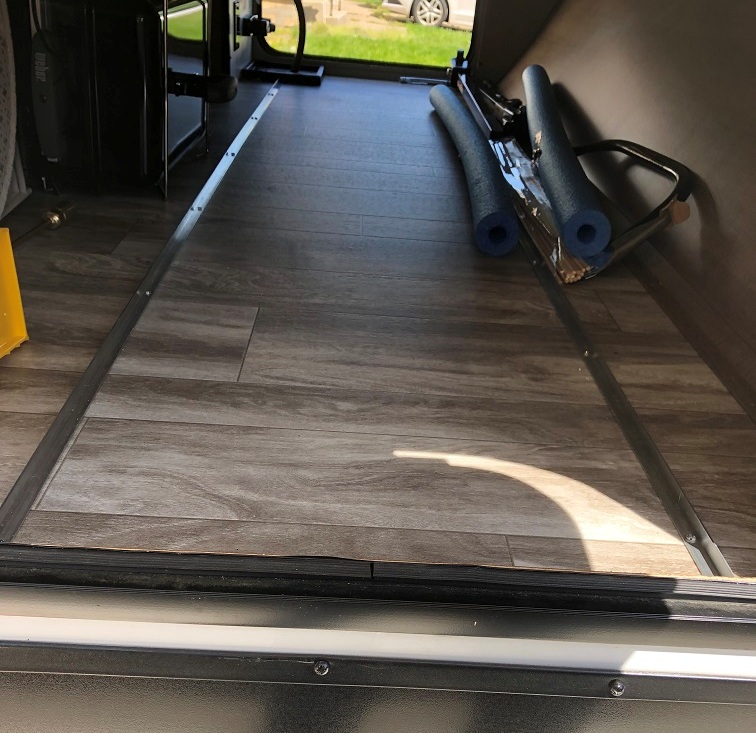
Pick up the cart assembly and slide it into the space – positioning the wheels between the rails.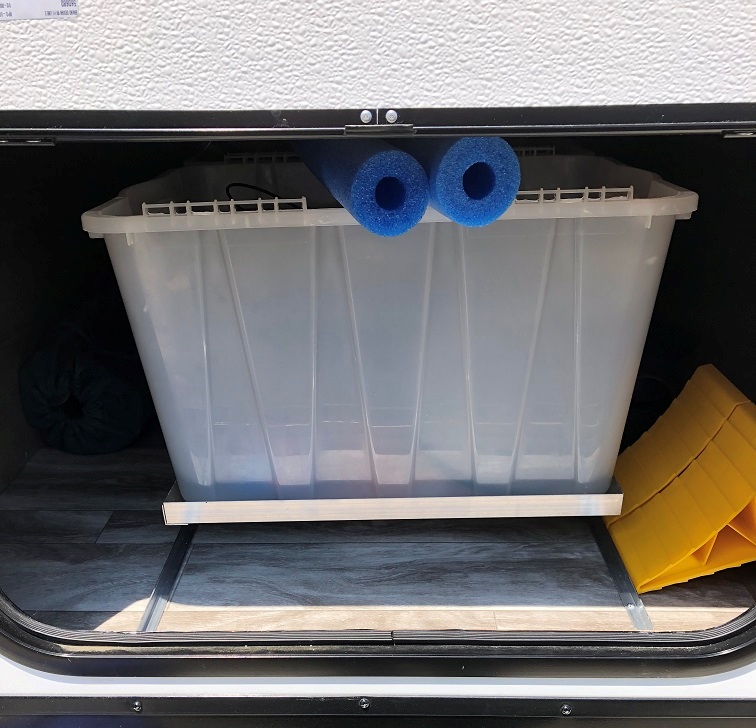
Tee first box will roll out. It stops when the casters bump the lip.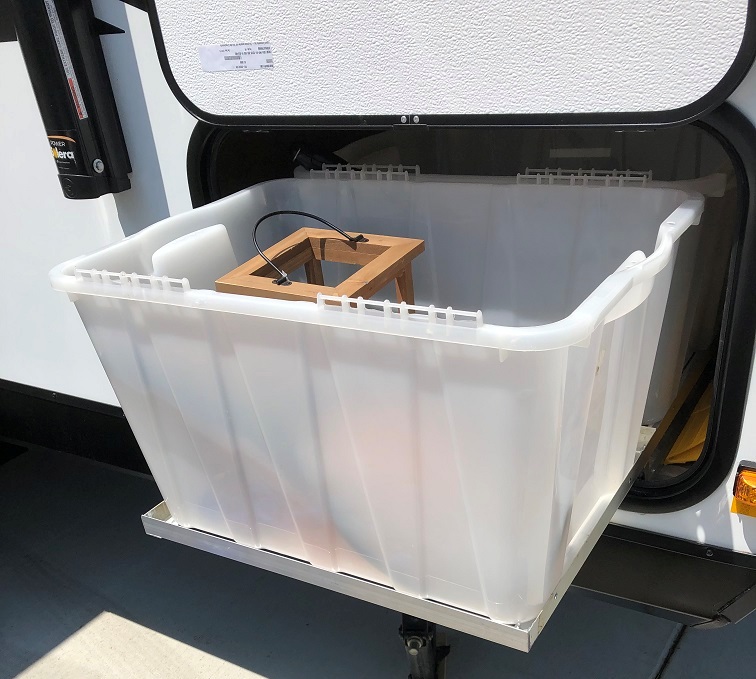
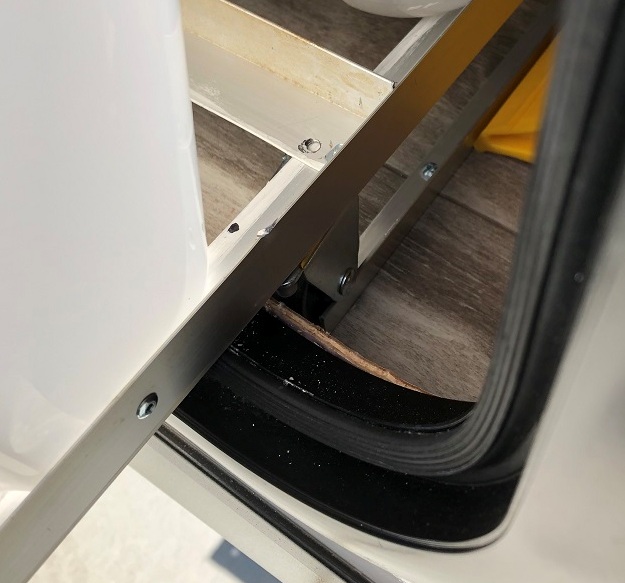
You have to lift the caster over the lip to pull out the second box.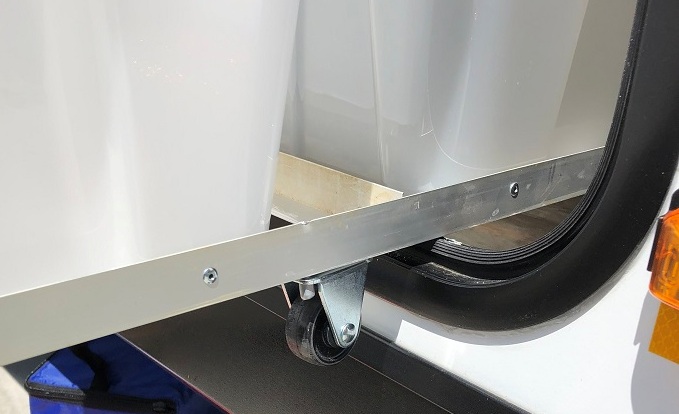
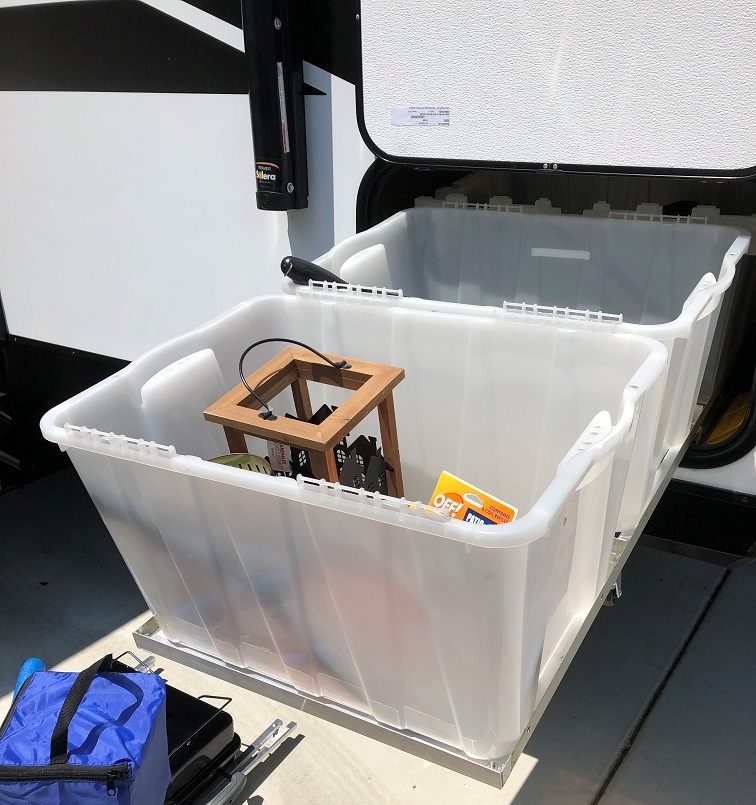
If the weight is heavier in the section sticking out than the weight inside, the assembly will tilt ever-so-slightly until the top of the boxes contacts the top of the pass-through inside. This is minimal.
The hose connection on the back side is an issue. 
You will need a 90 degree garden hose connection and leave the flap open so the hose does not block the cart.
As long as you do not load this down with a lot of heavy stuff, it will work fine. It leaves enough space to either side (the front and back of the pass-through) to store smaller items. My camp chairs, leveling blocks, and tire chocks fit nicely and there’s still room to fit the grill inside.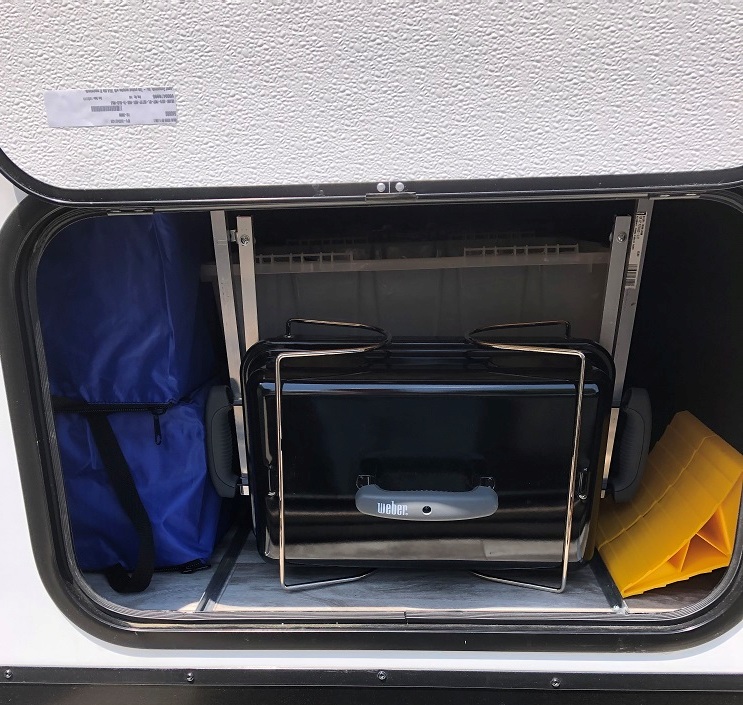
I think we are ready to hit the road for our maiden trip.
I ended up adding several posts. I found that items (like chairs and carpet) shift during transportation and often wedge in against the tubs. The post keep them neatly back and away from the sides of the tubs.